Install
For upgrading eventgen, please refer to this doc.
There are multiple ways to use Eventgen, and you should choose the method that best fits your use case. Below are the two major ways to use Eventgen - as a PyPI module and as a Splunk App. Follow the instructions below depending on your ideal use:
-
Install / Use Eventgen as a Splunk App
 Starting from 7.0.0 release, Eventgen only supports python3, which means SA-eventgen can only work with Splunk enterprise 8.x and later release.
Benefits:
- Easy To Install
- Works with TA’s downloaded direclty from SplunkBase
- Uses a modular input for controlling the main Eventgen process
- Reads configurations out of Splunk Rest
- Supports apps default / local directories
Draw Backs:
- Limited to a single process
- Can’t scale to large datasets
- Easily can fall behind on processing large quantities of eventgen.conf files
- Doesn’t install the jinja templating system automatically
- No support for python multi-threading / processing
-
Install / Use Eventgen as a Python (PyPI) package
Benefits:
- Support for threading / multiprocessing
- Support for a centralized service that can controll and run multiple threading workers
- Able to run a larger amount of datavolume with less overhead
- Allows an Eventgen object to be embeded and controlled using python code
- Exposes more of the plugin system
- Includes/installs the Jinja2 templating engine
Drawbacks:
- More complex installation
- You have to run the
buildcommand to produce a Splunk app - Harder to troubleshoot (especially in multiprocess mode)
PyPI Installation / First Run
To use Eventgen as a PyPI module, you need to either download/clone the source code or install direct from github.
Prerequisite
- Install git.
- Install python3 before building Eventgen>=7.0.0.
- Install python2 before building Eventgen<7.0.0.
You can download the python3 installation package here.
PiPI Installation
Download Eventgen Sourcecode
$ git clone https://www.github.com/splunk/eventgen
Depending on your desired case, you may wish to use a specific branch. Eventgen’s branching model will always have the master branch as the most stable and released version of Eventgen, while the develop branch will contain the bleeding edge codeline.
To select your codeline, simply checkout your desired branch (develop is selected by default).
$ git branch -a
* develop
  remotes/origin/HEAD -> origin/develop
  remotes/origin/develop
  remotes/origin/master

$ git checkout remotes/origin/master
Note: checking out 'remotes/origin/master'.

$ git pull
Eventgen uses Poetry to manage and build. Install Poetry first:
curl -sSL https://raw.githubusercontent.com/python-poetry/poetry/master/get-poetry.py | python
Or you can use pip to install poetry(this is not recommended which might cause conflicts):
pip install --user poetry
Then run below commands inside Eventgen directory:
$ poetry build

# you should see a tar file inside of dist directory
# the <version> is a token to represent current version of Eventgen, for example, 7.1.0
$ ls dist
splunk_eventgen-<version>.tar.gz

$ pip install splunk_eventgen-<version>.tar.gz
Install Direct From GitHub
To install Eventgen direct from github, use the following pip syntax:
$ pip install git+https://www.github.com/splunk/eventgen.git
Verify Installation
After completing either of the above install methods, you can verify seccussful installation by checking the packaged Eventgen version.
# the <version> is a token to represent current version of Eventgen, for example, 7.1.0
$ splunk_eventgen --version
Eventgen <version>
Now you are ready to use Eventgen as a pip module.
First Run
Command Line
Assuming you’ve followed the above steps on installing the PyPI, run the following command and point it to an eventgen.conf file:
# Invoke python module
$ python -m splunk_eventgen -v generate tests/sample_eventgen_conf/replay/eventgen.conf.replay

# Alternatively, you can use the `splunk_eventgen` alias
$ splunk_eventgen -v generate path/to/eventgen.conf
Controller-Server Cluster
Please follow these instructions to run an Eventgen cluster on your Docker environment:
make image- Create a Docker network:
docker network create --attchable --driver bridge eg_network - To set up a controller, run
docker run --network eg_network --name eg_controller -d -p 6379:6379 -p 9500:9500 eventgen:latest controller - To set up a server, run
docker run --network eg_network --name eg_server -e REDIS_HOST=eg_controller -d -p 9501:9500 eventgen:latest server- Note that REDIS_HOST needs to be a resolvable host address to the controller. Also, –name should be used to differientiate a server from another.
Splunk App Installation / First Run
To use Eventgen as a Splunk app, you need a SPL file. This SPL file can be obtained in one of two ways:
- Through running the
buildprocess of the splunk_eventgen pypi module - Downloading the SPL direct from splunkbase
Gerating the SPL file
In order to generate the SPL file, install Eventgen through PyPI with the instruction above. Once you have Eventgen installed, run:
# This command generates spl file
$ splunk_eventgen build --destination <DESIRED_PATH_TO_OUTPUT_SPL_FILE>
Finishing the Install
For upgrading SA-eventgen from 6.x to 7.x, please refer to this guide.
With the generated / downloaded SPL file, follow these steps to install:
- Log in to Splunk Web and navigate to Apps > Manage Apps.
- Click “Install app from file”.
- Navigate to the path where your local SPL file is and select.
- Restart Splunk after you have been notified of a successful installation.
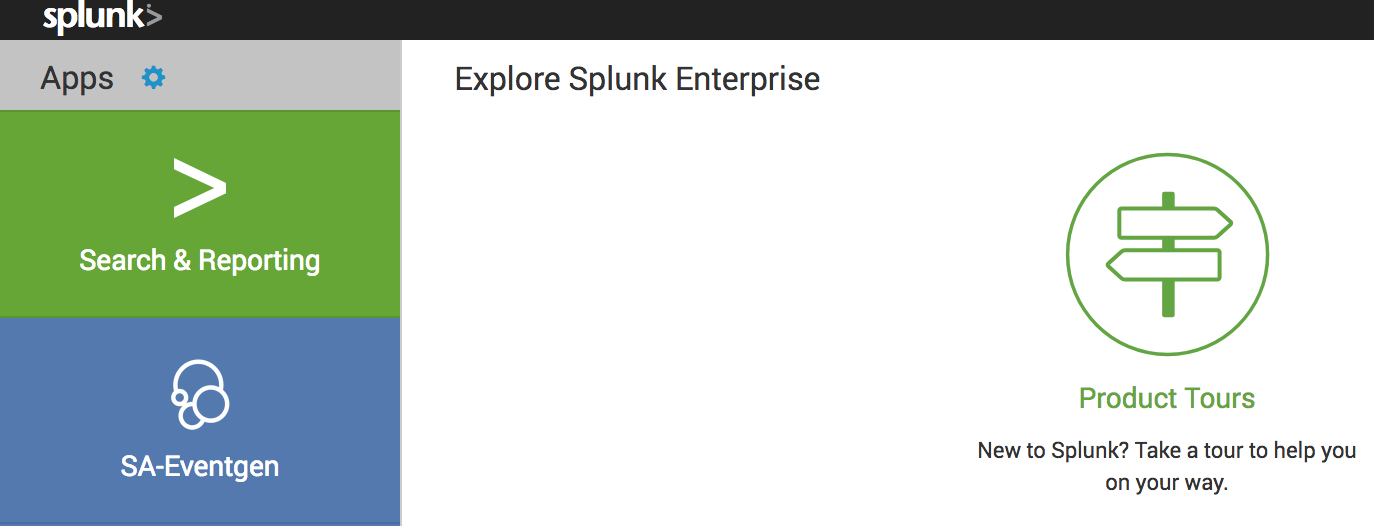
Before you start Eventgen, confirm that you have successfully installed SA-Eventgen:
You should see SA-Eventgen App in SplunkWeb.
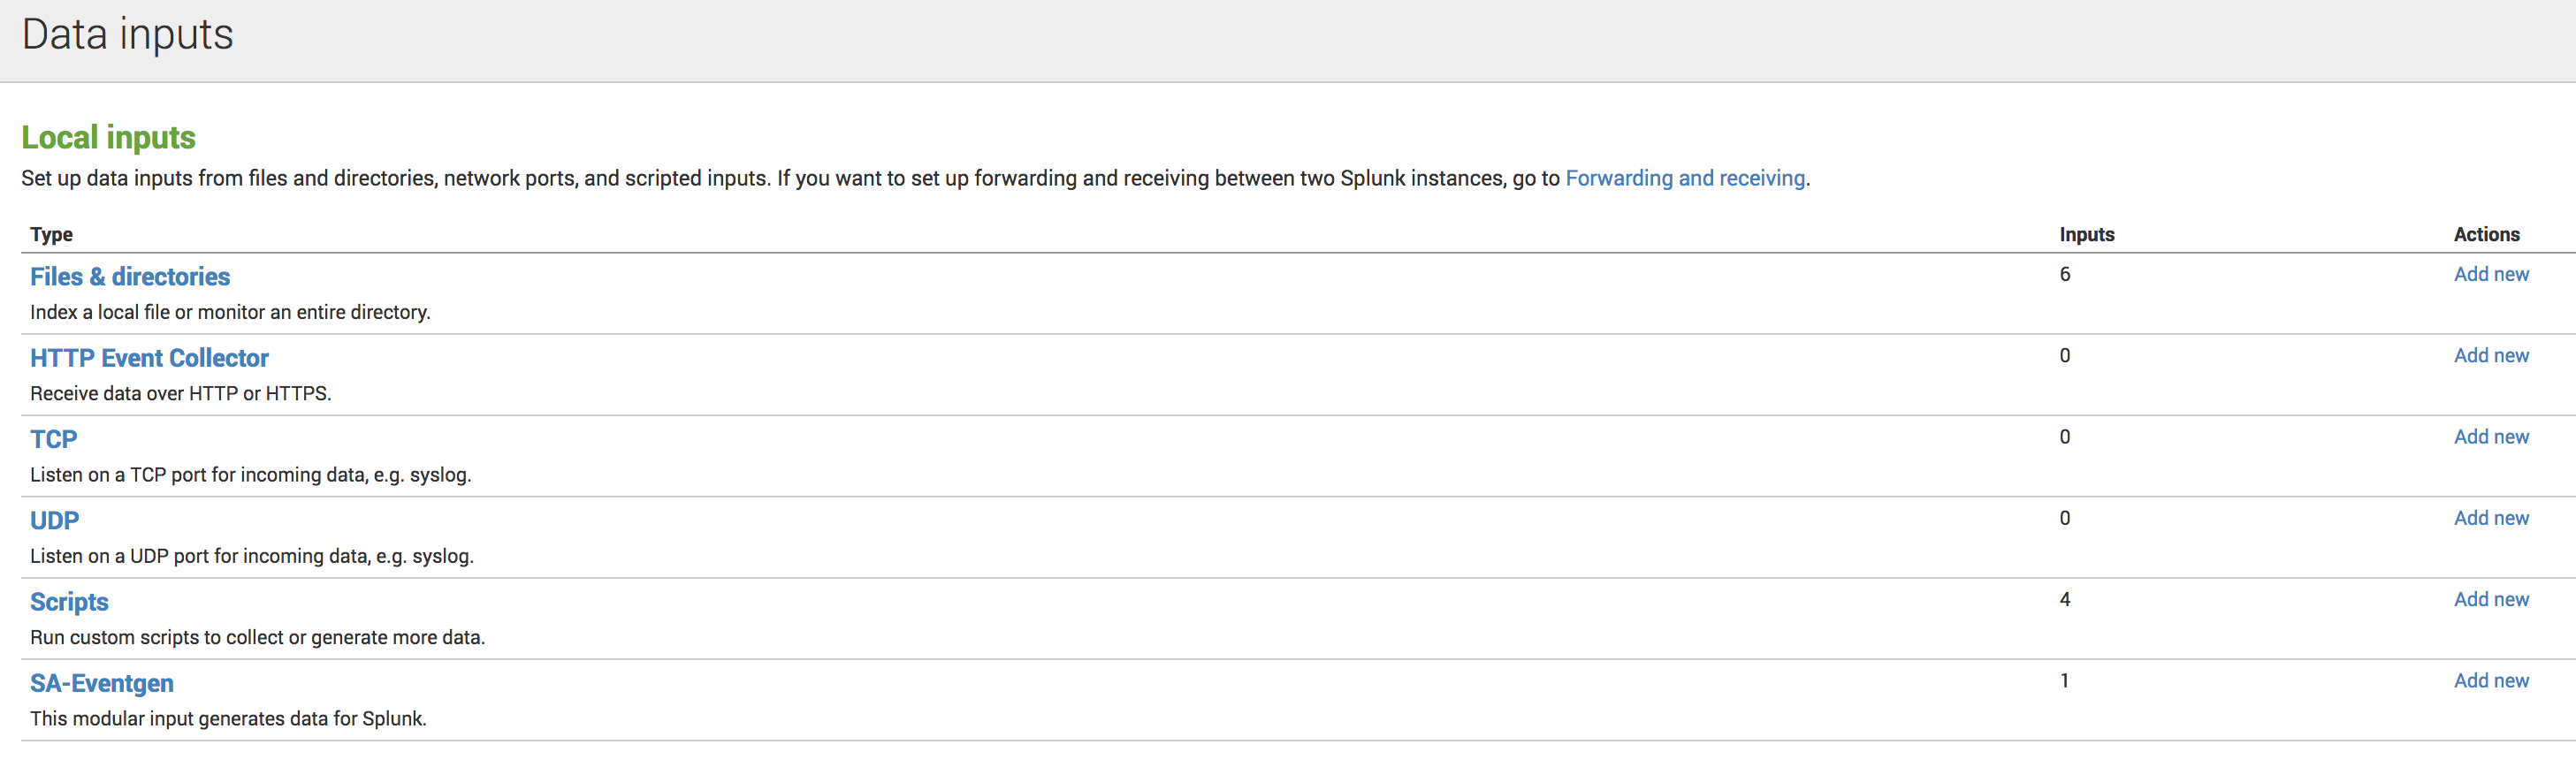
You should see SA-Eventgen as an input under Settings>Data inputs
Additionally, you’ll see SA-Eventgen in your Splunk apps installation directory:
$ cd ${SPLUNK_HOME}/etc/apps
First Run
If SA-Eventgen App is correctly installed, there is no additional configuration required. SA-Eventgen app will automatically identify with any apps with eventgen.conf.
To start generating data, simply enable the SA-Eventgen modinput by going to Settings > Data Inputs > SA-Eventgen and by clicking “enable” on the default modular input stanza.
If you wish you add your bundle so that the modinput can detect your package:
Package your eventgen.conf and sample files into a directory structure as outlined in the configuration. After that’s done, copy/move the bundle into your ${SPLUNK_HOME}/etc/apps/ directory and restart Splunk. If you have specific samples enabled in your eventgen.conf, you should see data streaming into the specified Splunk index.
Make sure the bundle app permission is global. You can config this in two ways:
- Log in to Splunk Web and navigate to Apps > Manage Apps. Find the bundle app row and set the permission to ‘Global’ on the Sharing column.
- Create a folder
metadataunder the bundle with filedefault.metaand add the following content:[] export=system
You can use this sample bundle to have a quick start for data generation.