

Get Connected
Connect to EC2 Instance
Create a Splunk.com Account #
You’ll need a Splunk.com account to complete this workshop. If you don’t already have an account, navigate to https://idp.login.splunk.com/signin/register and complete the form to create your account:
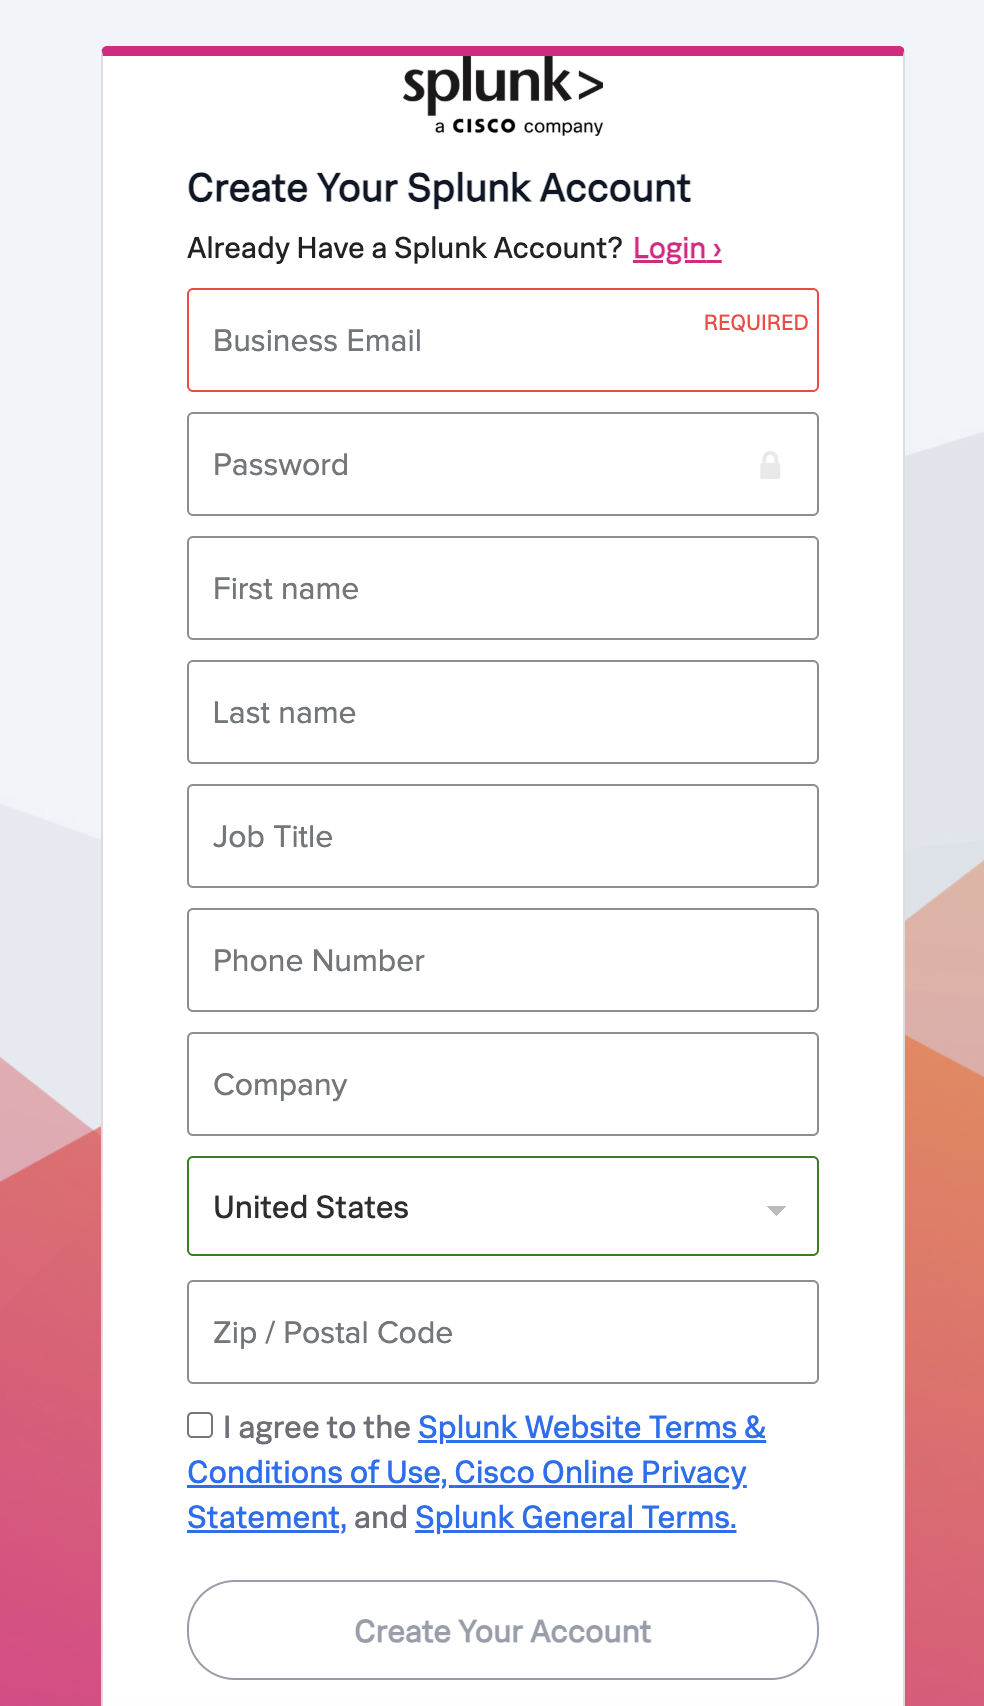
Check your inbox for an email from no-reply@idp.login.splunk.com . If you don’t see the email, please check your spam folder.
Click on the link in the email to verify your email address.
Access the Splunk Show Event #
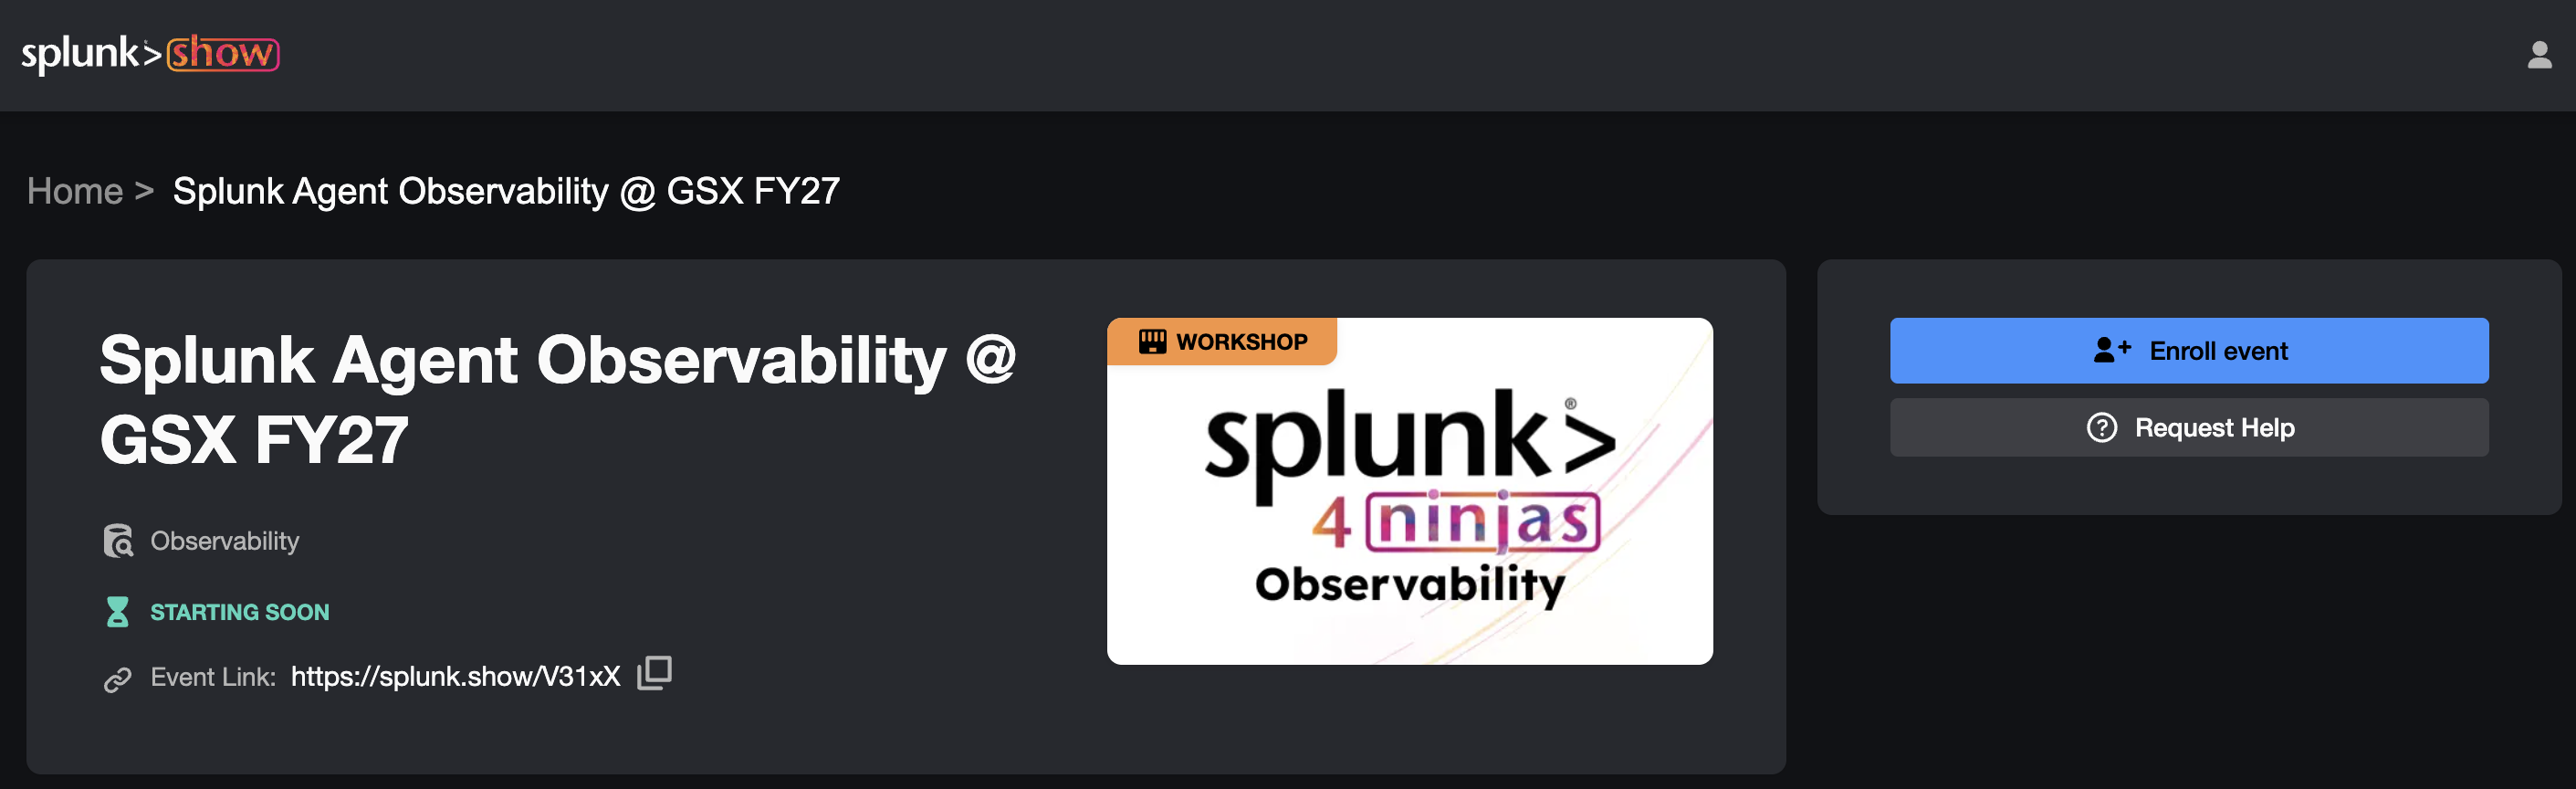
Access the Splunk Show event by clicking the link provided by your workshop instructor. You’ll need to sign in using your Splunk.com account.
Connect to your EC2 Instance #
We’ve prepared an Ubuntu Linux instance in AWS/EC2 for each attendee. To get the details of your EC2 instance from the Splunk Show event:
- Click Enroll event on the top-right corner
- Then look near the bottom of the page for your EC2 instance details
You should see connection information such as the following:
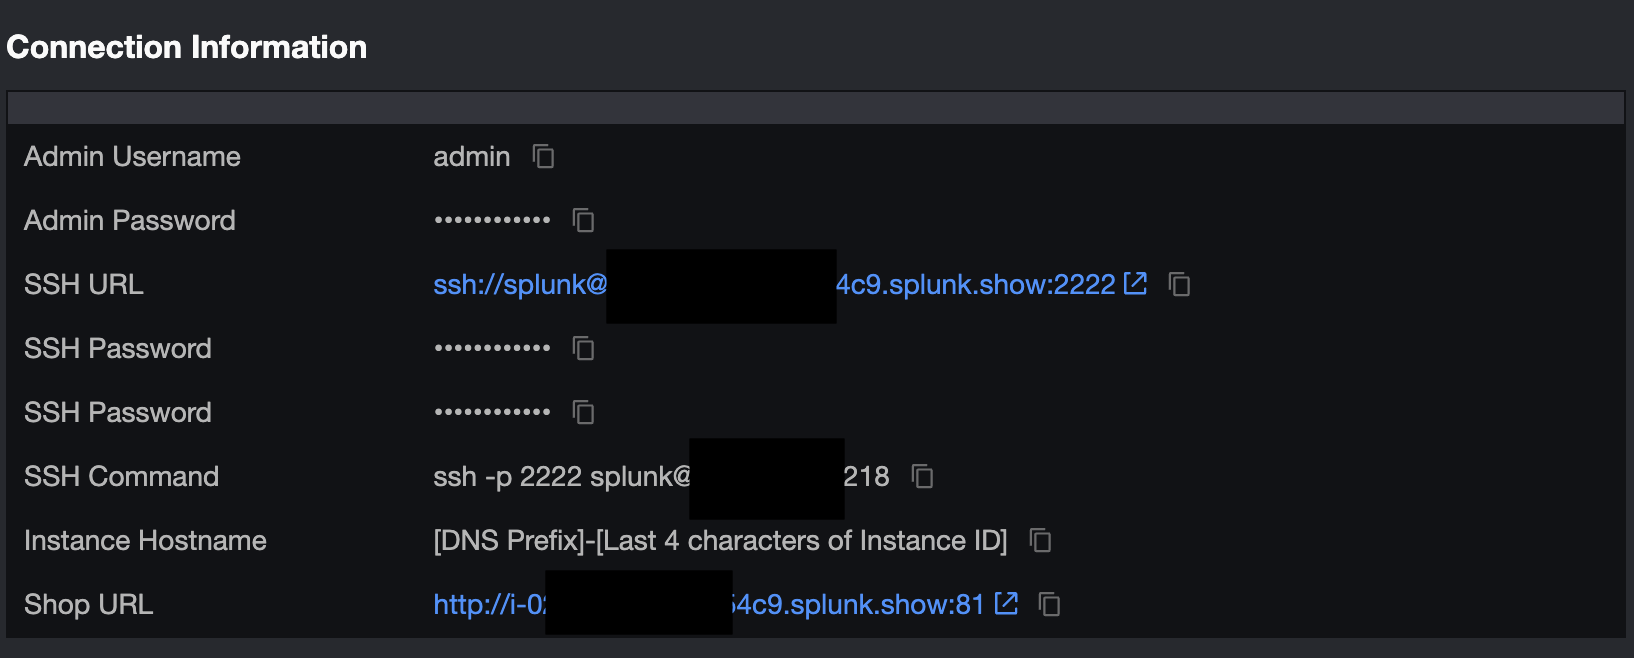
Using the IP address (which is part of the SSH Command) and SSH Password provided as part of the Connection Information, connect to your EC2 instance using one of the methods below:
- Mac OS / Linux
- ssh splunk@IP address
- Windows 10+
- Use the OpenSSH client
- Earlier versions of Windows
- Use Putty
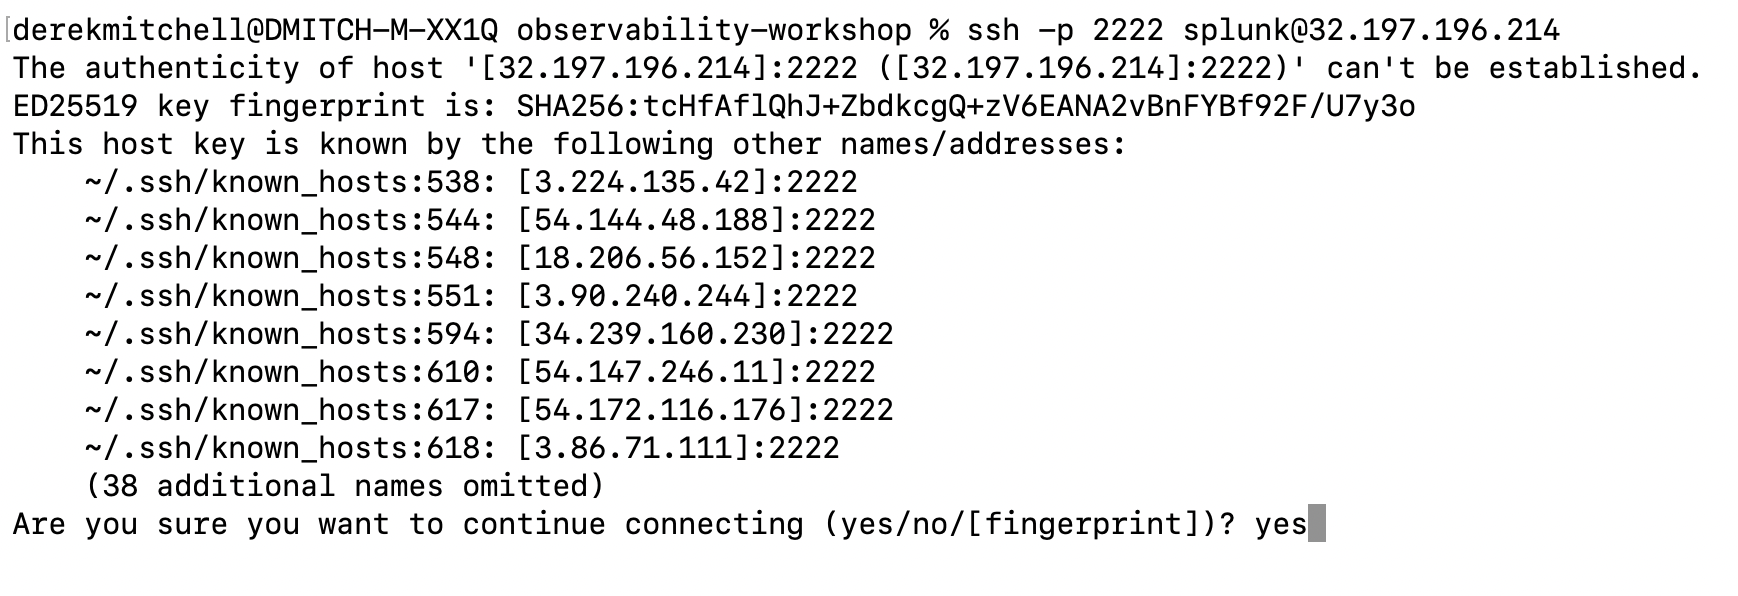
Note: Answer ‘yes’ when asked if you want to continue connecting
VPN Connection
Connect Visual Studio Code (Optional) #
We’ll be editing several files throughout the workshop. The workshop instructions
include tip for doing this using a vi editor, and workshop participants can
use the nano editor as well.
If you prefer a full-fledged IDE, you can connect Visual Studio Code running on your laptop to edit remote files on the EC2 instance.
The high-level steps to do this are as follows:
Download and install VS code on your machine using this link .
In VS Code, navigate to Settings and then Extensions.
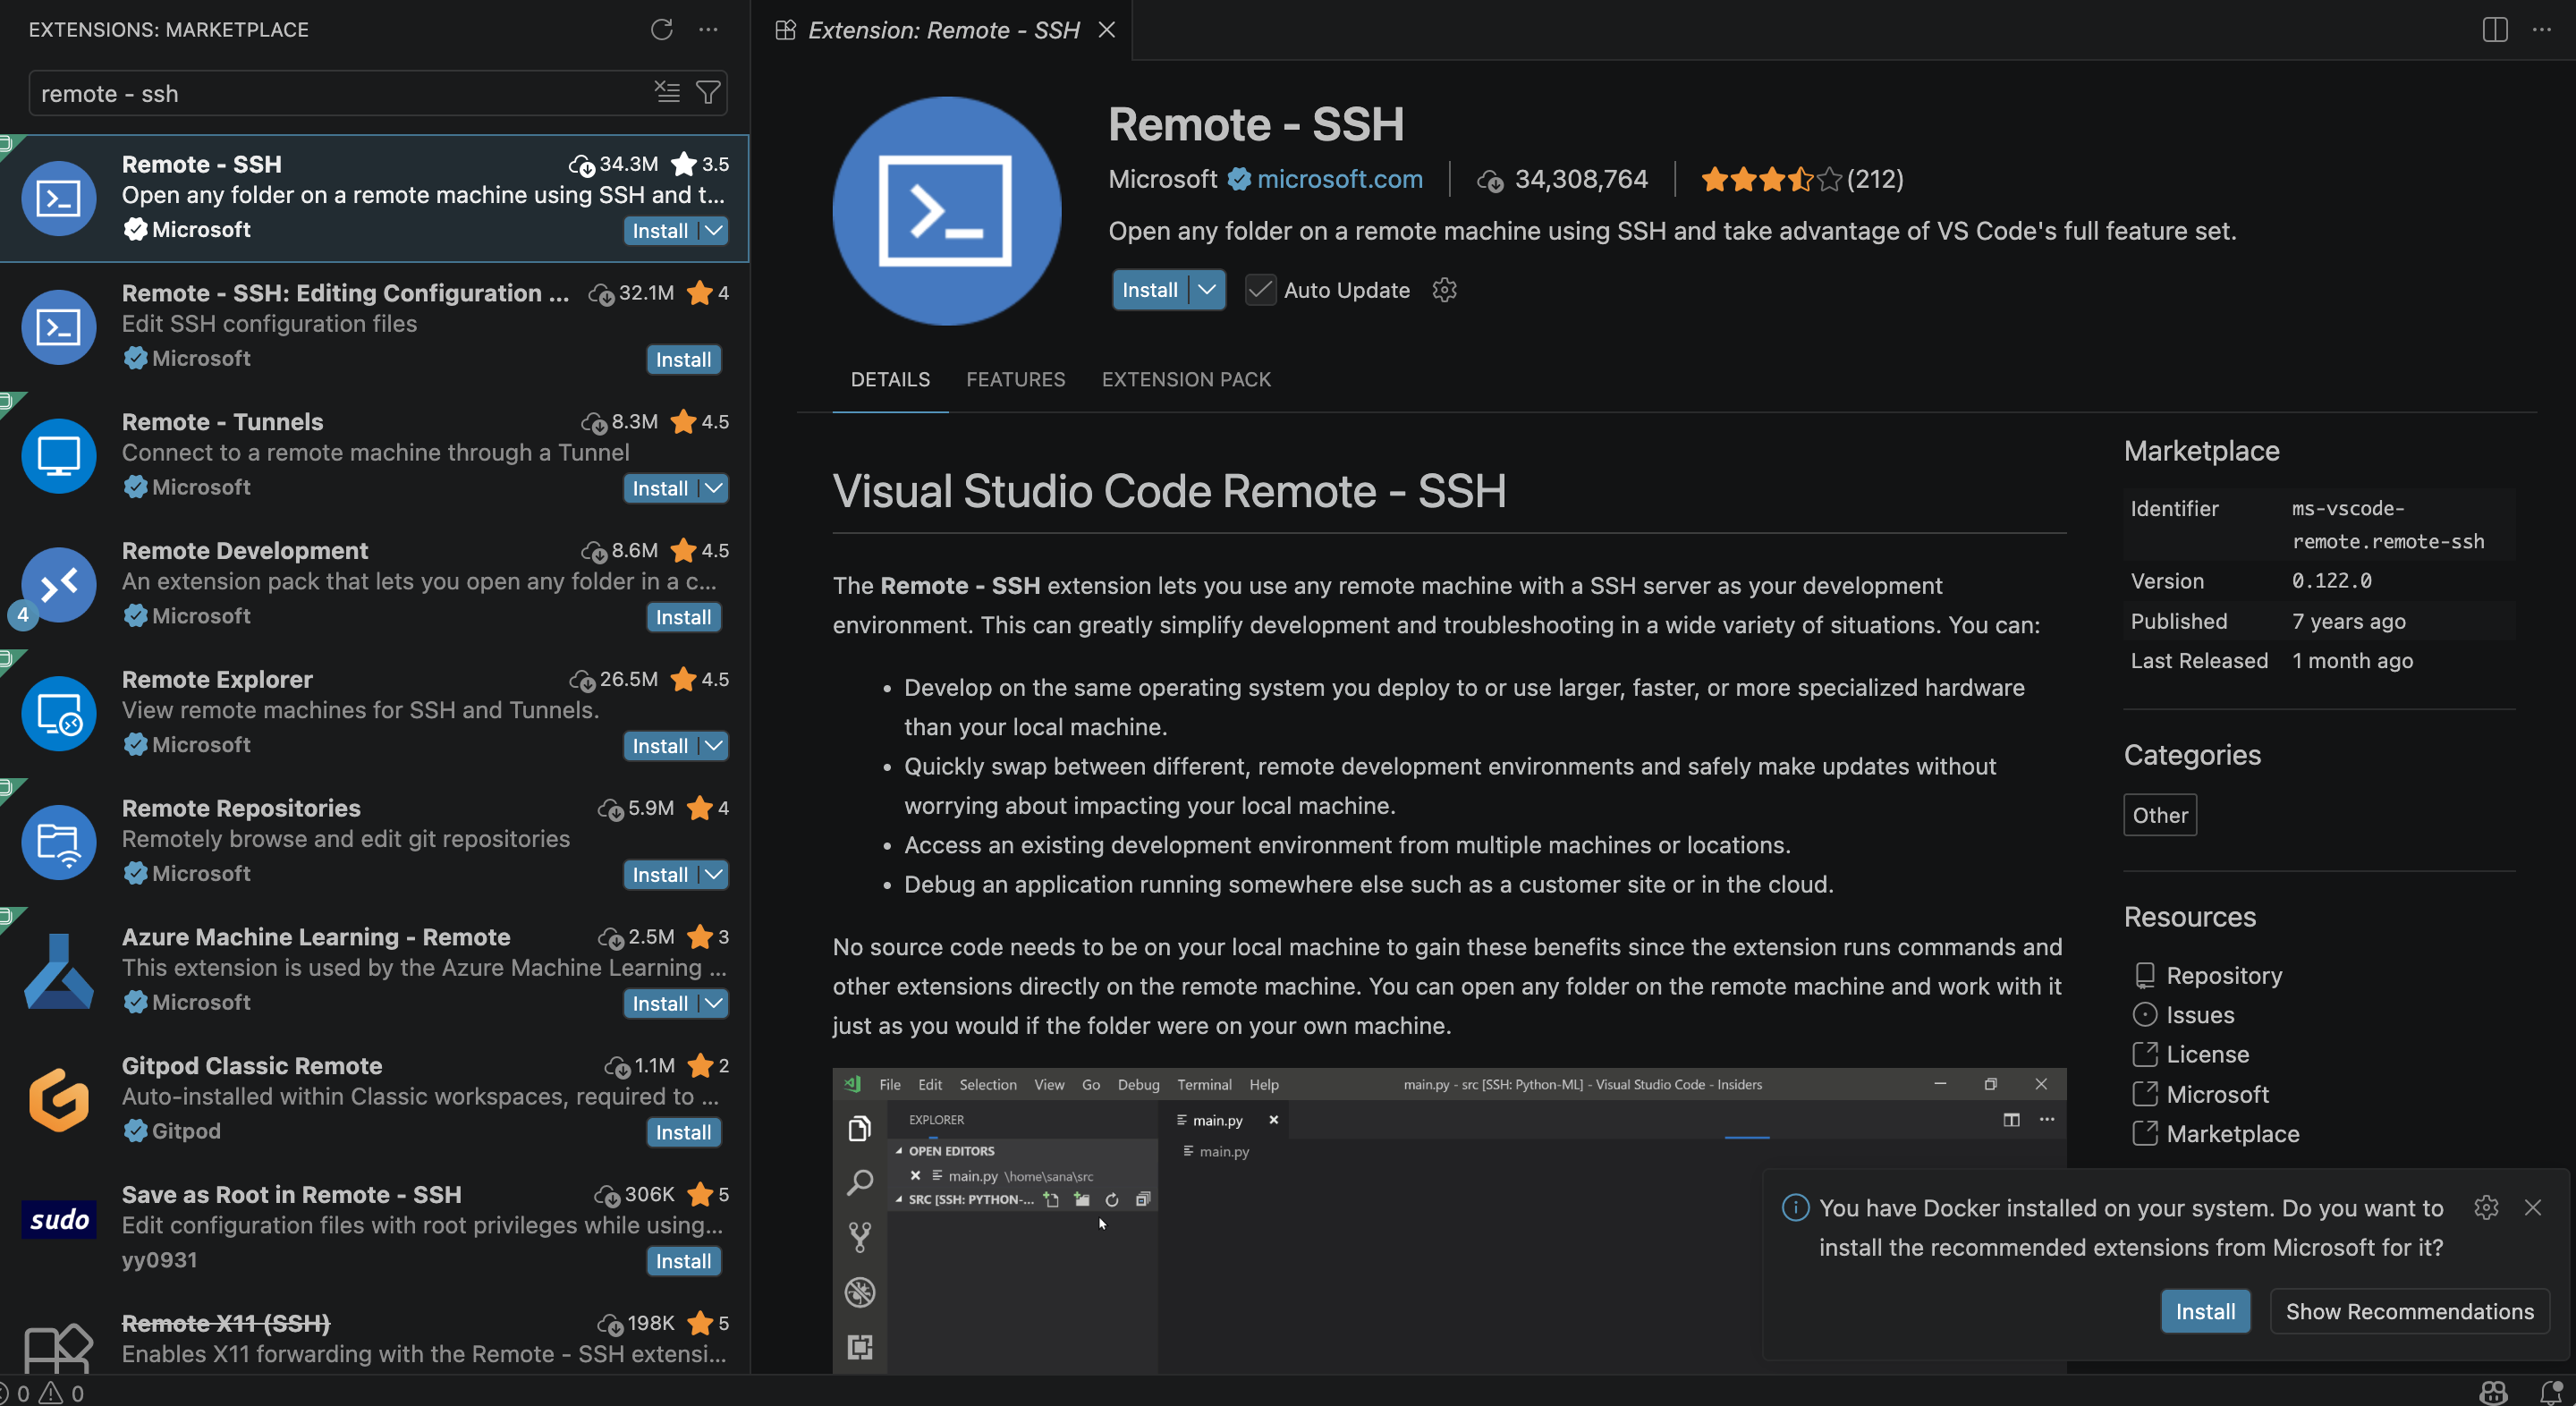
Search for the Remote – SSH extension (by Microsoft) and install it.
Press F1 (or Ctrl+Shift+P on Windows / Cmd+Shift+P on Mac OS).
Run Remote-SSH: Connect to Host.
Copy your SSH command from Splunk Show:
ssh -p 2222 splunk@EC2_PUBLIC_IP.Choose the default SSH config file when prompted.
Press F1 (or Ctrl+Shift+P on Windows / Cmd+Shift+P on Mac OS) again.
Run Remote-SSH: Connect to Host.
Select the host you just added. VS Code will open a new window and start the connection.
A prompt will appear at the top of VS Code asking for the SSH password. Copy the password from Splunk Show and enter it here.
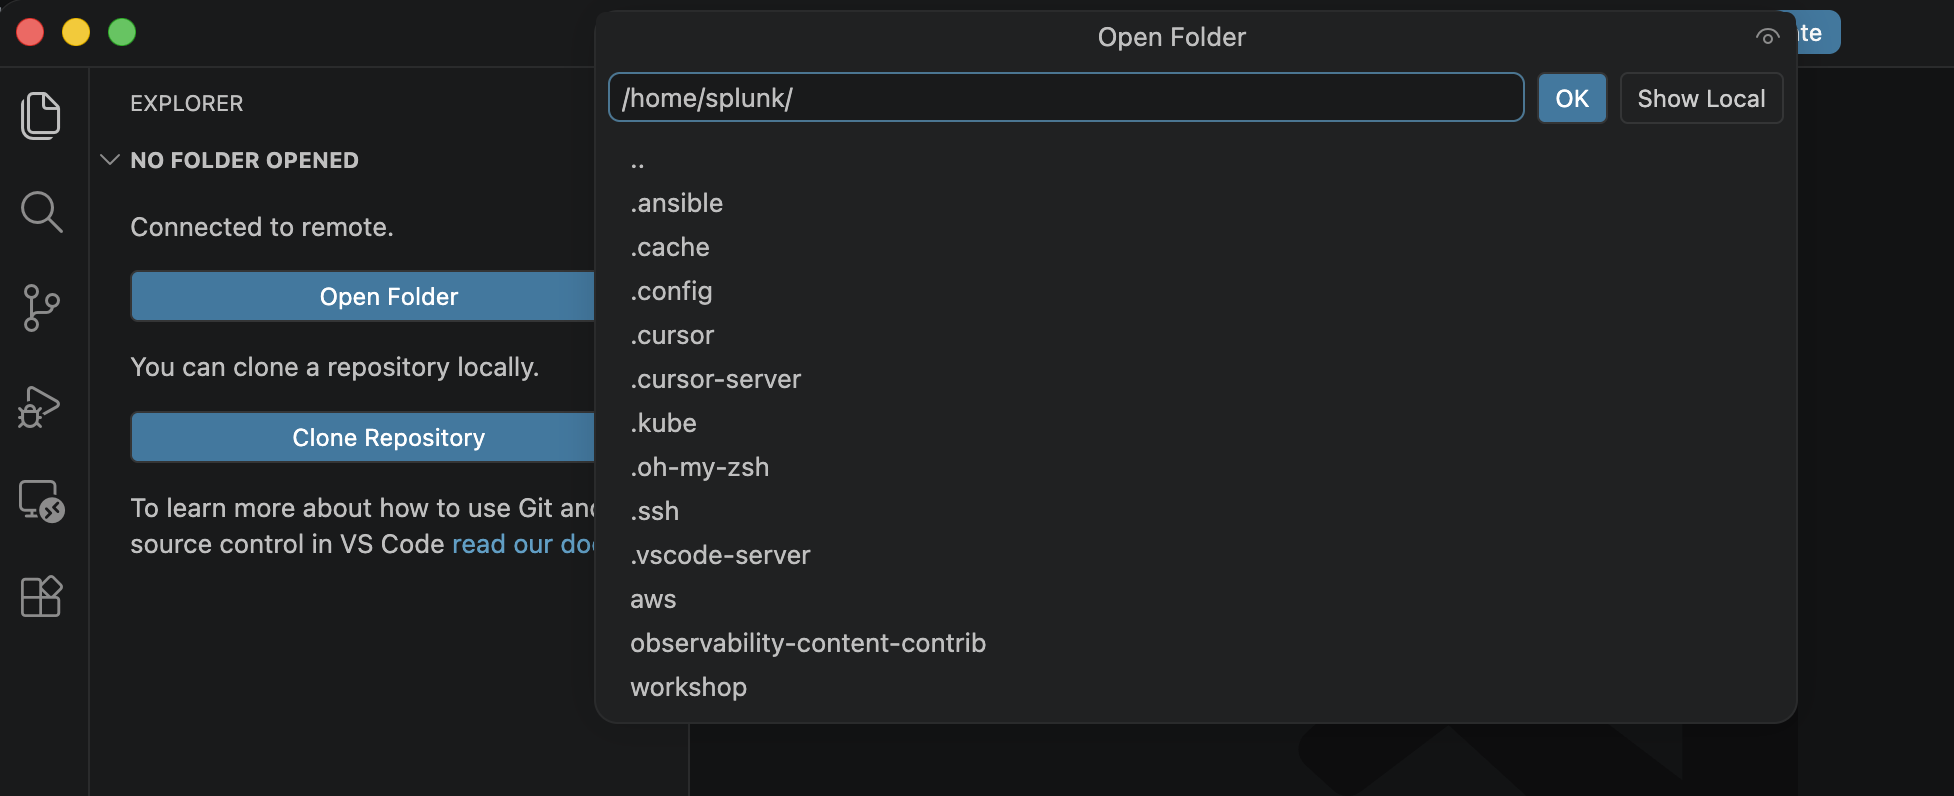
Click Open Folder then input
/home/splunkas the folder name:
You can now edit files remotely with VS Code!