

Deploy Machine Agent
Manually install server agent.
In this exercise you will perform the following actions:
- Run a script that will install the Machine agent
- Configure the Machine agent
- Start the Machine agent
Note
We will use a script to download the machine agent into your EC2 instance. Normally, you would have to download the machine agent by logging into https://accounts.appdynamics.com/ but due to potential access limitations we will use the script which downloads it directly from the portal. If you have access to the AppDynamics portal and would like to download the machine agent, you can follow the below steps to download it and reference the steps used in the Install Agent section of the APM lab to SCP it into your VM.
- Log into the AppDynamics Portal
- On the left side menu click on Downloads
- Under Type select Machine Agent
- Under Operating System Select Linux
- Find the Machine Agent Bundle - 64-bit linux (zip) and click on the Download button.
- Follow the steps in the Install Agent section to SCP the downloaded file into your EC2 instance.
- Unbundle the zip file into the /opt/appdynamics/machineagent directory and proceed to the configuration section of this lab
Run the Install Script #
Use the command below to change to the directrory where the script is located. The script will downlaod and unbundle the machine agent
cd /opt/appdynamics/lab-artifacts/machineagent/Use the command below to run the install script.
chmod +x install_machineagent.sh
./install_machineagent.sh
You should see output similar to the following image.

Configure the Server Agent #
Obtain the configuration property values listed below from the Java Agents “controller-info.xml” and have them available for the next step.
cat /opt/appdynamics/javaagent/conf/controller-info.xml- controller-host
- controller-port
- controller-ssl-enabled
- account-name
- account-access-key
Edit the “controller-info.xml” file of the machine Agent and insert the values for the properties you obtained from the Java Agent configuration file, listed below.
- controller-host
- controller-port
- controller-ssl-enabled
- account-name
- account-access-key
You will need to set the “sim-enabled” property to true and then save the file which should look similar to the image below.
cd /opt/appdynamics/machineagent/conf
nano controller-info.xml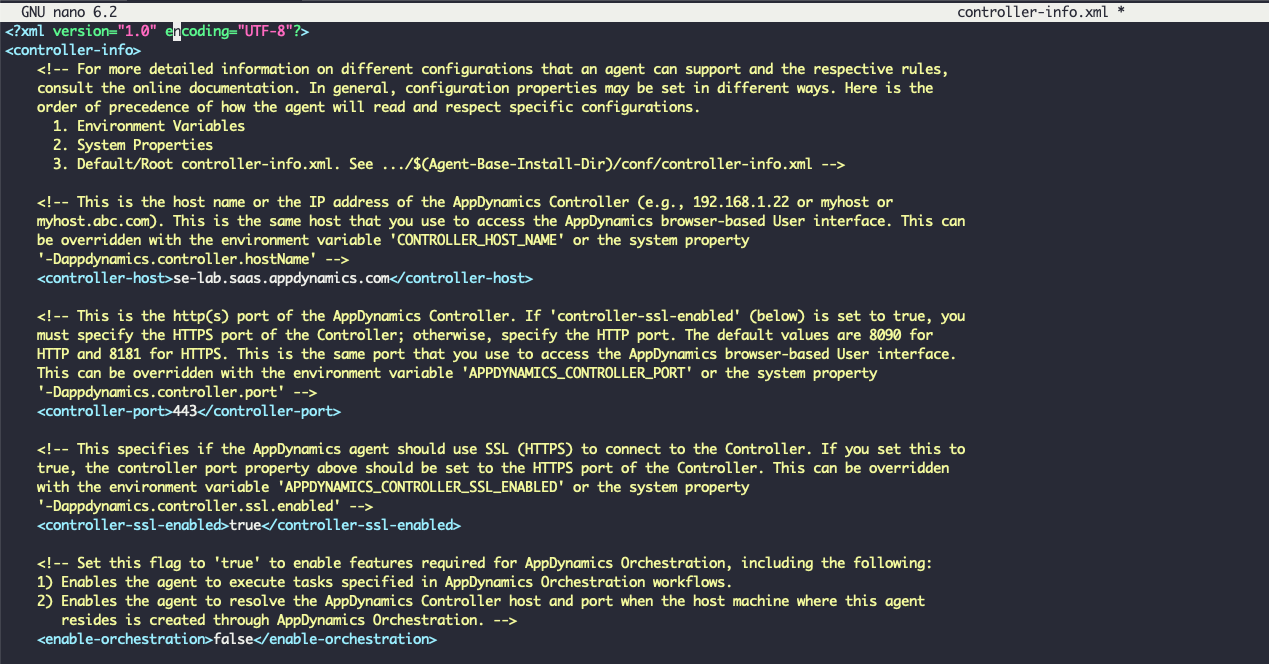
Start the Server Visibility agent #
Use the following commands to start the Server Visibility agent and verify that it started.
cd /opt/appdynamics/machineagent/bin
nohup ./machine-agent &
ps -ef | grep machine
You should see output similar to the following image.
