Install the Solarwinds Content Pack
5 minutes Authors Chris Putnam, Sam Scudere-Weiss, & Tim HardExercise: Install the Solarwinds Content Pack
1. Navigate to the IT Service Intelligence app.
2. Go to Configuration > Data Integrations.
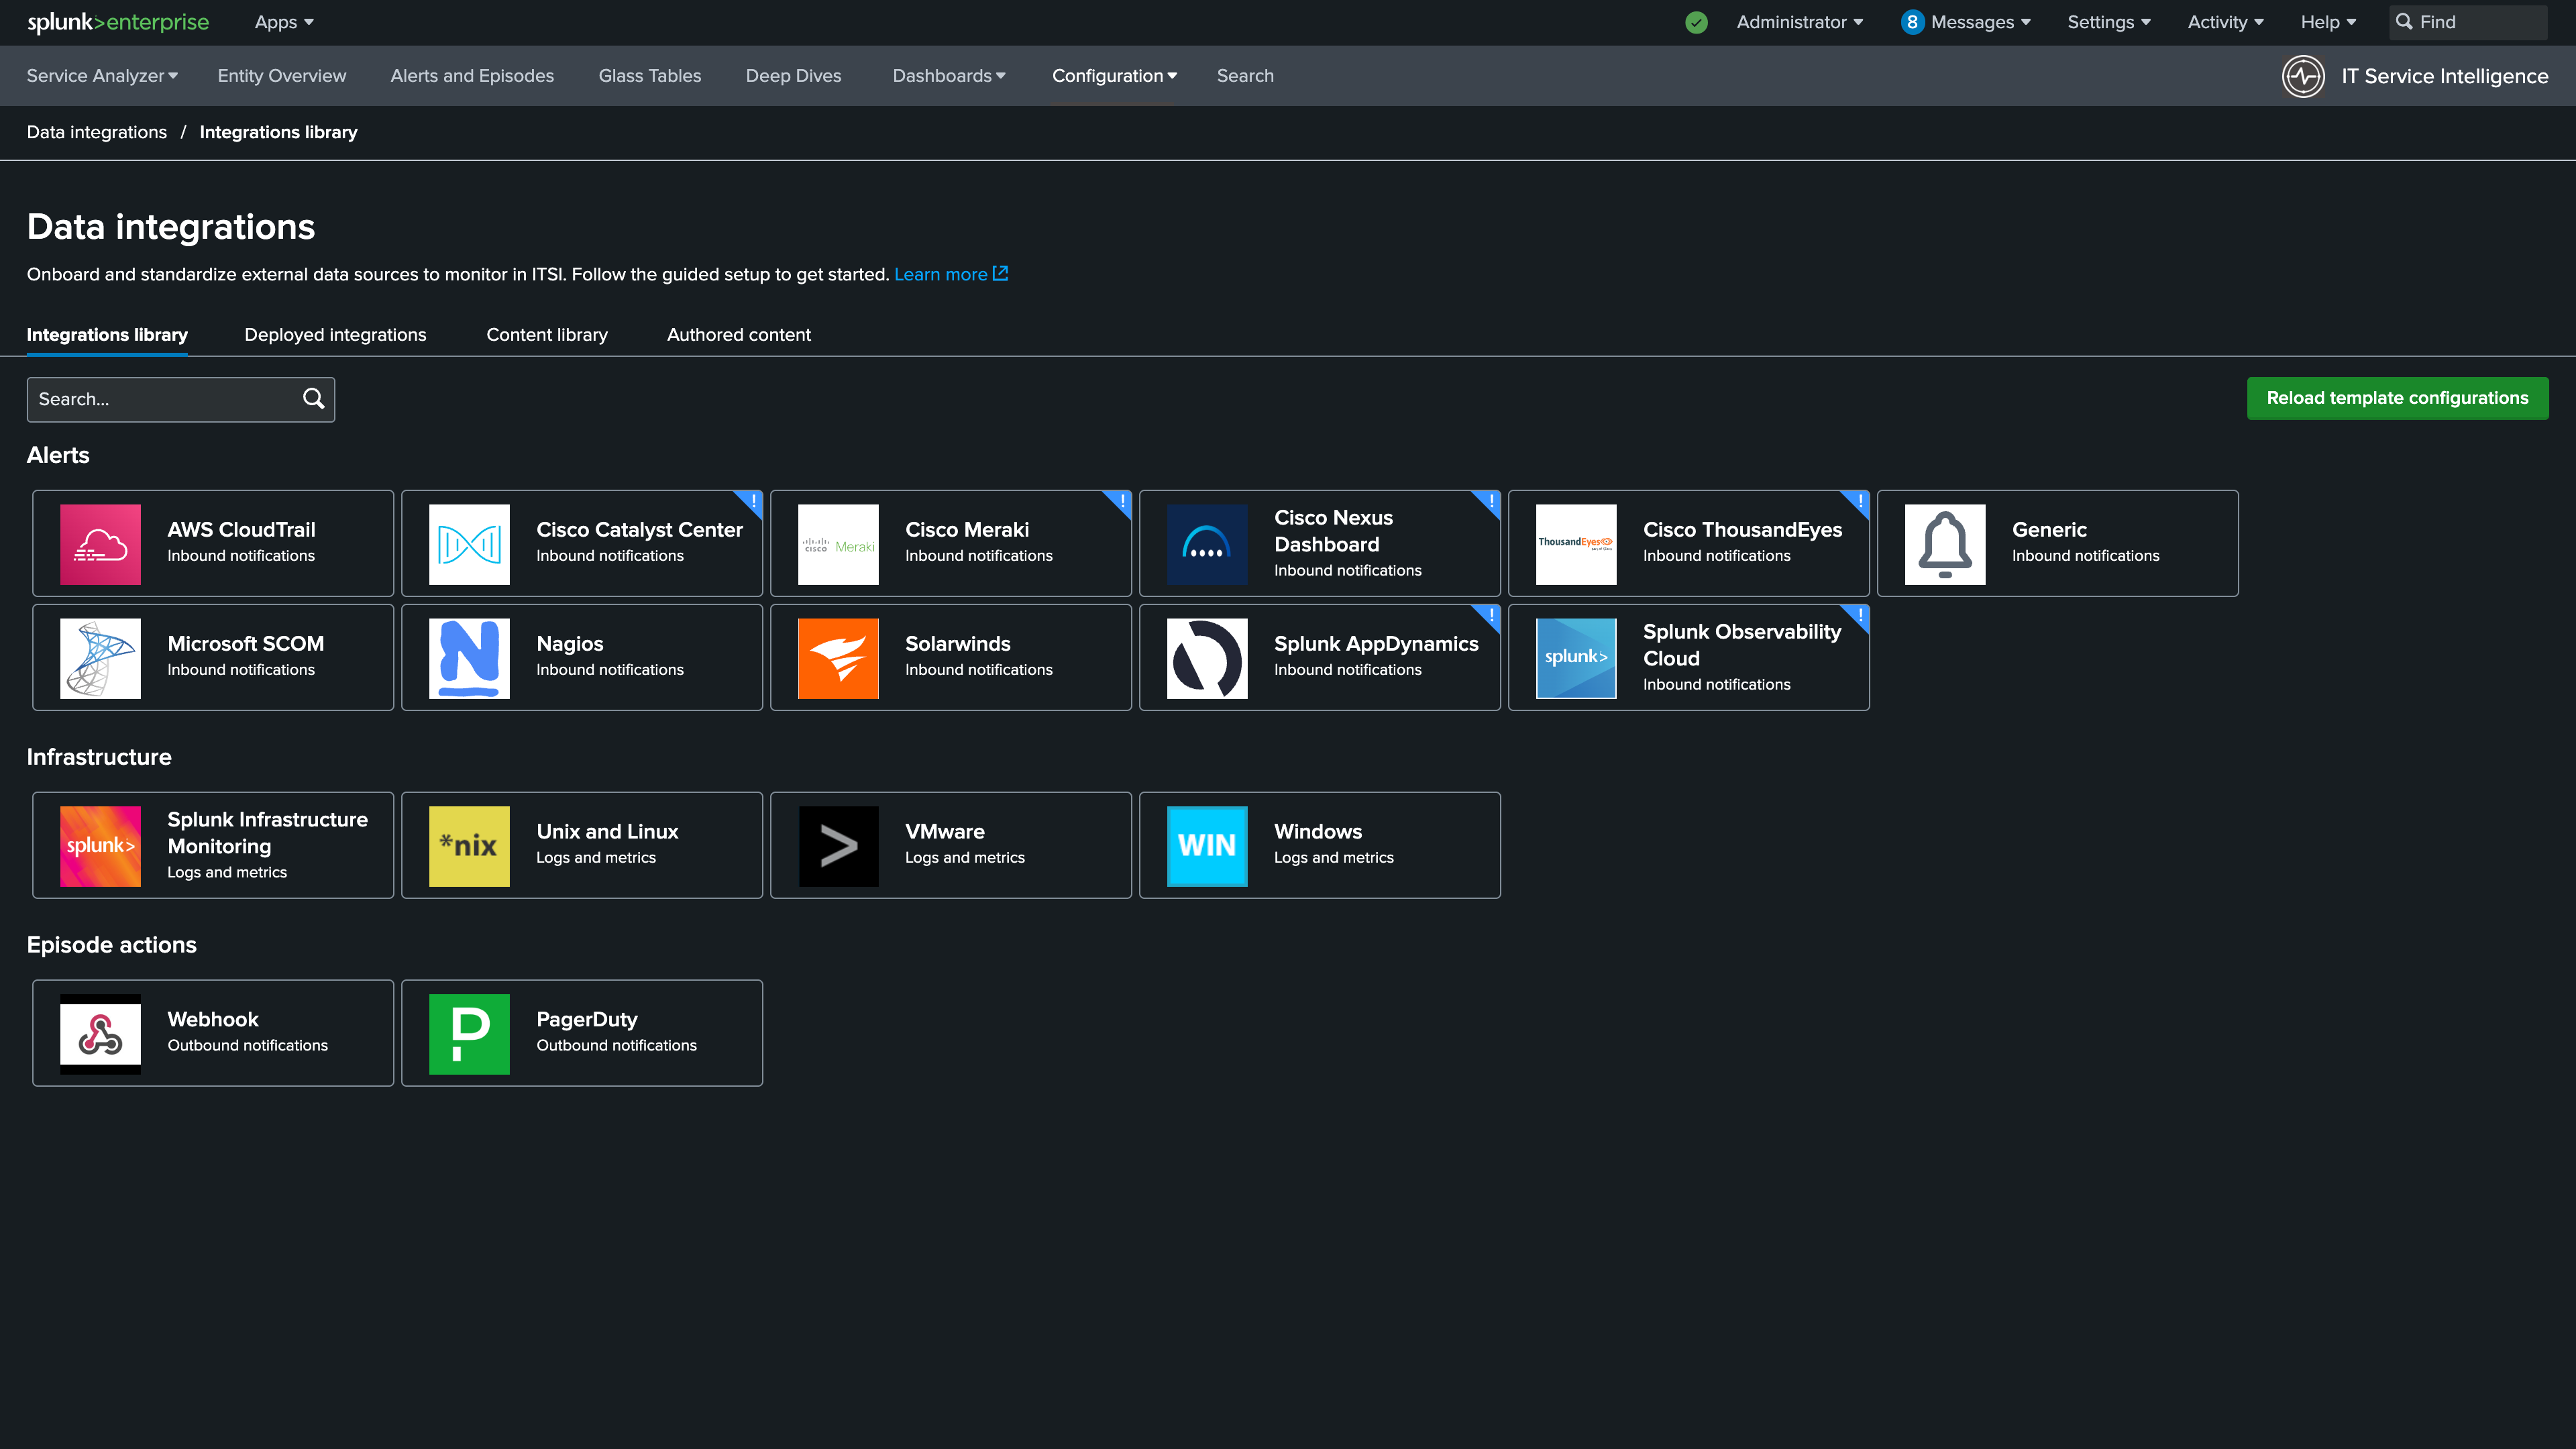
3. Select the Content Library tab, find the Content Pack for Solarwinds, and click Proceed.
Info
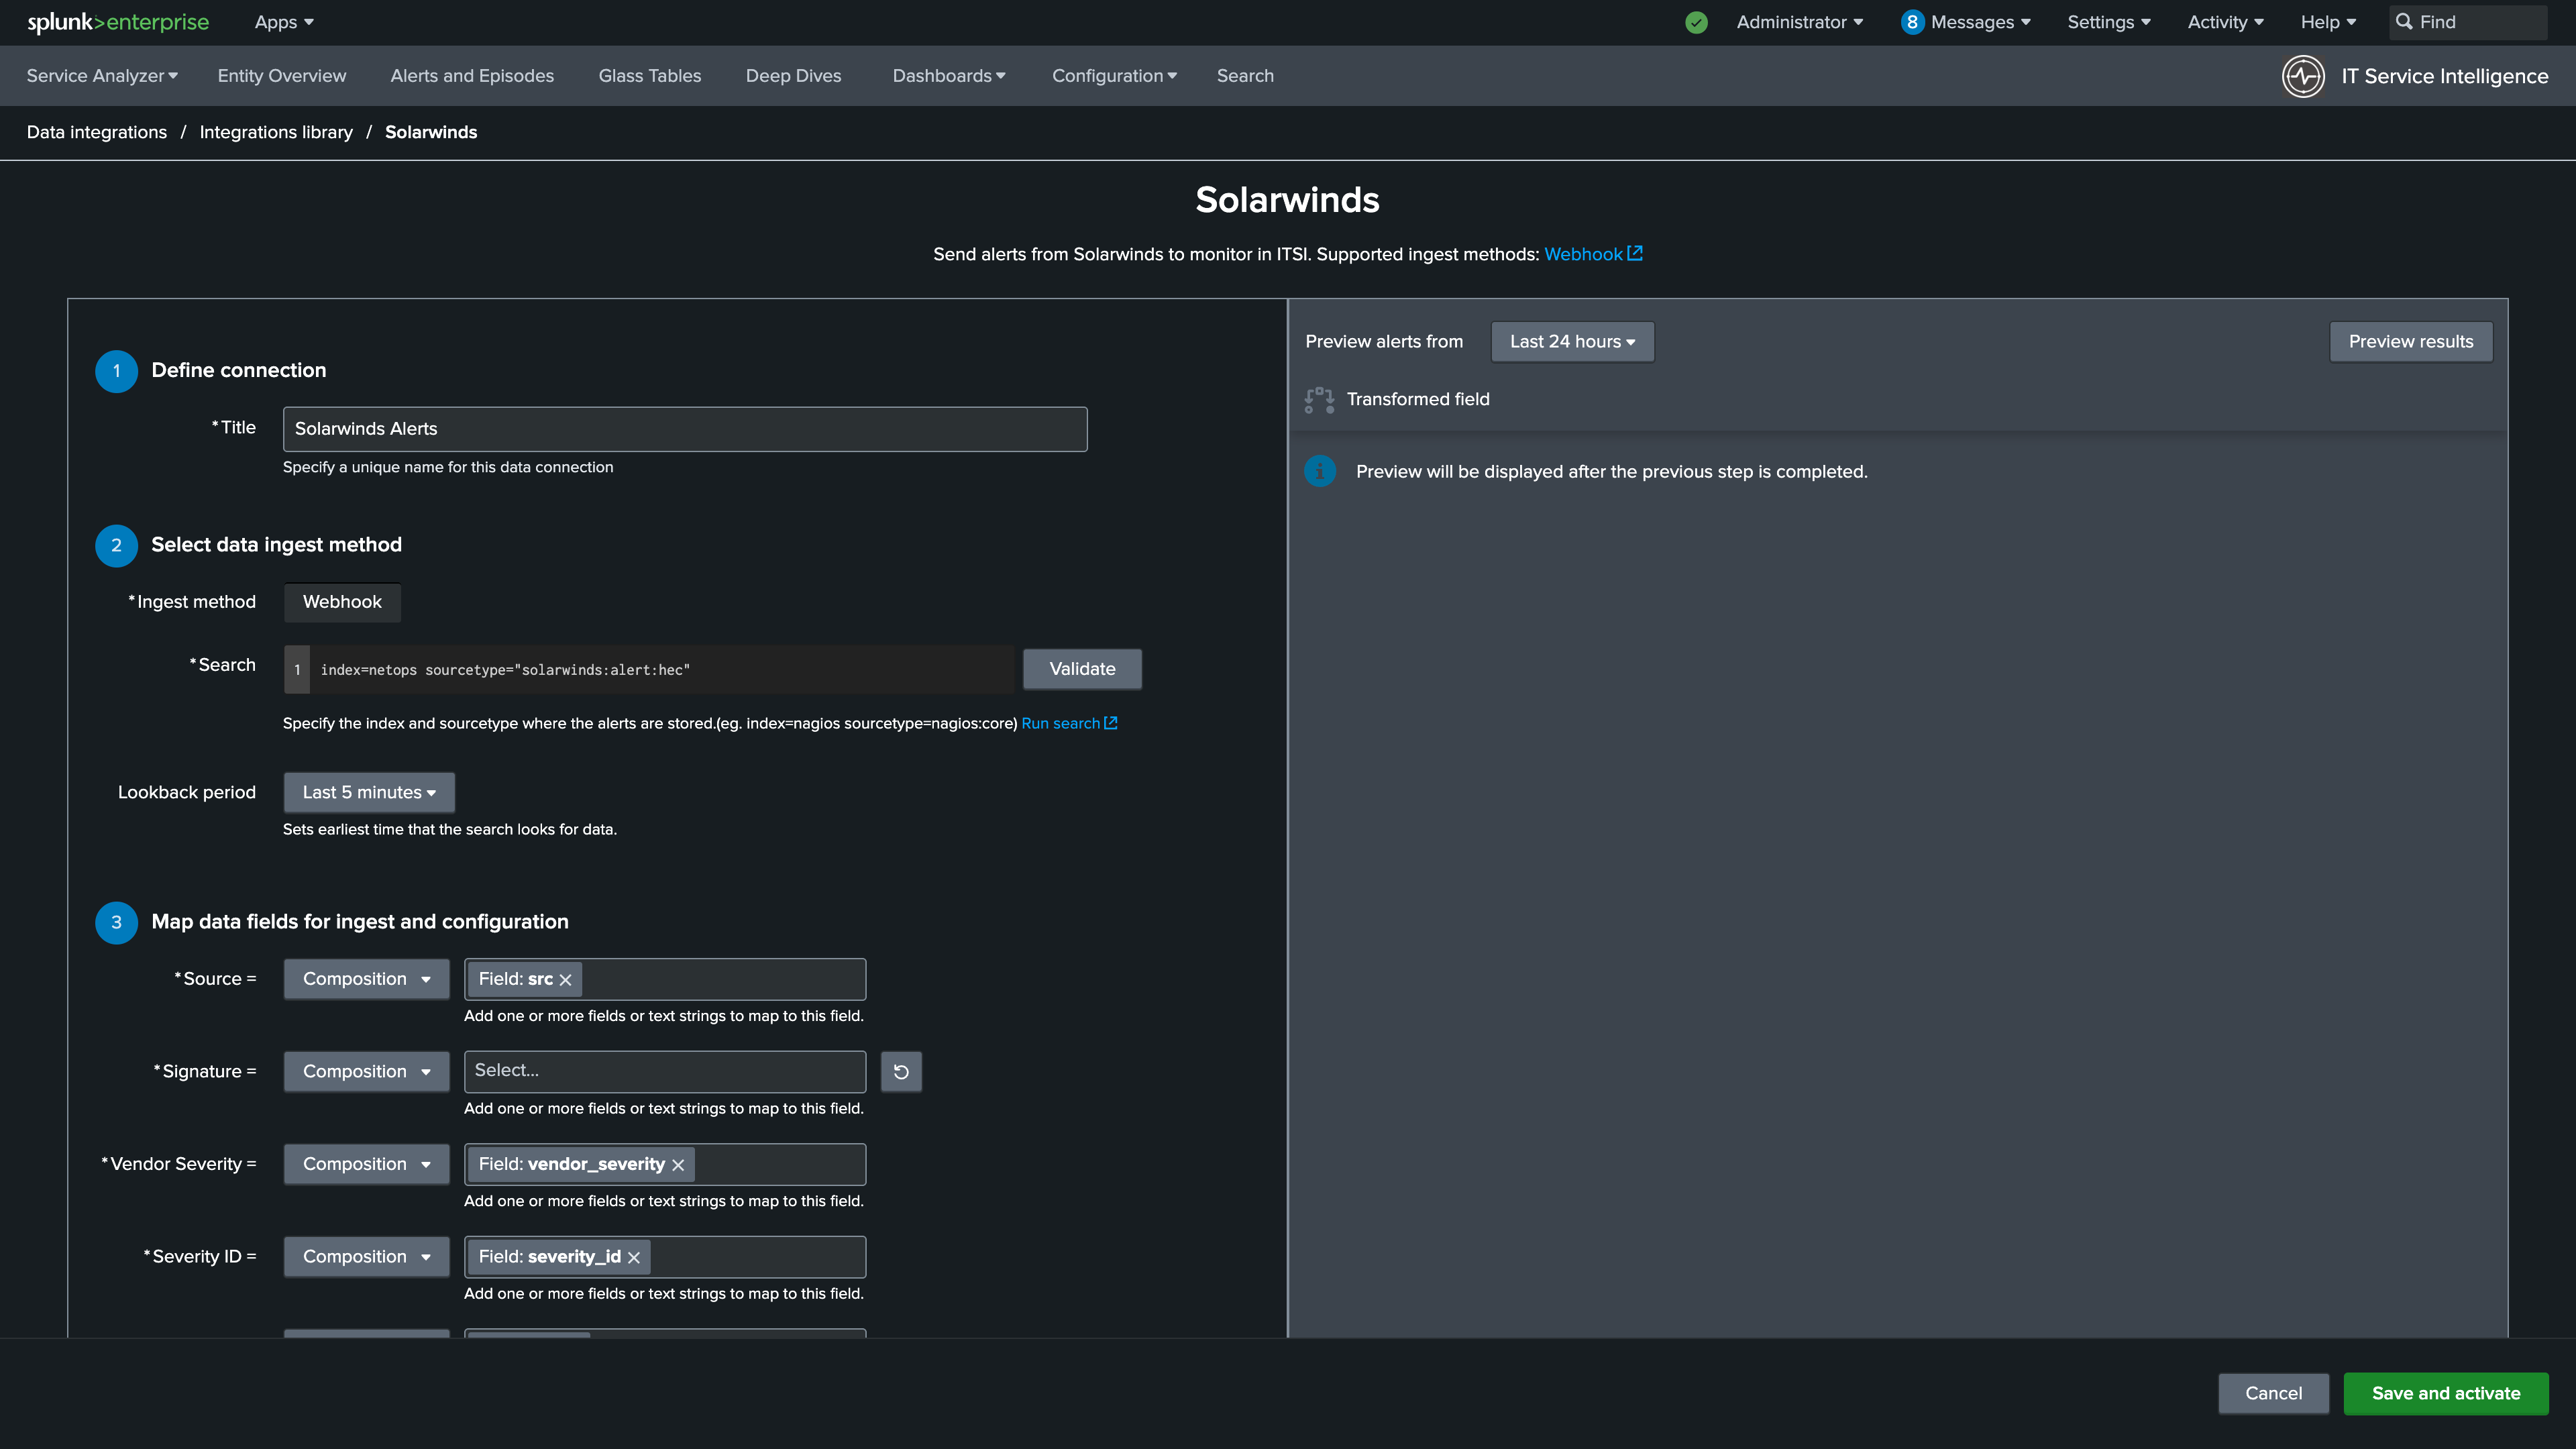
4. Enter Solarwinds Alerts for the connection title.
5. Use the following SPL for the search:
7. Click Validate.
8. Set the Lookback period to 5 minutes.
Info
9. Set Signature to title.
Info
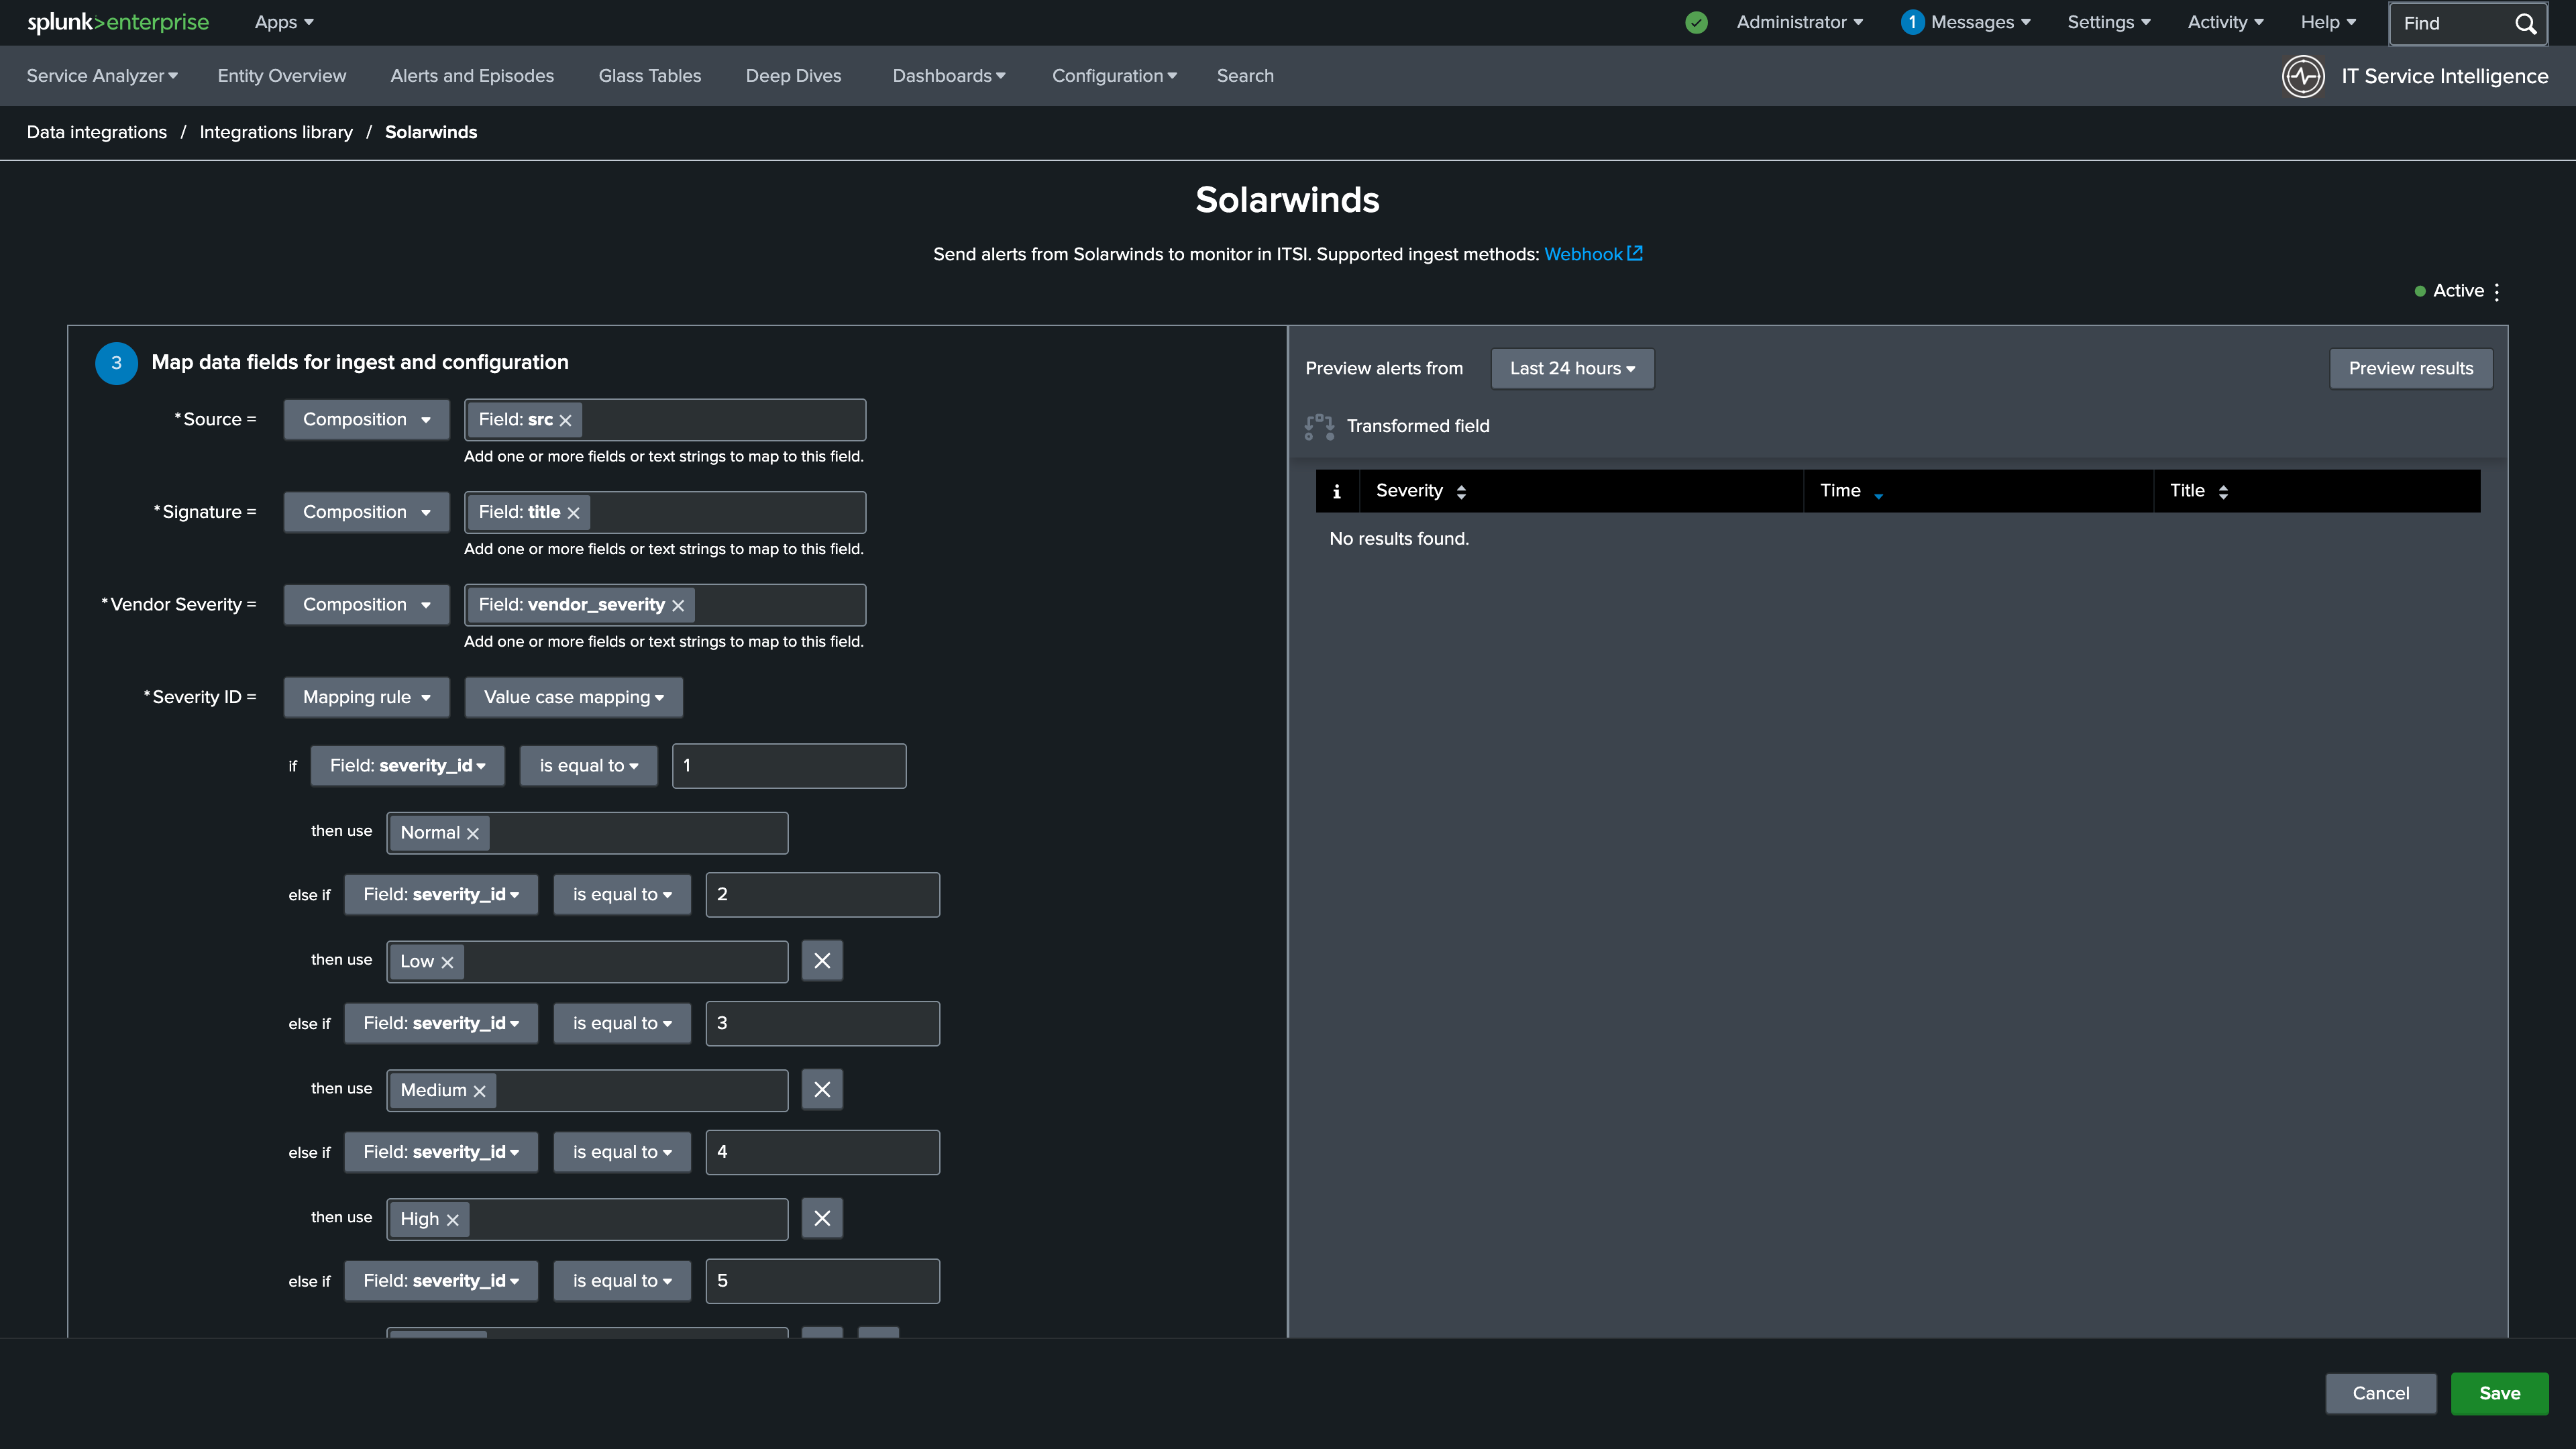
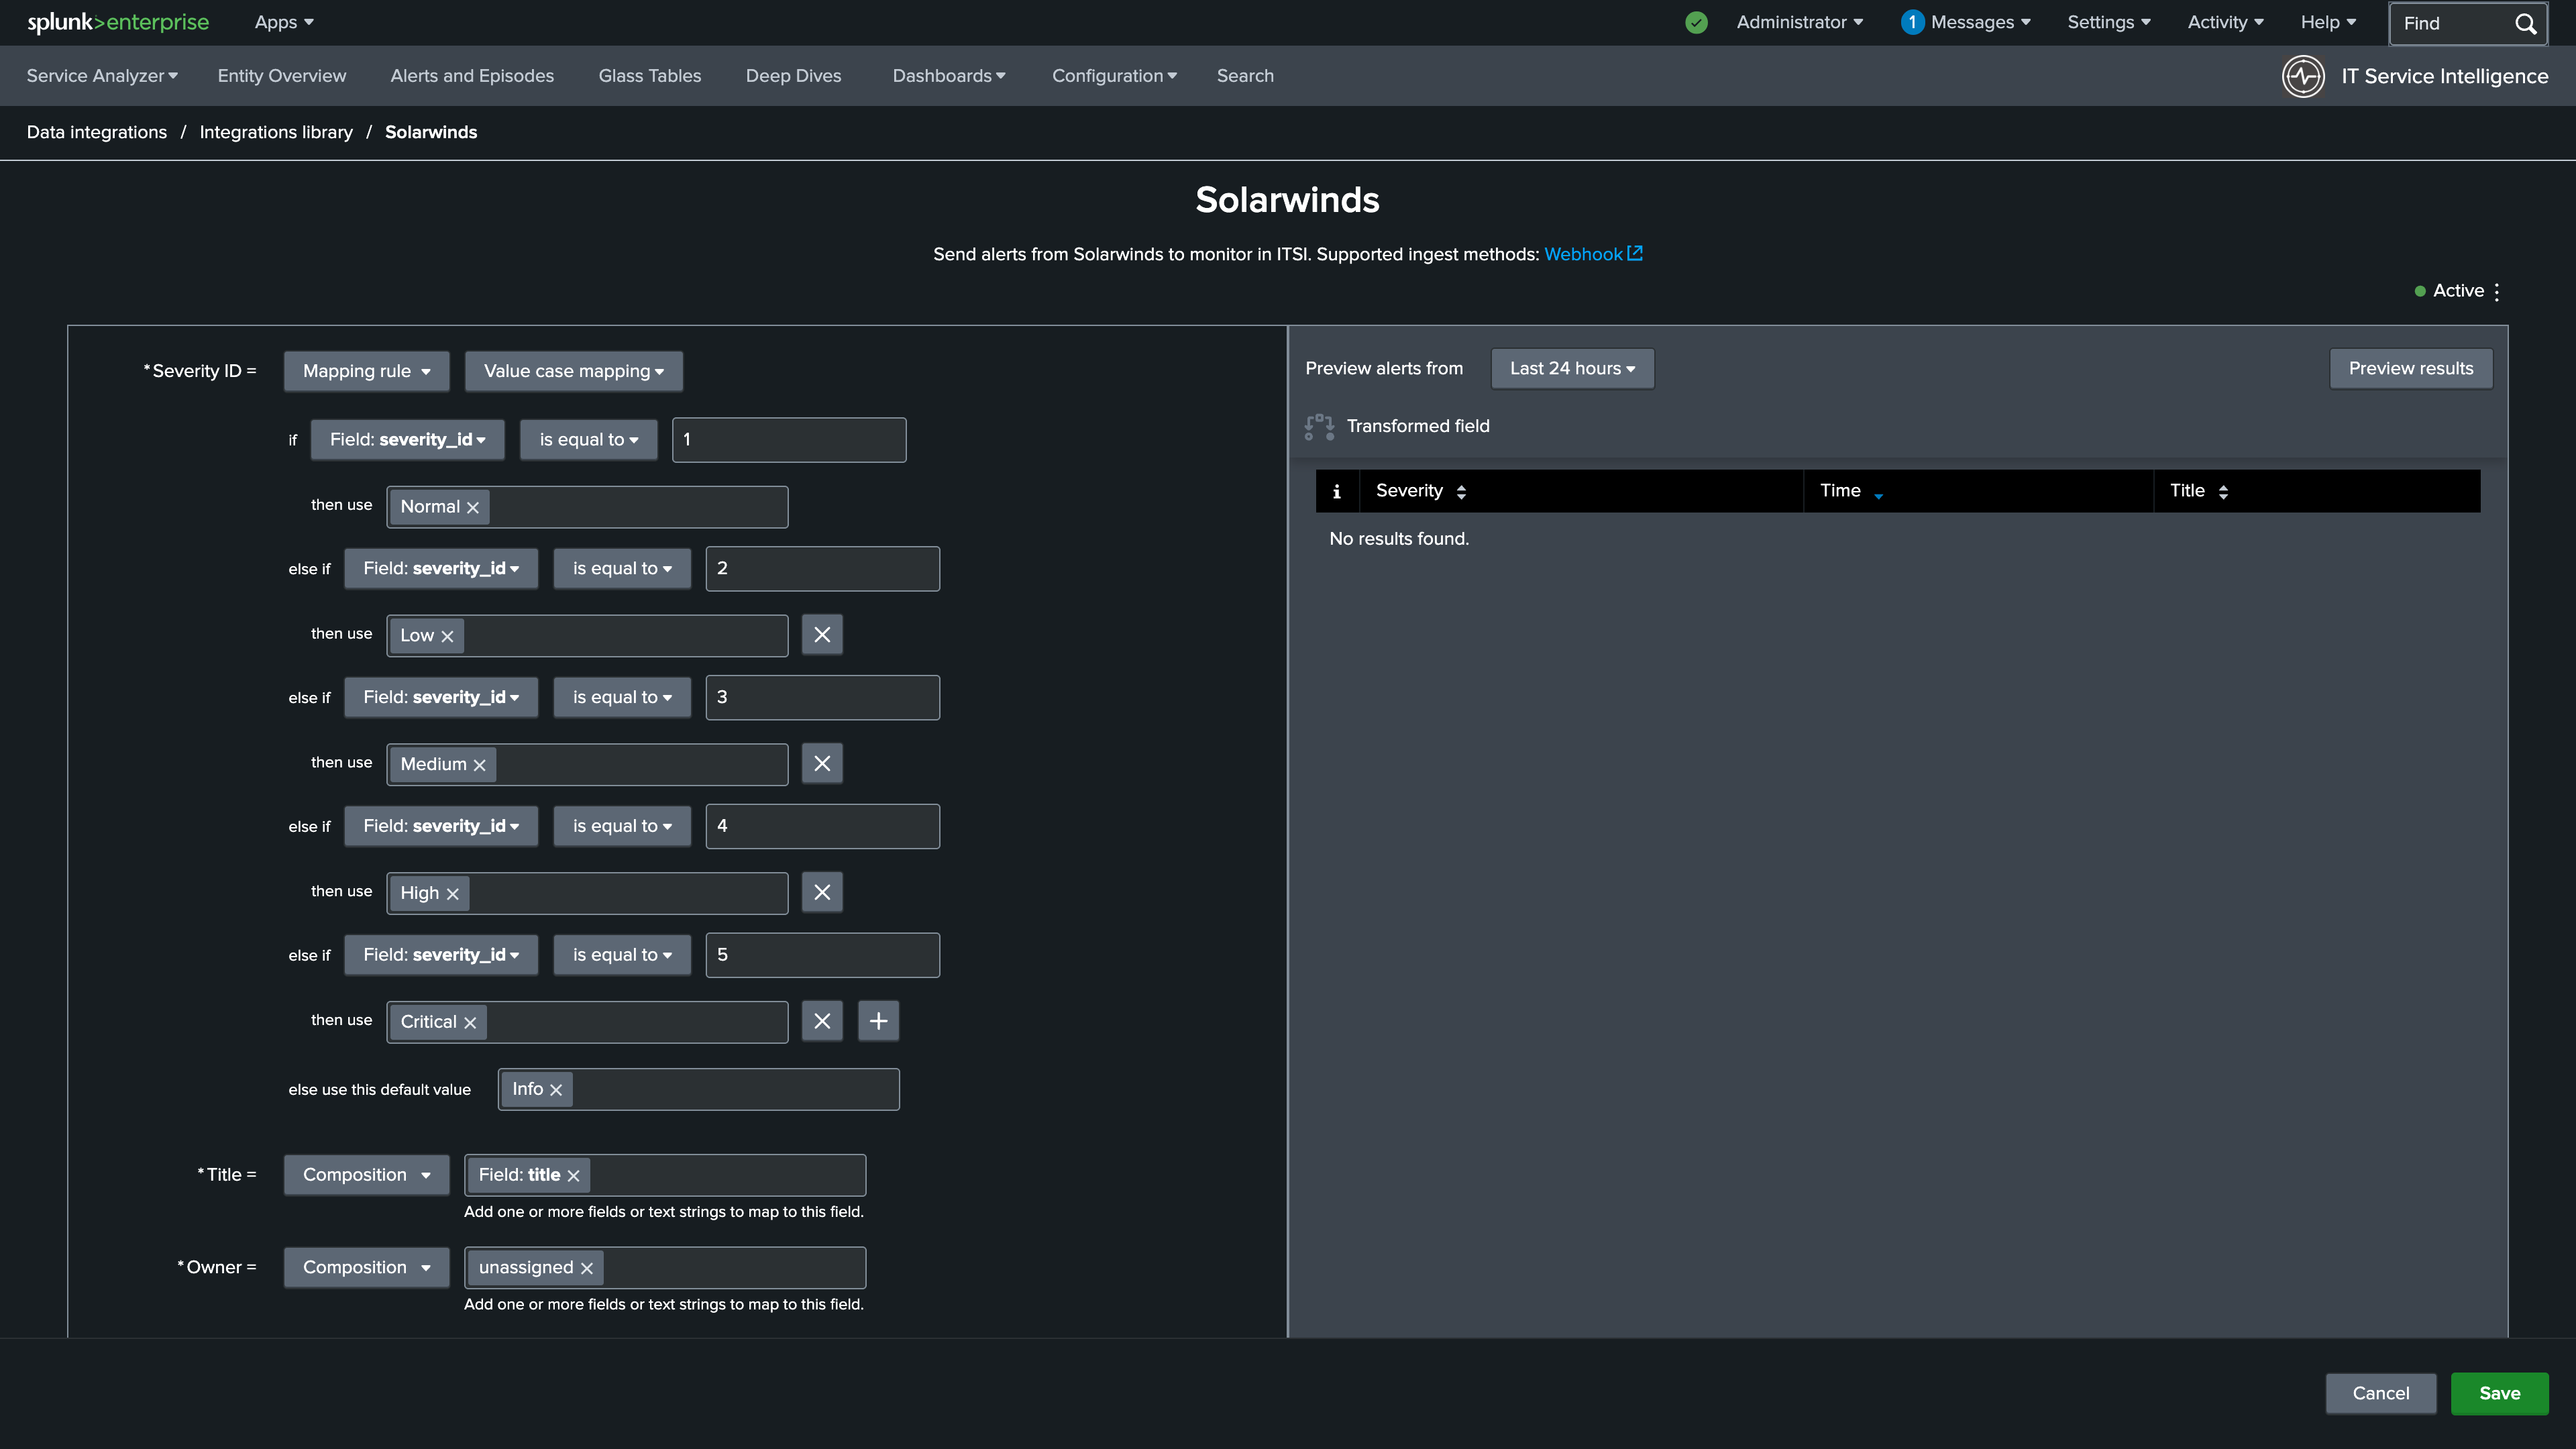
10. Update the Severity ID mapping to a Mapping rule using Value case mapping as the type
12. Set severity_id is equal to (not case sensitive) to 1 and then use to Normal
13. Map the following values for the remainder of the if statement:
severity_id is equal to (not case sensitive) to 2 and then use to Low
severity_id is equal to (not case sensitive) to 3 and then use to Medium
severity_id is equal to (not case sensitive) to 4 and then use to High
severity_id is equal to (not case sensitive) to 5 and then use to Critical
And finally, set else use this default value to Info
Info
11. Update the subcomponent to vendor_region.
Info

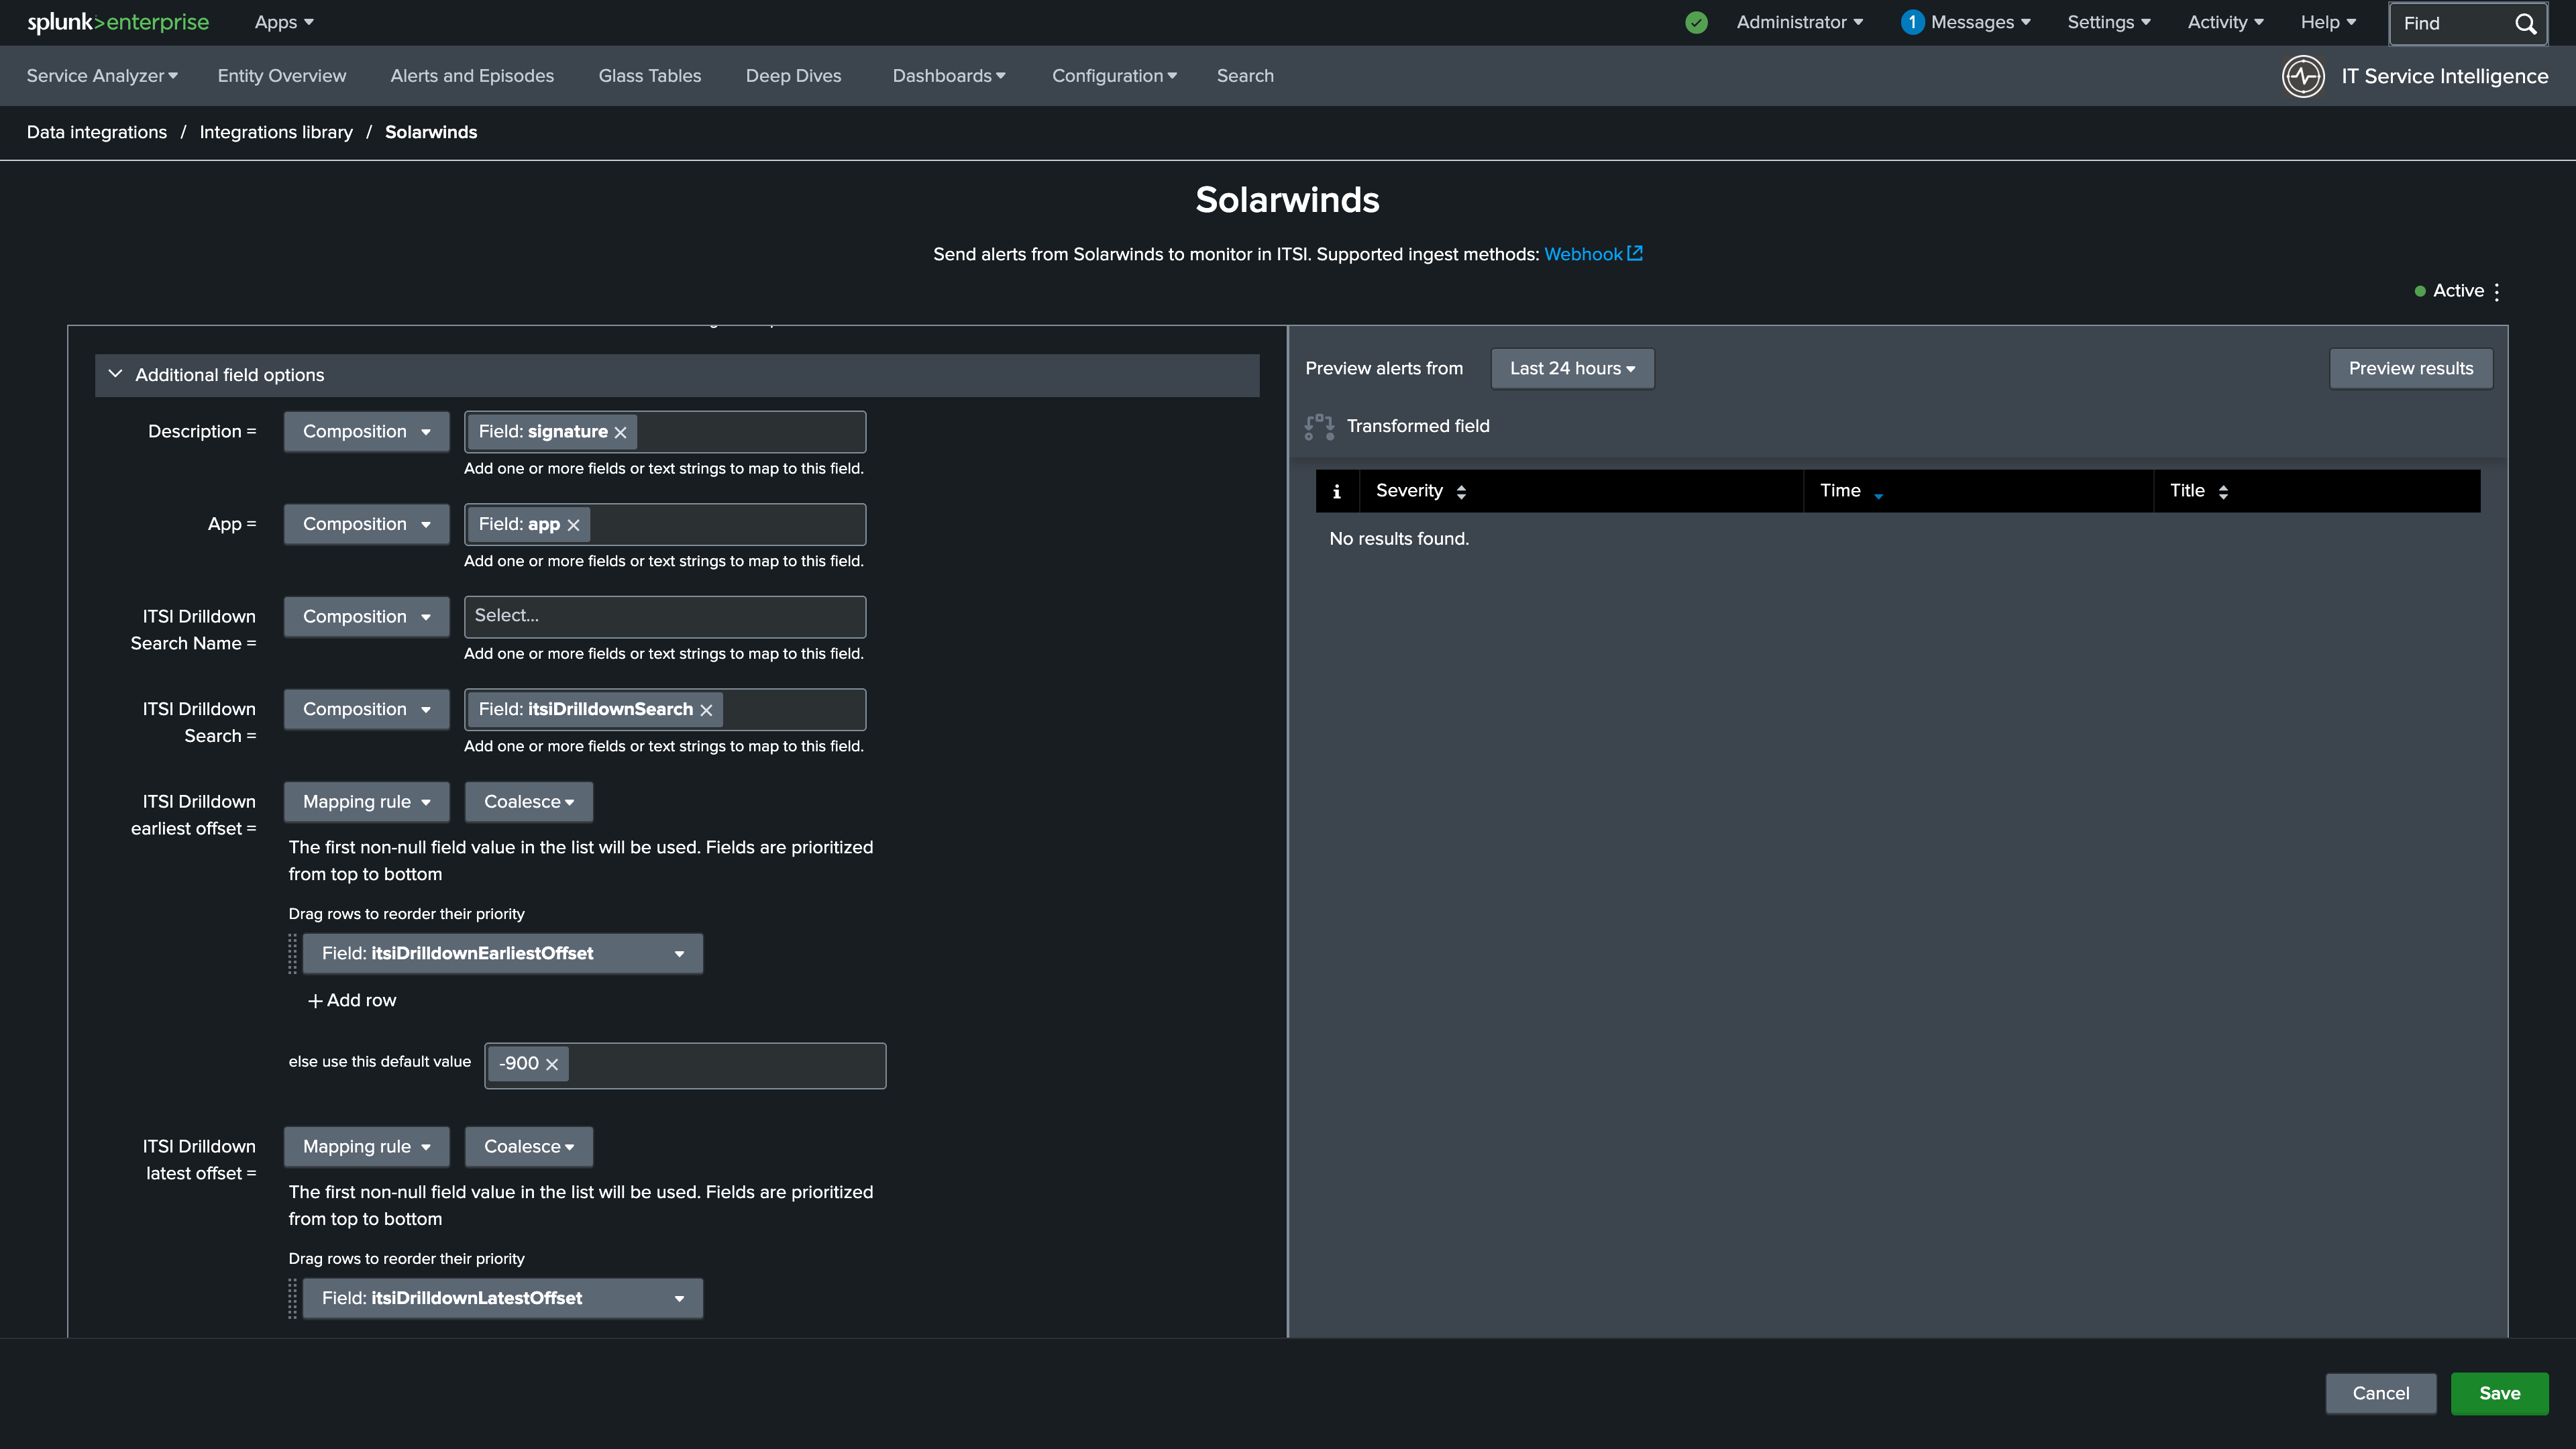
12. Expand additional fields and set the description to signature.
Info
13. Set the Schedule to Run Every Minute.
14. Add NY HQ, Store-SJC10, and Store-SJC12 to the Service Association section
15. Turn on the Enable throttling toggle
16. Set the Suppress period to every 5 minutes
17. Click Preview Results in the upper right (Note: You may not get results in the preview. We will review the events during the Create a custom NEAP section)
18. Click Save and Activate
Info

Nice Job!
In the next section you will build a custom NEAP to group alerts from both vendors into a single episode per site.