

NodeJS Zero-Config Workshop
Deploying the OpenTelemetry Demo
1. Create a namespace #
To not conflict with other workshops, we will deploy the OpenTelemetry Demo in a separate namespace called otel-demo. To create the namespace, run the following command:
kubectl create namespace otel-demo2. Deploy the OpenTelemetry Demo #
Next, change to the directory containing the OpenTelemetry Demo application:
cd ~/workshop/apmDeploy the OpenTelemetry Demo application:
kubectl apply -n otel-demo -f otel-demo.yamlserviceaccount/opentelemetry-demo created
service/opentelemetry-demo-adservice created
service/opentelemetry-demo-cartservice created
service/opentelemetry-demo-checkoutservice created
service/opentelemetry-demo-currencyservice created
service/opentelemetry-demo-emailservice created
service/opentelemetry-demo-featureflagservice created
service/opentelemetry-demo-ffspostgres created
service/opentelemetry-demo-frontend created
service/opentelemetry-demo-kafka created
service/opentelemetry-demo-loadgenerator created
service/opentelemetry-demo-paymentservice created
service/opentelemetry-demo-productcatalogservice created
service/opentelemetry-demo-quoteservice created
service/opentelemetry-demo-recommendationservice created
service/opentelemetry-demo-redis created
service/opentelemetry-demo-shippingservice created
deployment.apps/opentelemetry-demo-accountingservice created
deployment.apps/opentelemetry-demo-adservice created
deployment.apps/opentelemetry-demo-cartservice created
deployment.apps/opentelemetry-demo-checkoutservice created
deployment.apps/opentelemetry-demo-currencyservice created
deployment.apps/opentelemetry-demo-emailservice created
deployment.apps/opentelemetry-demo-featureflagservice created
deployment.apps/opentelemetry-demo-ffspostgres created
deployment.apps/opentelemetry-demo-frauddetectionservice created
deployment.apps/opentelemetry-demo-frontend created
deployment.apps/opentelemetry-demo-kafka created
deployment.apps/opentelemetry-demo-loadgenerator created
deployment.apps/opentelemetry-demo-paymentservice created
deployment.apps/opentelemetry-demo-productcatalogservice created
deployment.apps/opentelemetry-demo-quoteservice created
deployment.apps/opentelemetry-demo-recommendationservice created
deployment.apps/opentelemetry-demo-redis created
deployment.apps/opentelemetry-demo-shippingservice createdOnce the application is deployed, we need to wait for the pods to be in a Running state. To check the status of the pods, run the following command:
kubectl get pods -n otel-demoNAME READY STATUS RESTARTS AGE
opentelemetry-demo-emailservice-847d6fb577-bxll6 1/1 Running 0 40s
opentelemetry-demo-ffspostgres-55f65465dd-2gsj4 1/1 Running 0 40s
opentelemetry-demo-adservice-5b7c68859d-5hx5f 1/1 Running 0 40s
opentelemetry-demo-currencyservice-c4cb78446-qsd68 1/1 Running 0 40s
opentelemetry-demo-frontend-5d7cdb8786-5dl76 1/1 Running 0 39s
opentelemetry-demo-kafka-79868d56d8-62wsd 1/1 Running 0 39s
opentelemetry-demo-paymentservice-5cb4ccc47c-65hxl 1/1 Running 0 39s
opentelemetry-demo-productcatalogservice-59d955f9d6-xtnjr 1/1 Running 0 38s
opentelemetry-demo-loadgenerator-755d6cd5b-r5lqs 1/1 Running 0 39s
opentelemetry-demo-quoteservice-5fbfb97778-vm62m 1/1 Running 0 38s
opentelemetry-demo-redis-57c49b7b5b-b2klr 1/1 Running 0 37s
opentelemetry-demo-shippingservice-6667f69f78-cwj8q 1/1 Running 0 37s
opentelemetry-demo-recommendationservice-749f55f9b6-5k4lc 1/1 Running 0 37s
opentelemetry-demo-featureflagservice-67677647c-85xtm 1/1 Running 0 40s
opentelemetry-demo-checkoutservice-5474bf74b8-2nmns 1/1 Running 0 40s
opentelemetry-demo-frauddetectionservice-77fd69d967-lnjcg 1/1 Running 0 39s
opentelemetry-demo-accountingservice-96d44cfbc-vmtzb 1/1 Running 0 40s
opentelemetry-demo-cartservice-7c4f59bdd5-rfkf4 1/1 Running 0 40s3. Validate the application is running #
To validate the application is running, we will port-forward the frontend service. To do this, run the following command:
kubectl port-forward svc/opentelemetry-demo-frontend 8083:8080 -n otel-demo --address='0.0.0.0'Obtain the public IP address of the instance you are running on. You can do this by running the following command:
curl ifconfig.meOnce the port-forward is running, you can access the application by opening a browser and navigating to http://<public IP address>:8083. You should see the following:
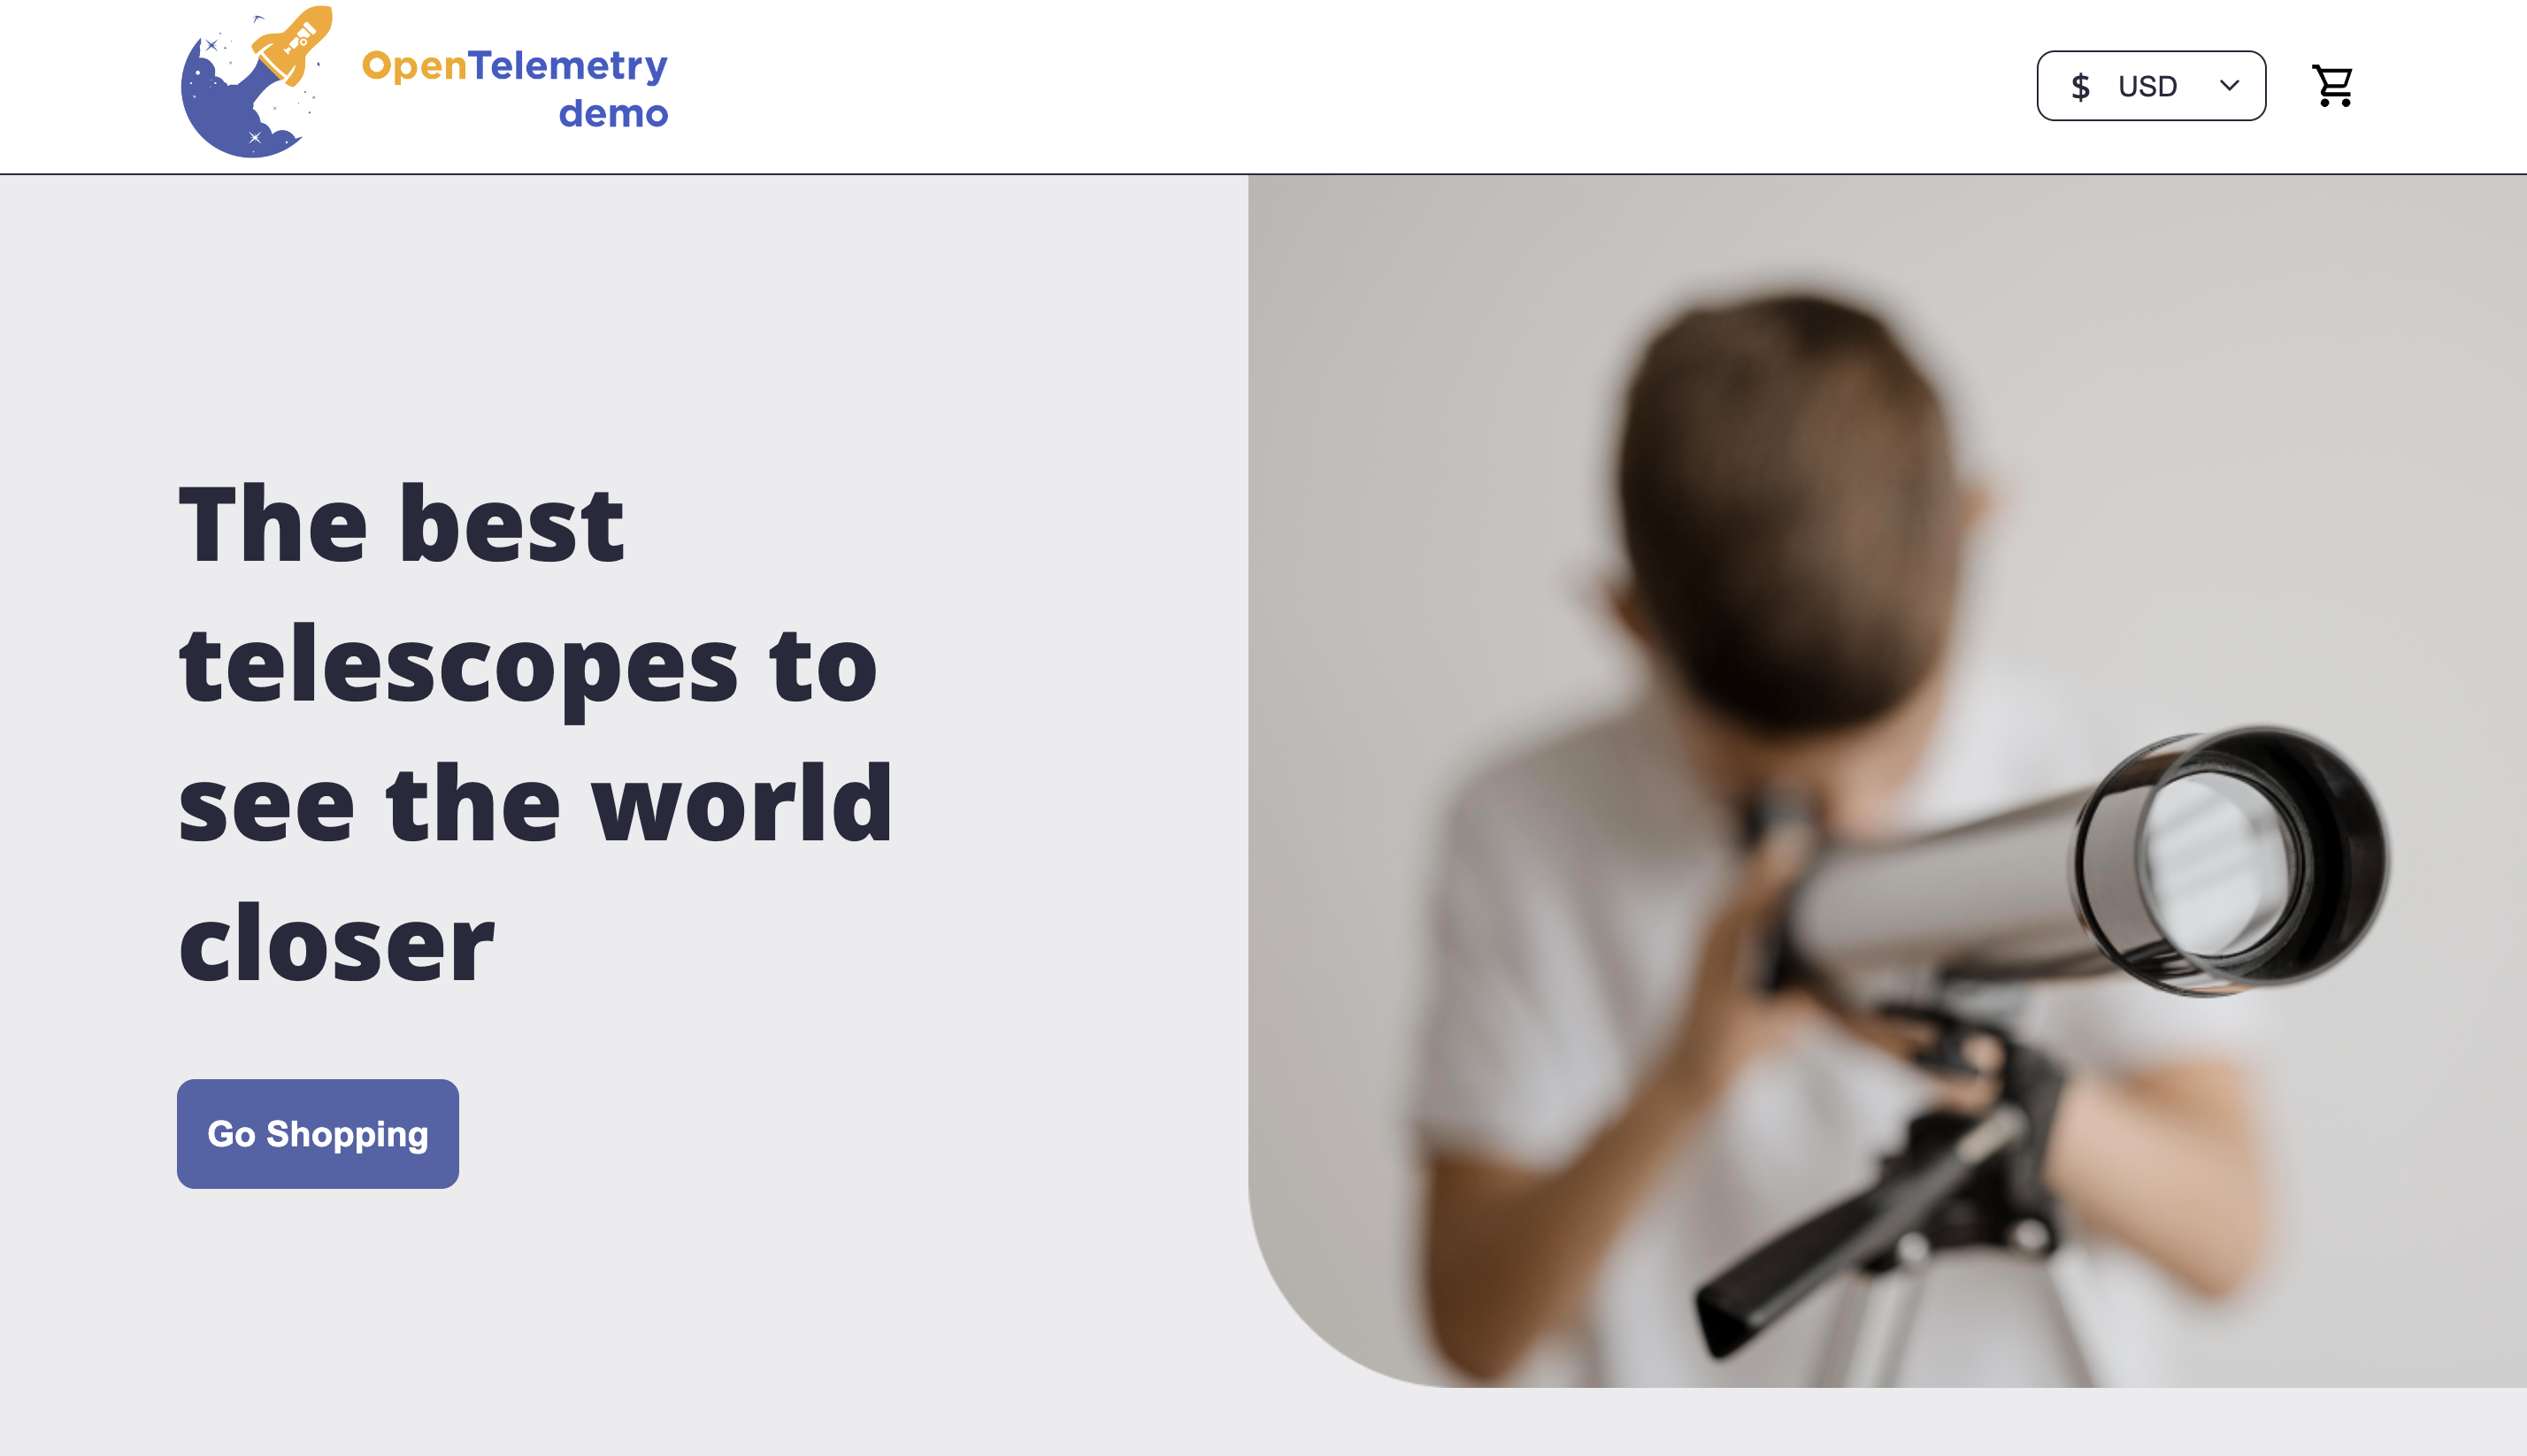
Once you have confirmed the application is running, you can close the port-forward by pressing ctrl + c.
Next, we will deploy the OpenTelemetry Collector.