Controlling Usage
- Discover how you can restrict usage by creating separate Access Tokens and setting limits.
1. Access Tokens
If you wish to control the consumption of Hosts, Containers, Custom Metrics and High Resolution Metrics, you can create multiple Access Tokens and allocate them to different parts of your organization.
In the UI click on the » bottom left and select the Settings → Access Tokens under General Settings.
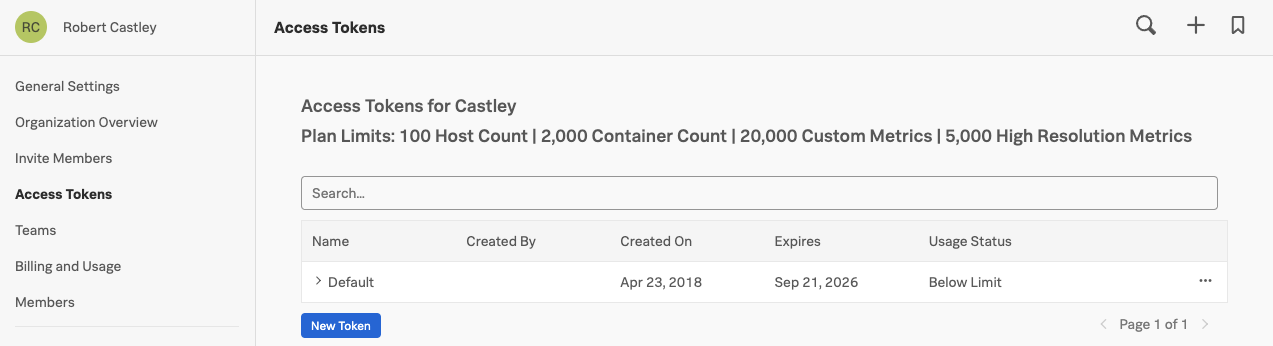
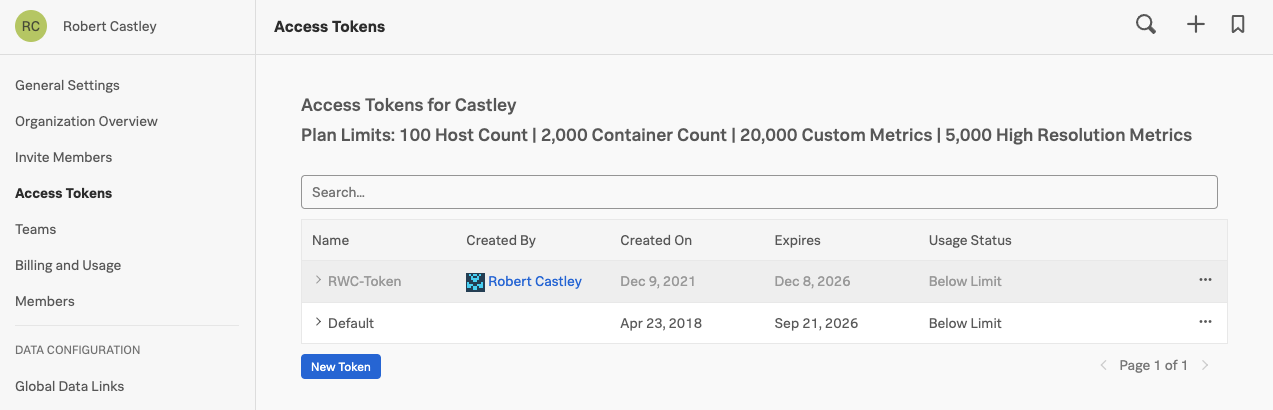
The Access Tokens Interface provides an overview of your allotments in the form of a list of Access Tokens that have been generated. Every Organization will have a Default token generated when they are first set up, but there will typically be multiple Tokens configured.
Each Token is unique and can be assigned limits for the number of Hosts, Containers, Custom Metrics and High Resolution Metrics it can consume.
The Usage Status Column quickly shows if a token is above or below its assigned limits.
2. Creating a new token
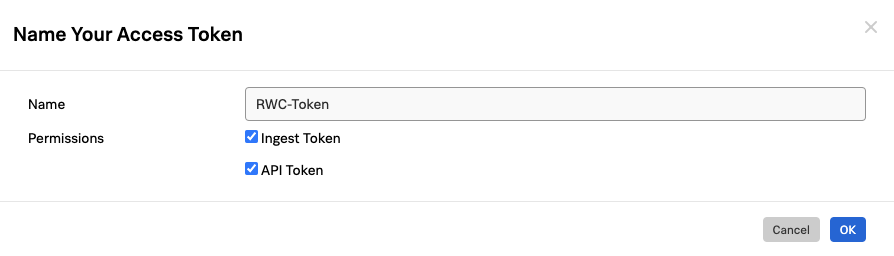
Let create a new token by clicking on the New Token button. This will provide you with the Name Your Access Token dialog.
Enter the new name of the new Token by using your Initials e.g. RWC-Token and make sure to tick both Ingest Token and API Token checkboxes!
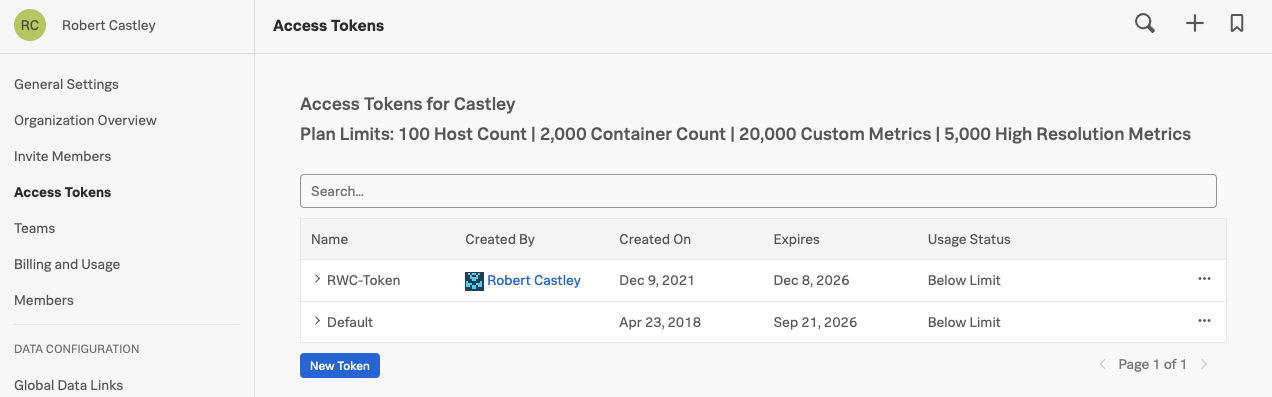
After you press OK you will be taken back to the Access Token UI. Here your new token should be present, among the ones created by others.
If you have made an error in your naming, want to disable/enable a token or set a Token limit, click on the ellipsis (…) menu button behind a token limit to open the manage token menu.
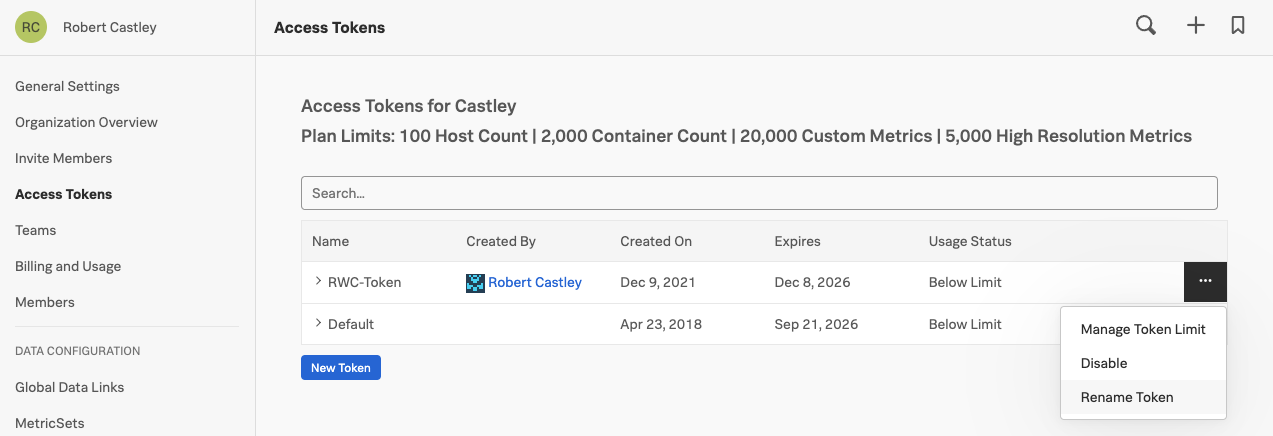
If you made a typo you can use the Rename Token option to correct the name of your token.
3. Disabling a token
If you need to make sure a token cannot be used to send Metrics in you can disable a token.
Click on Disable to disable the token, this means the token cannot be used for sending in data to Splunk Observability Cloud.
The line with your token should have become greyed out to indicate that it has been disabled as you can see in the screenshot below.
Go ahead and click on the ellipsis (…) menu button to Disable and Enable your token.
4. Manage token usage limits
Now, let’s start limiting usage by clicking on Manage Token Limit in the 3 … menu.
This will show the Manage Token Limit Dialog:
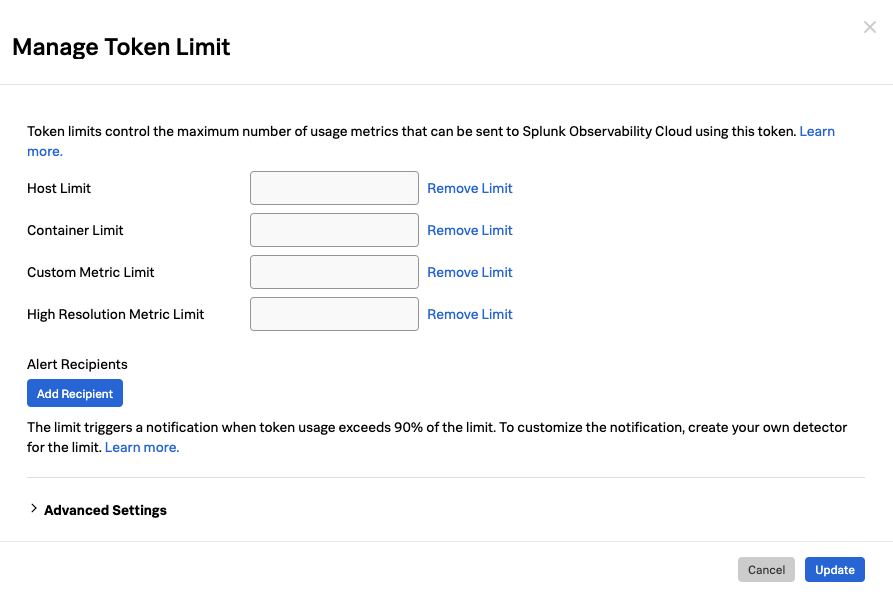
In this dialog, you can set the limits per category.
Please go ahead and specify the limits as follows for each usage metric:
| Limit | Value |
|---|---|
| Host Limit | 5 |
| Container Limit | 15 |
| Custom Metric Limit | 20 |
| High Resolution Metric Limit | 0 |
For our lab use your email address, and double check that you have the correct numbers in your dialog box as shown in the table above.
Token limits are used to trigger an alert that notifies one or more recipients when the usage has been above 90% of the limit for 5 minutes.
To specify the recipients, click Add Recipient, then select the recipient or notification method you want to use (specifying recipients is optional but highly recommended).
The severity of token alerts is always Critical.
Click on Update to save your Access Tokens limits and The Alert Settings.
When a token is at or above its limit in a usage category, new metrics for that usage category will not be stored and processed by Observability Cloud. This will make sure there will be no unexpected cost due to a team sending in data without restriction.
If you wish to get alerts before you hit 90%, you can create additional detectors using whatever values you want. These detectors could target the Teams consuming the specific Access Tokens so they can take action before the admins need to get involved.
In your company you would distribute these new Access Tokens to various teams, controlling how much information/data they can send to Observability Cloud.
This will allow you to fine-tune the way you consume your Observability Cloud allotment and prevent overages from happening.
Congratulations! You have now completed the Service Bureau module.