Creating Routing Keys
Aim
Routing Keys map the incoming alert messages from your monitoring system to an Escalation Policy which in turn sends the notifications to the appropriate team.
Note that routing keys are case insensitive and should only be composed of letters, numbers, hyphens, and underscores.
The aim of this module is for you to create some routing keys and then link them to your Escalation Policies you have created in the previous exercise.
1. Instance ID
Each participant requires a unique Routing Key so we use the Hostname of the EC2 Instance you were allocated. We are only doing this to ensure your Routing Key is unique and we know all Hostnames are unique. In a production deployment the Routing Key would typically reflect the name of a System or Service being monitored, or a Team such as 1st Line Support etc.
Your welcome e-mail informed you of the details of your EC2 Instance that has been provided for you to use during this workshop and you should have logged into this as part of the 1st exercise.
The e-mail also contained the Hostname of the Instance, but you can also obtain it from the Instance directly. To get your Hostname from within the shell session connected to your Instance run the following command:
echo ${HOSTNAME}zevnIt is very important that when creating the Routing Keys you use the 4 letter hostname allocated to you as a Detector has been configured within Splunk Infrastructure Monitoring using this hostname, so any deviation will cause future exercises to fail.
2 Create Routing Keys
Navigate to Settings on the main menu bar, you should now be at the Routing Keys page.
You are going to create the following two Routing Keys using the naming conventions listed in the following table, but replacing {==HOSTNAME==} with the value from above and replace TEAM_NAME with the team you were allocated or created earlier.
| Routing Key | Escalation Policies |
|---|---|
HOSTNAME_PRI | TEAM_NAME : Primary |
HOSTNAME_WR | TEAM_NAME : Waiting Room |
There will probably already be a number of Routing Keys configured, but to add a new one simply scroll to the bottom of the page and then click Add Key
In the left hand box, enter the name for the key as per the table above. In the Routing Key column, select your Teams Primary policy from the drop down in the Escalation Polices column. You can start typing your Team Name to filter the results.

If there are a large number of participants on the workshop, resulting in an unusually large number of Escalation Policies sometimes the search filter does not list all the Policies under your Team Name. If this happens instead of using the search feature, simply scroll down to your team name, all the policies will then be listed.
Repeat the above steps for both Keys, xxxx_PRI and xxxx_WR, mapping them to your Teams Primary and Waiting Room policies.
You should now have two Routing Keys configured, similar to the following:

You can assign a Routing Key to multiple Escalation Policies if required by simply selecting more from the list
If you now navigate back to Teams → [Your Team Name] → Escalation Policies and look at the settings for your Primary and Waiting Room polices you will see that these now have Routes assigned to them.
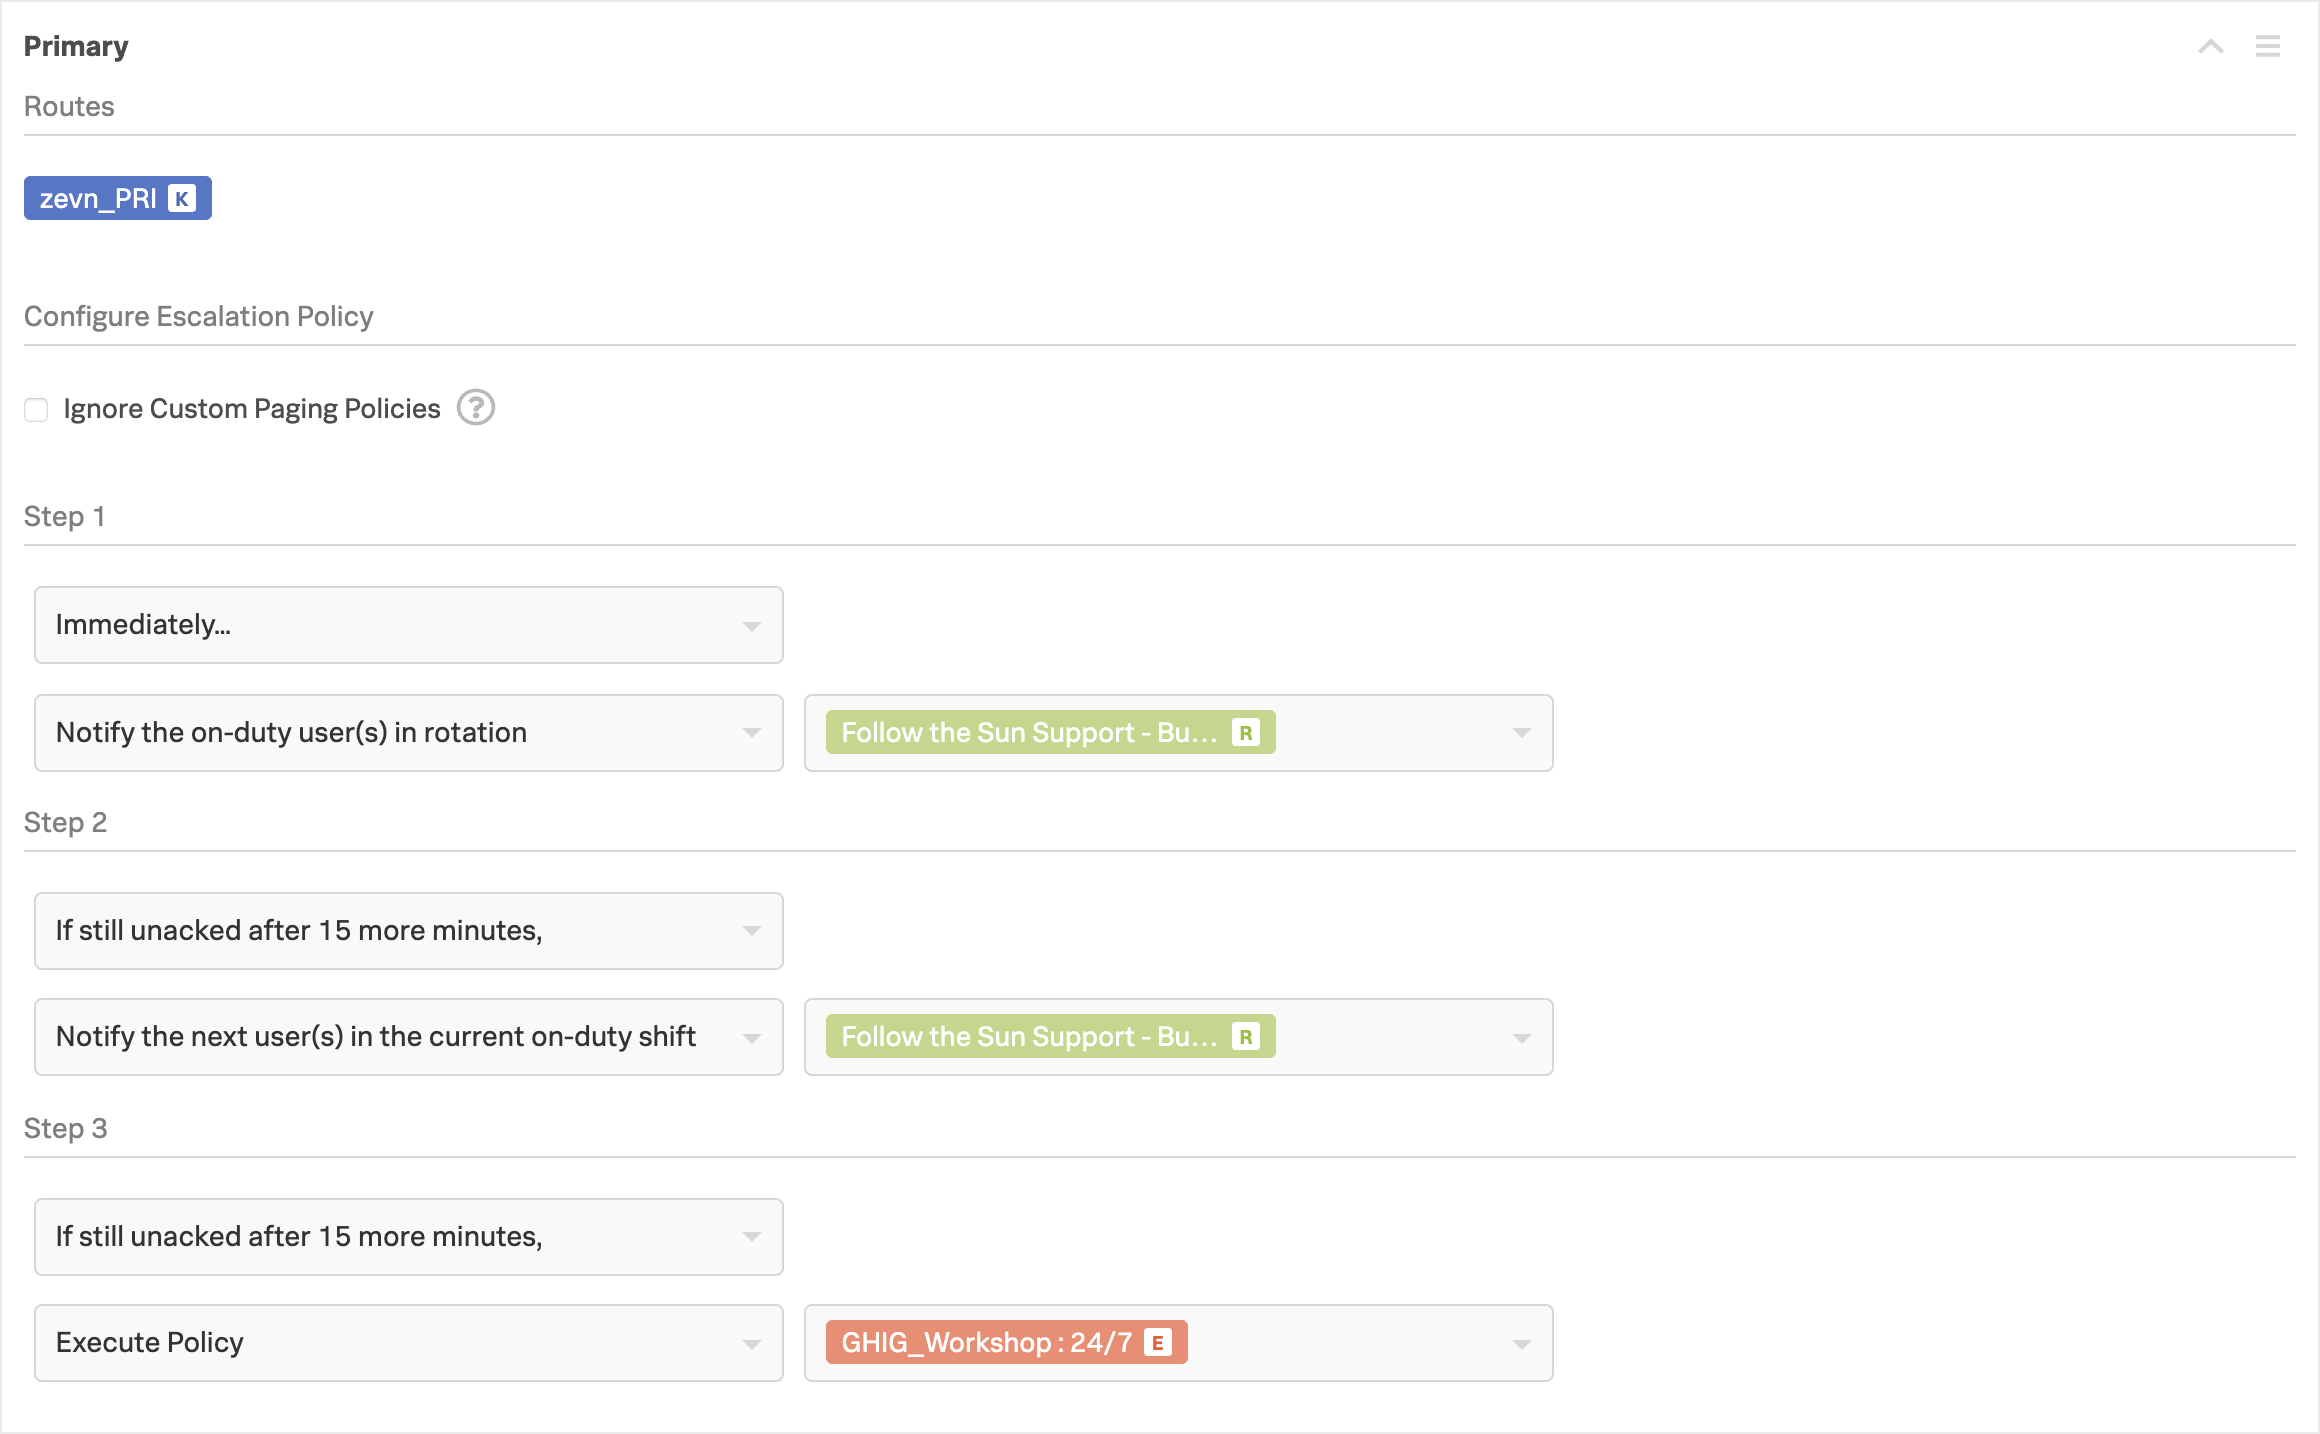
The 24/7 policy does not have a Route assigned as this will only be triggered via an Execute Policy escalation from the Primary policy.
Please wait for the instructor before proceeding to the Incident Lifecycle/Overview module.