Create Incidents
Aim
The aim of this module is for you to place yourself ‘On-Call’ then generate an Incident using the supplied EC2 Instance so you can then work through the lifecycle of an Incident.
1. On-Call
Before generating any incidents you should assign yourself to the current Shift within your Follow the Sun Support - Business Hours Rotation and also place yourself On-Call.
- Click on the Schedule link within your Team in the People section on the left, or navigate to Teams → [Your Team] → Rotations
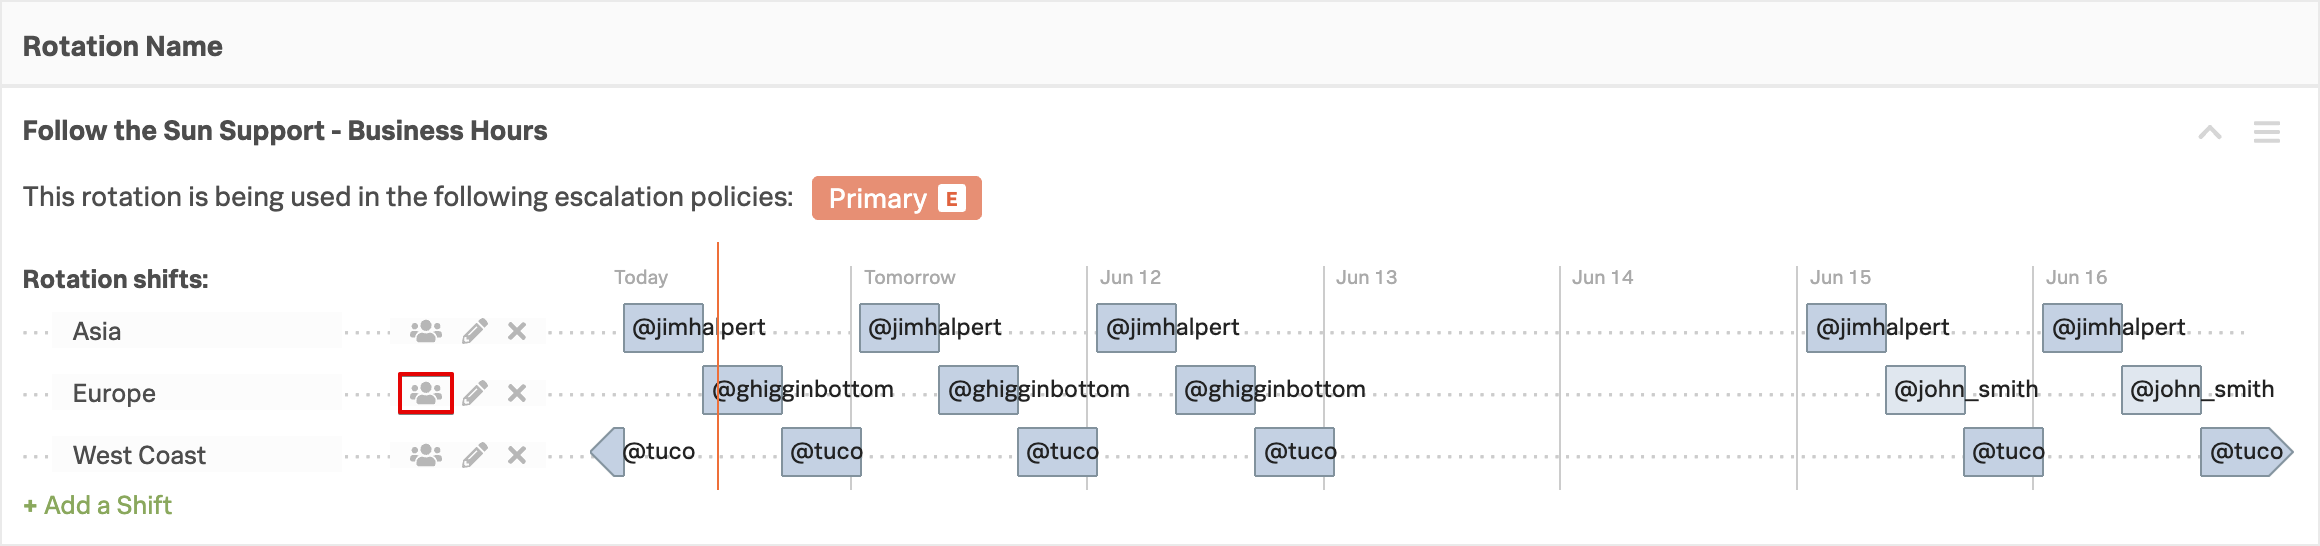
- Expand the Follow the Sun Support - Business Hours Rotation
- Click on the Manage members icon (the figures) for the current active shift depending on your time zone
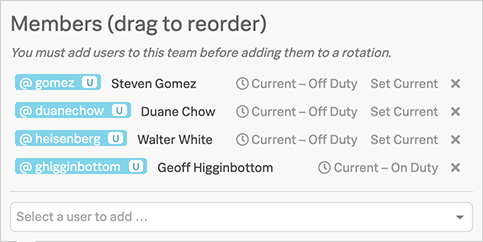
- Use the Select a user to add… dropdown to add yourself to the shift
- Then click on Set Current next to your name to make yourself the current on-call user within the shift
- You should now get a Push Notification to your phone informing you that You Are Now On-Call
2. Trigger Alert
Switch back to your shell session connected to your EC2 Instance; all of the following commands will be executed from your Instance.
Force the CPU to spike to 100% by running the following command:
openssl speed -multi $(grep -ci processor /proc/cpuinfo)Forked child 0
+DT:md4:3:16
+R:19357020:md4:3.000000
+DT:md4:3:64
+R:14706608:md4:3.010000
+DT:md4:3:256
+R:8262960:md4:3.000000
+DT:md4:3:1024This will result in an Alert being generated by Splunk Infrastructure Monitoring which in turn will generate an Incident within Splunk On-Call within a maximum of 10 seconds. This is the default polling time for the OpenTelemetry Collector installed on your instance (note it can be reduced to 1 second).
Continue with the Manage Incidents module.