Splunk Synthetic Scripting
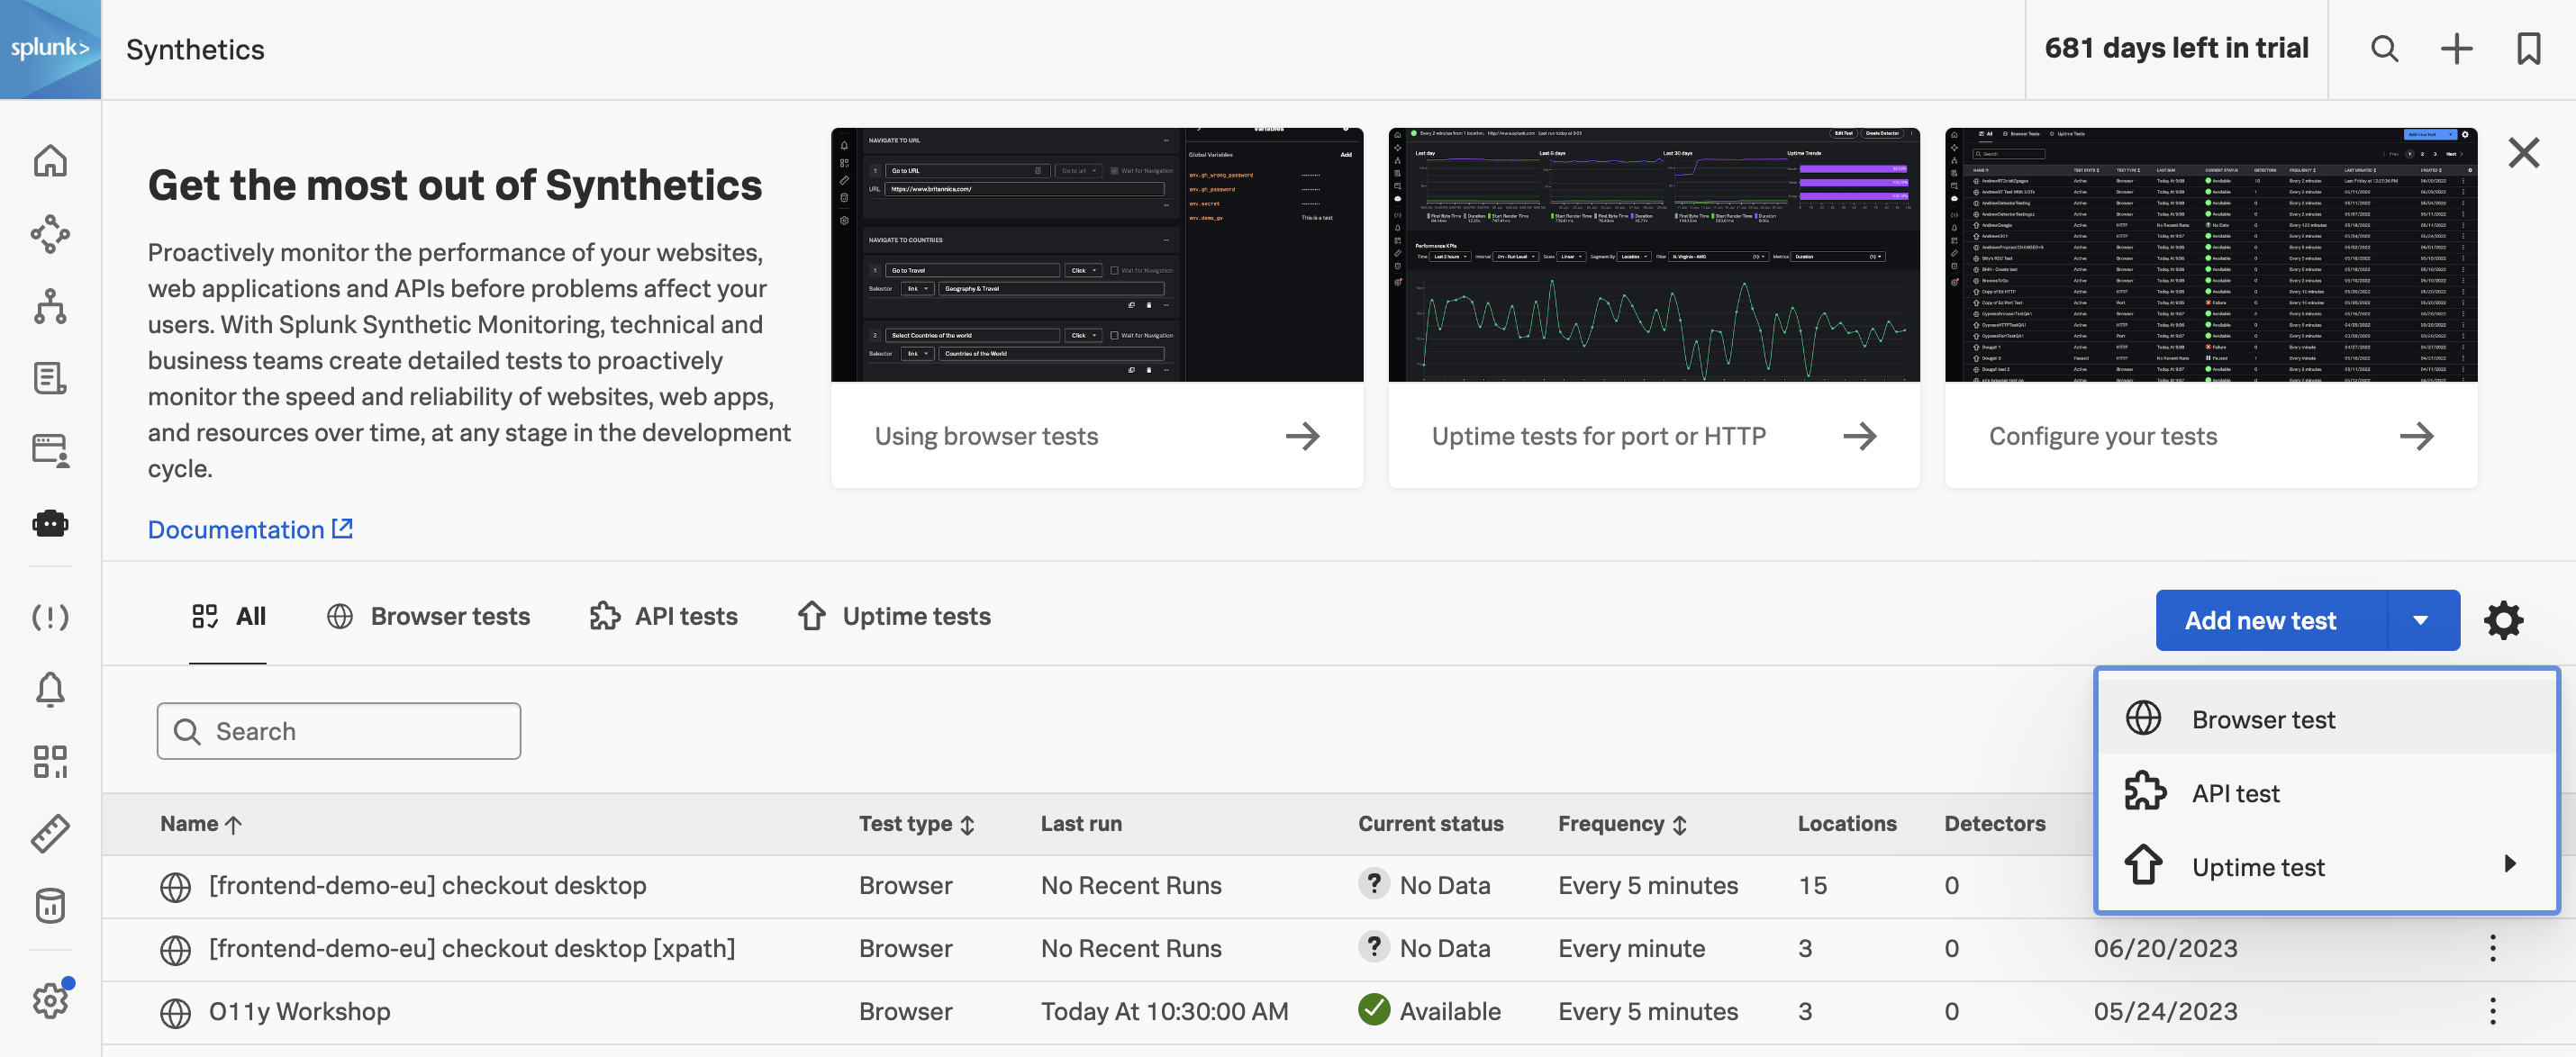
45 minutes Author Robert CastleyProactively monitor the performance of your web app before problems affect your users. With Splunk Synthetic Monitoring, technical and business teams create detailed tests to proactively monitor the speed and reliability of websites, web apps, and resources over time, at any stage in the development cycle.
Splunk Synthetic Monitoring offers the most comprehensive and in-depth capabilities for uptime and web performance optimization as part of the only complete observability suite, Splunk Observability Cloud.
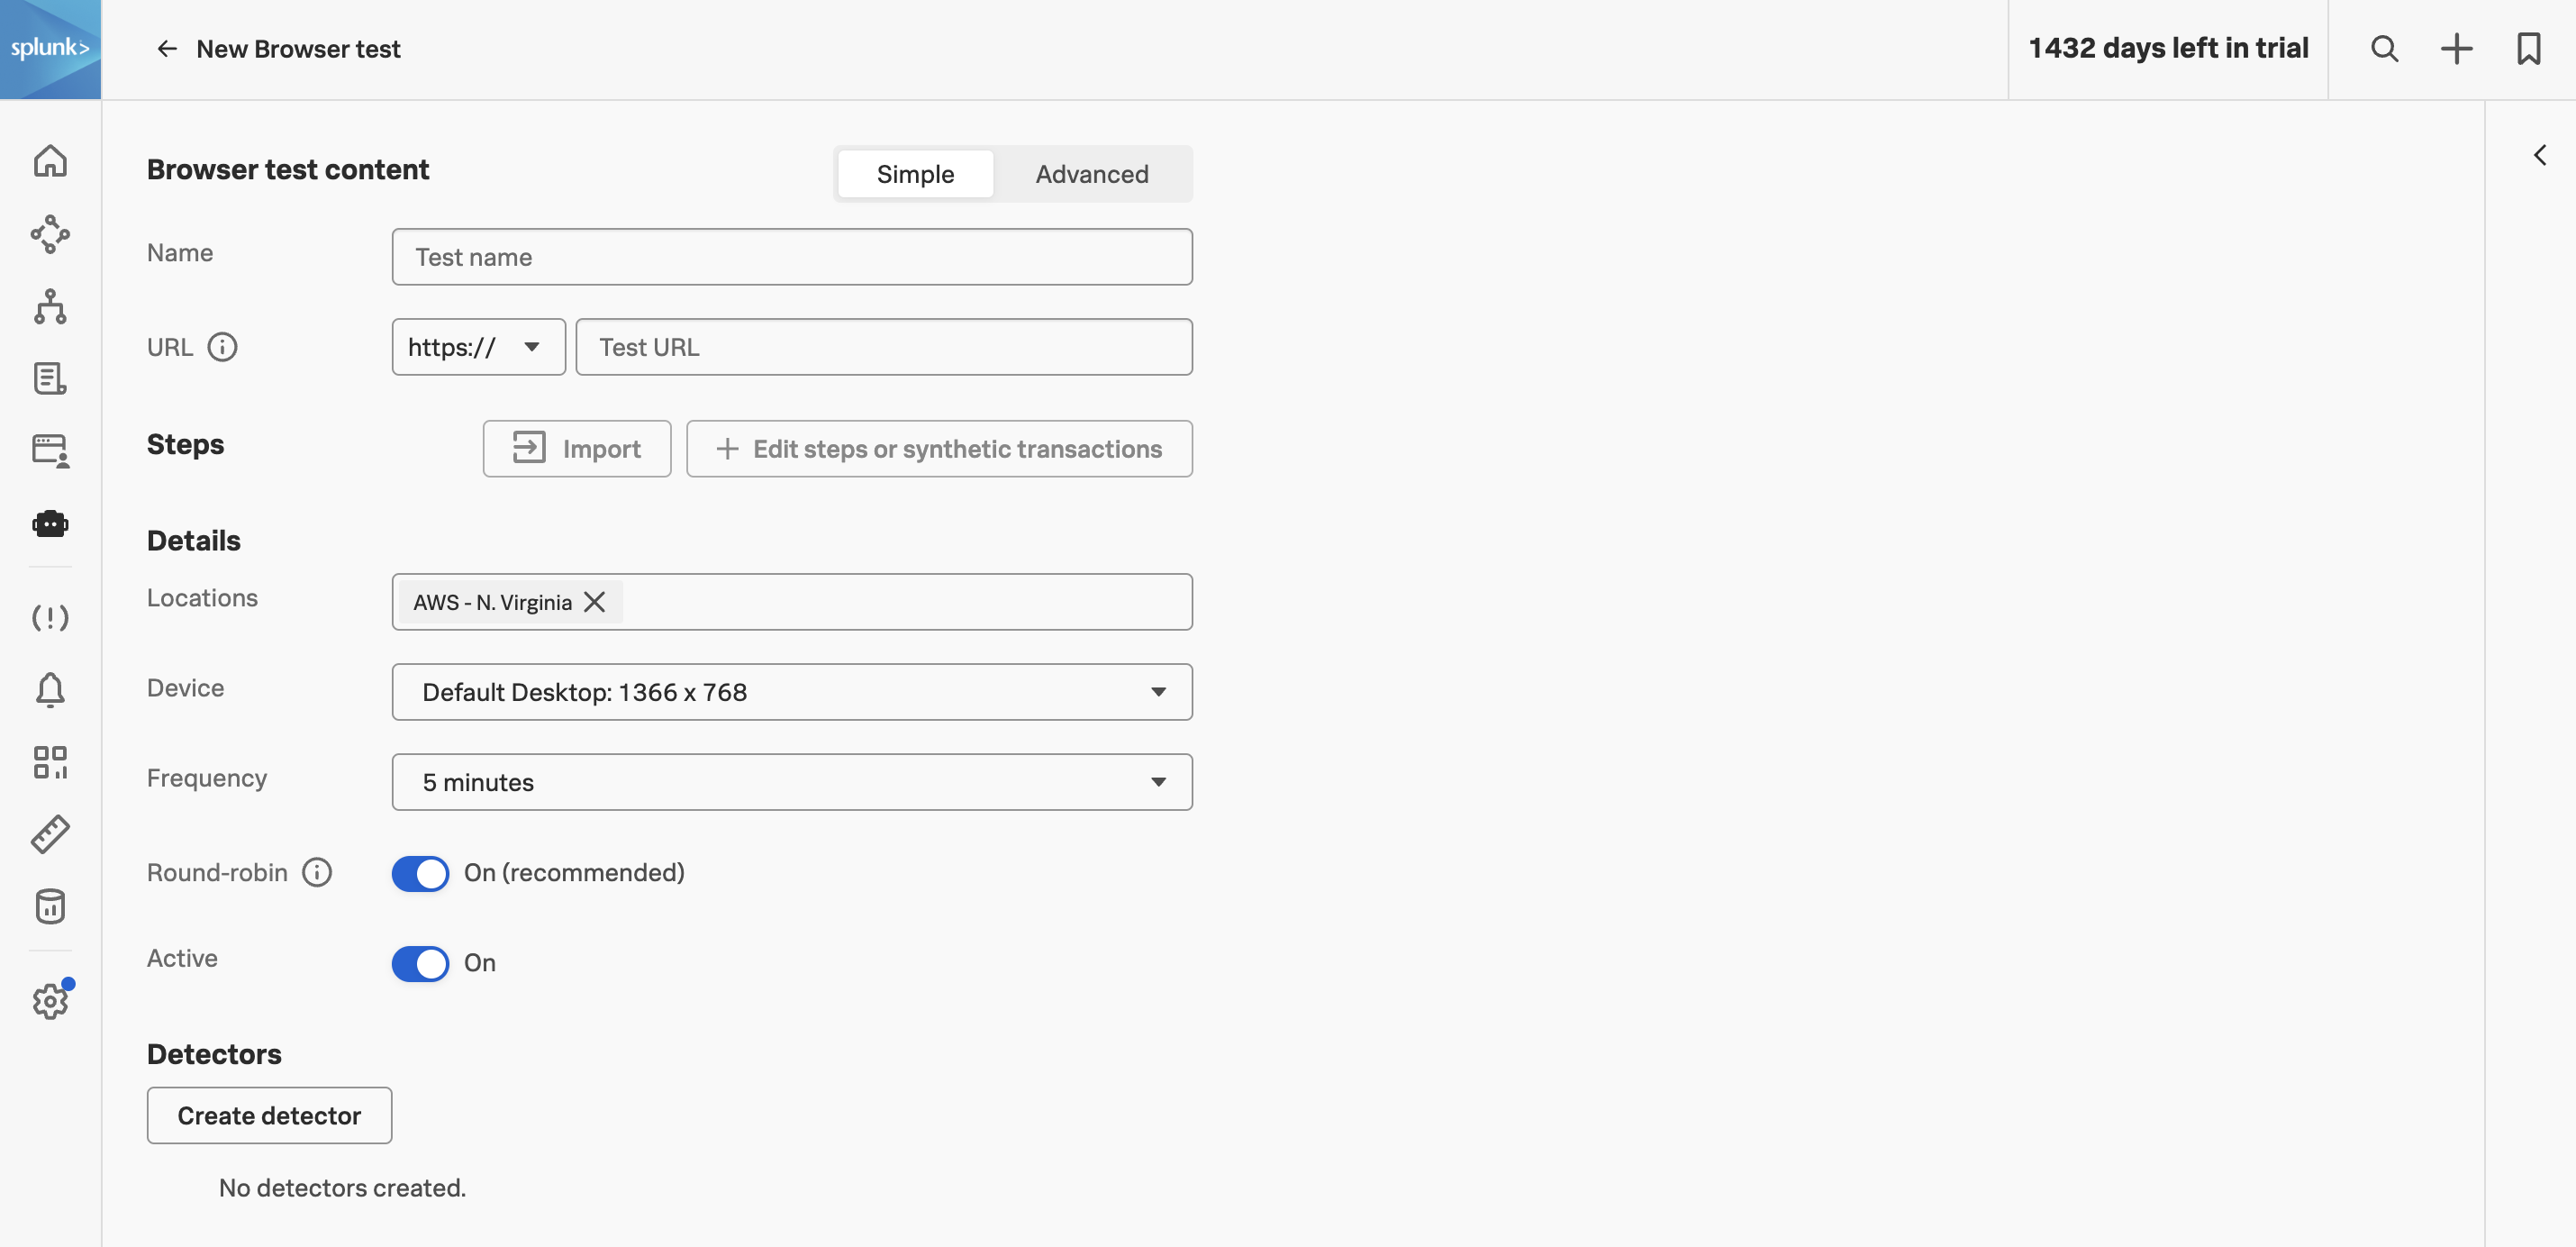
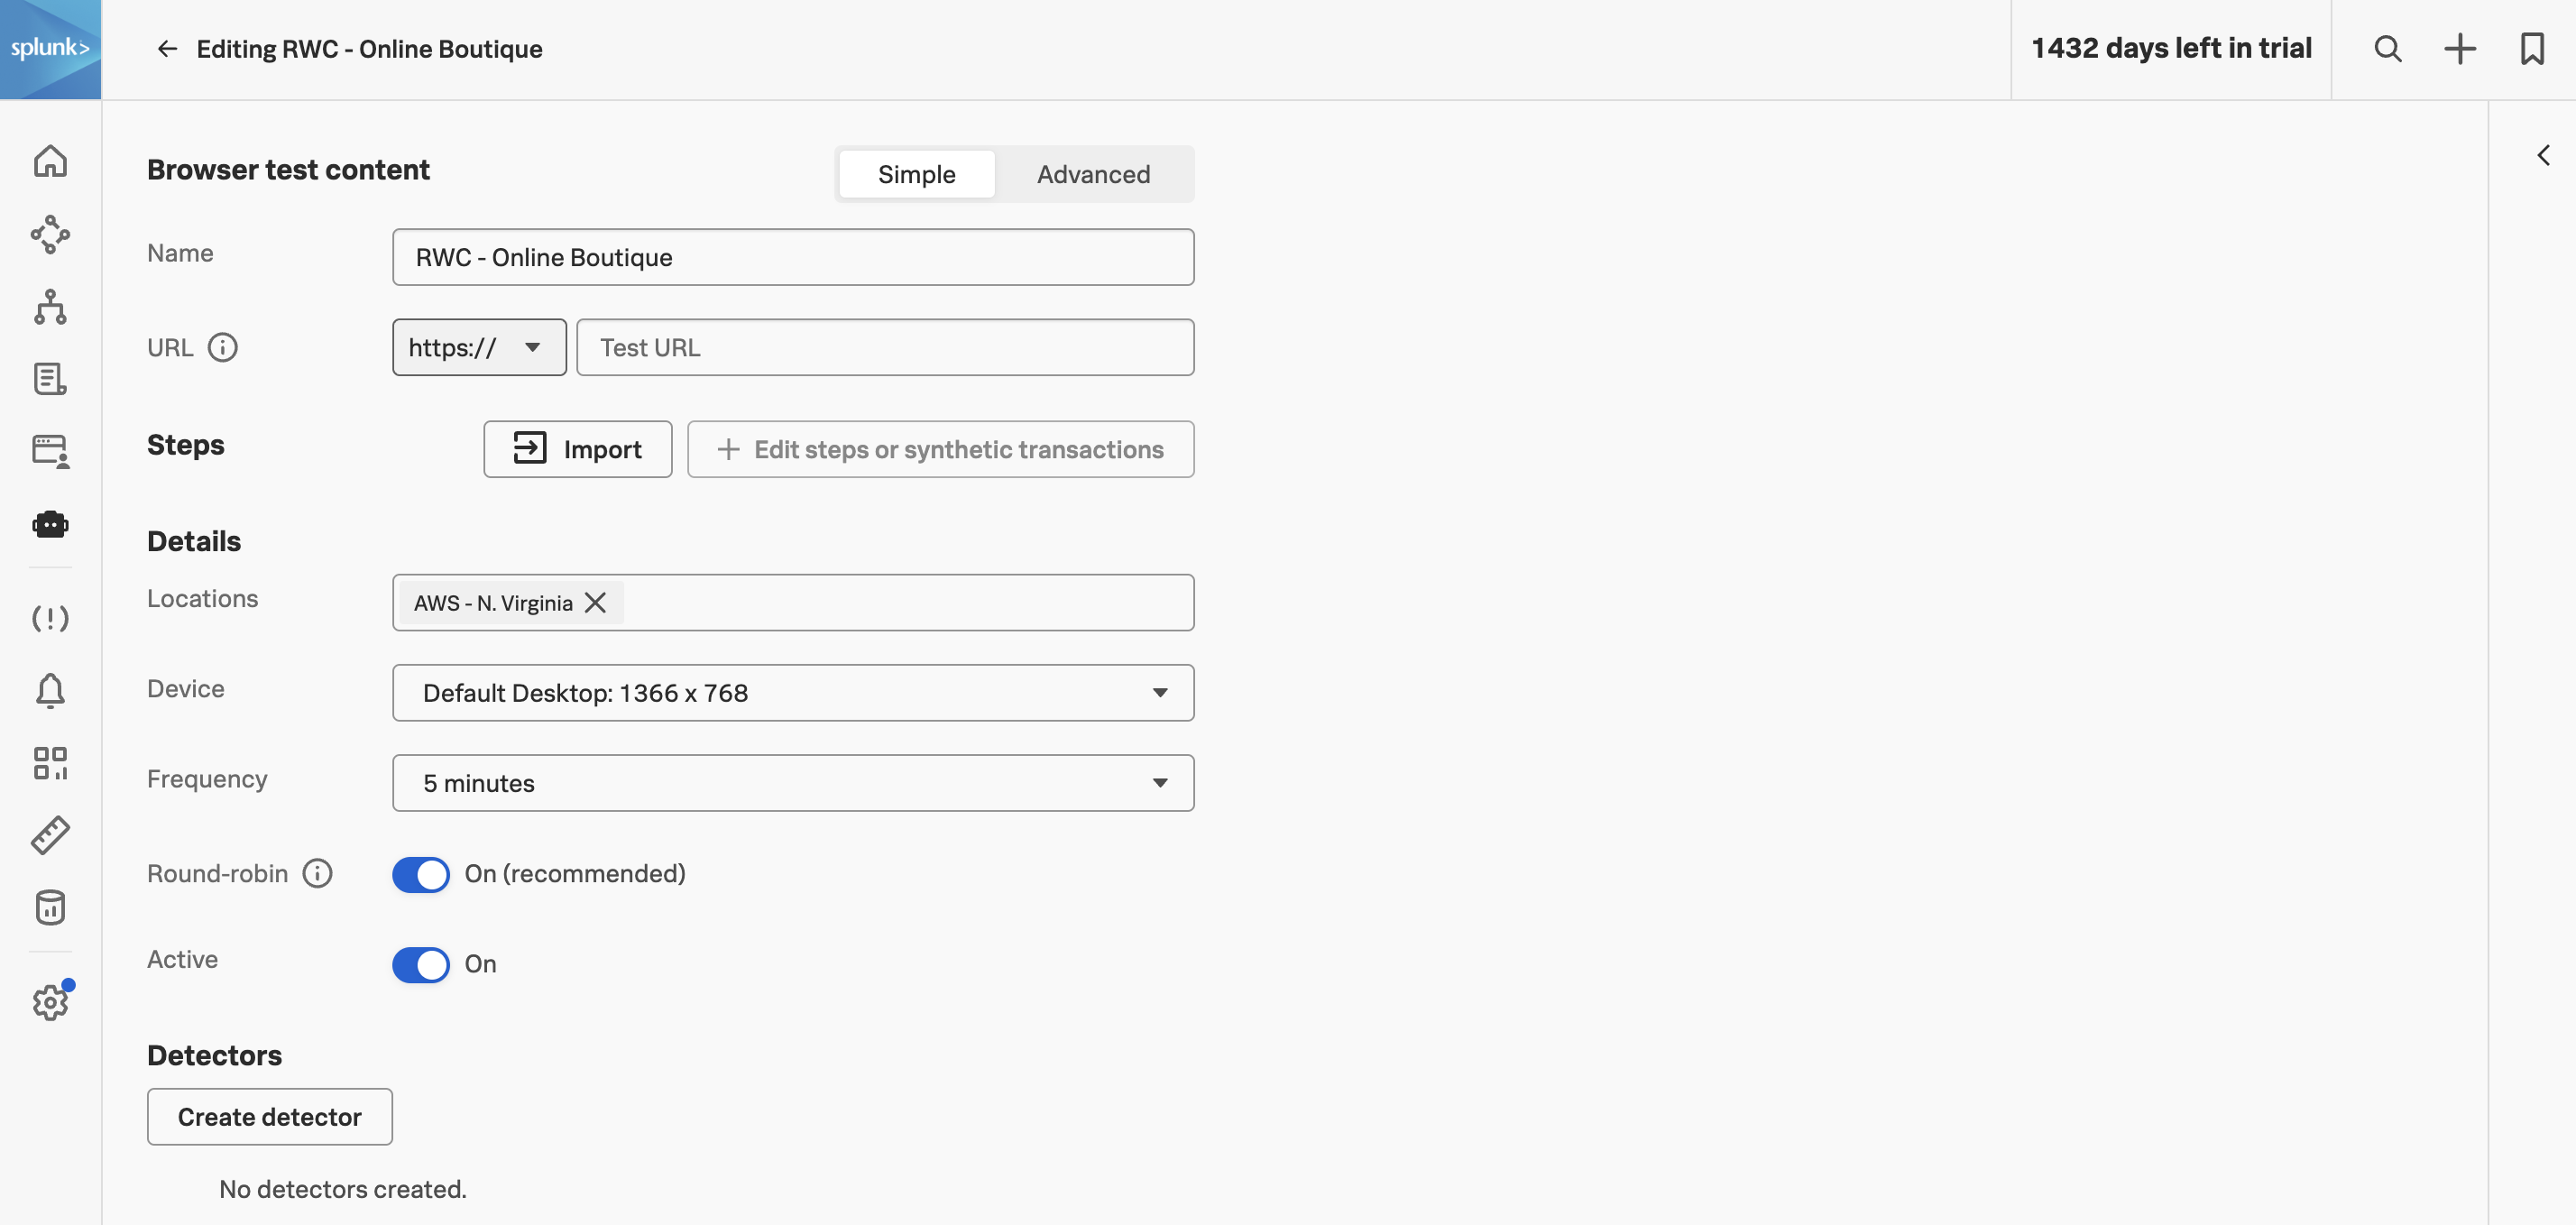
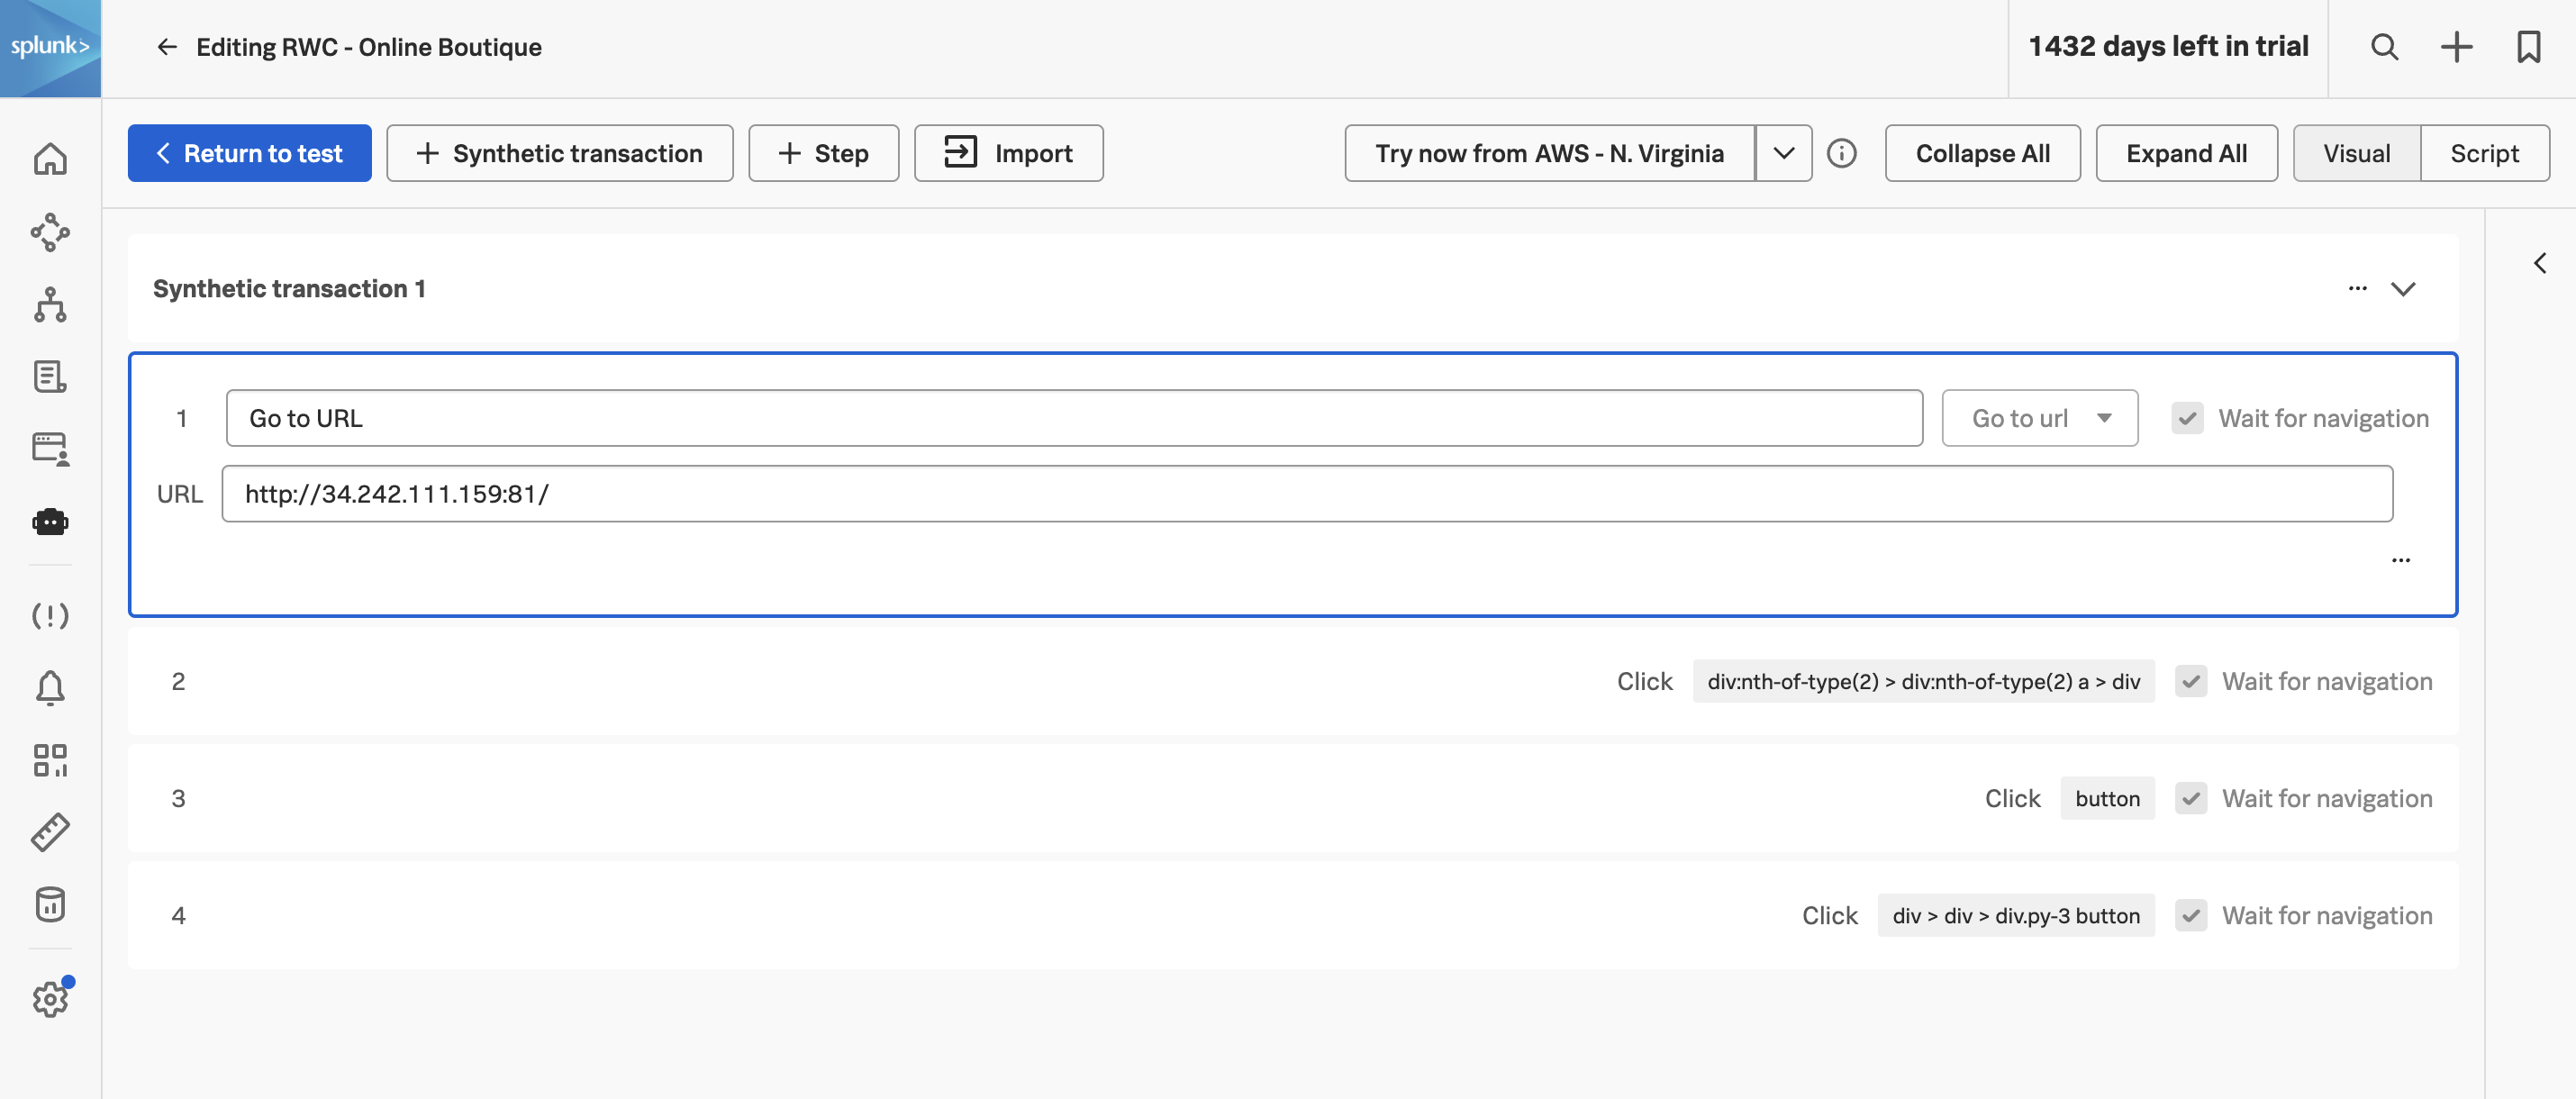
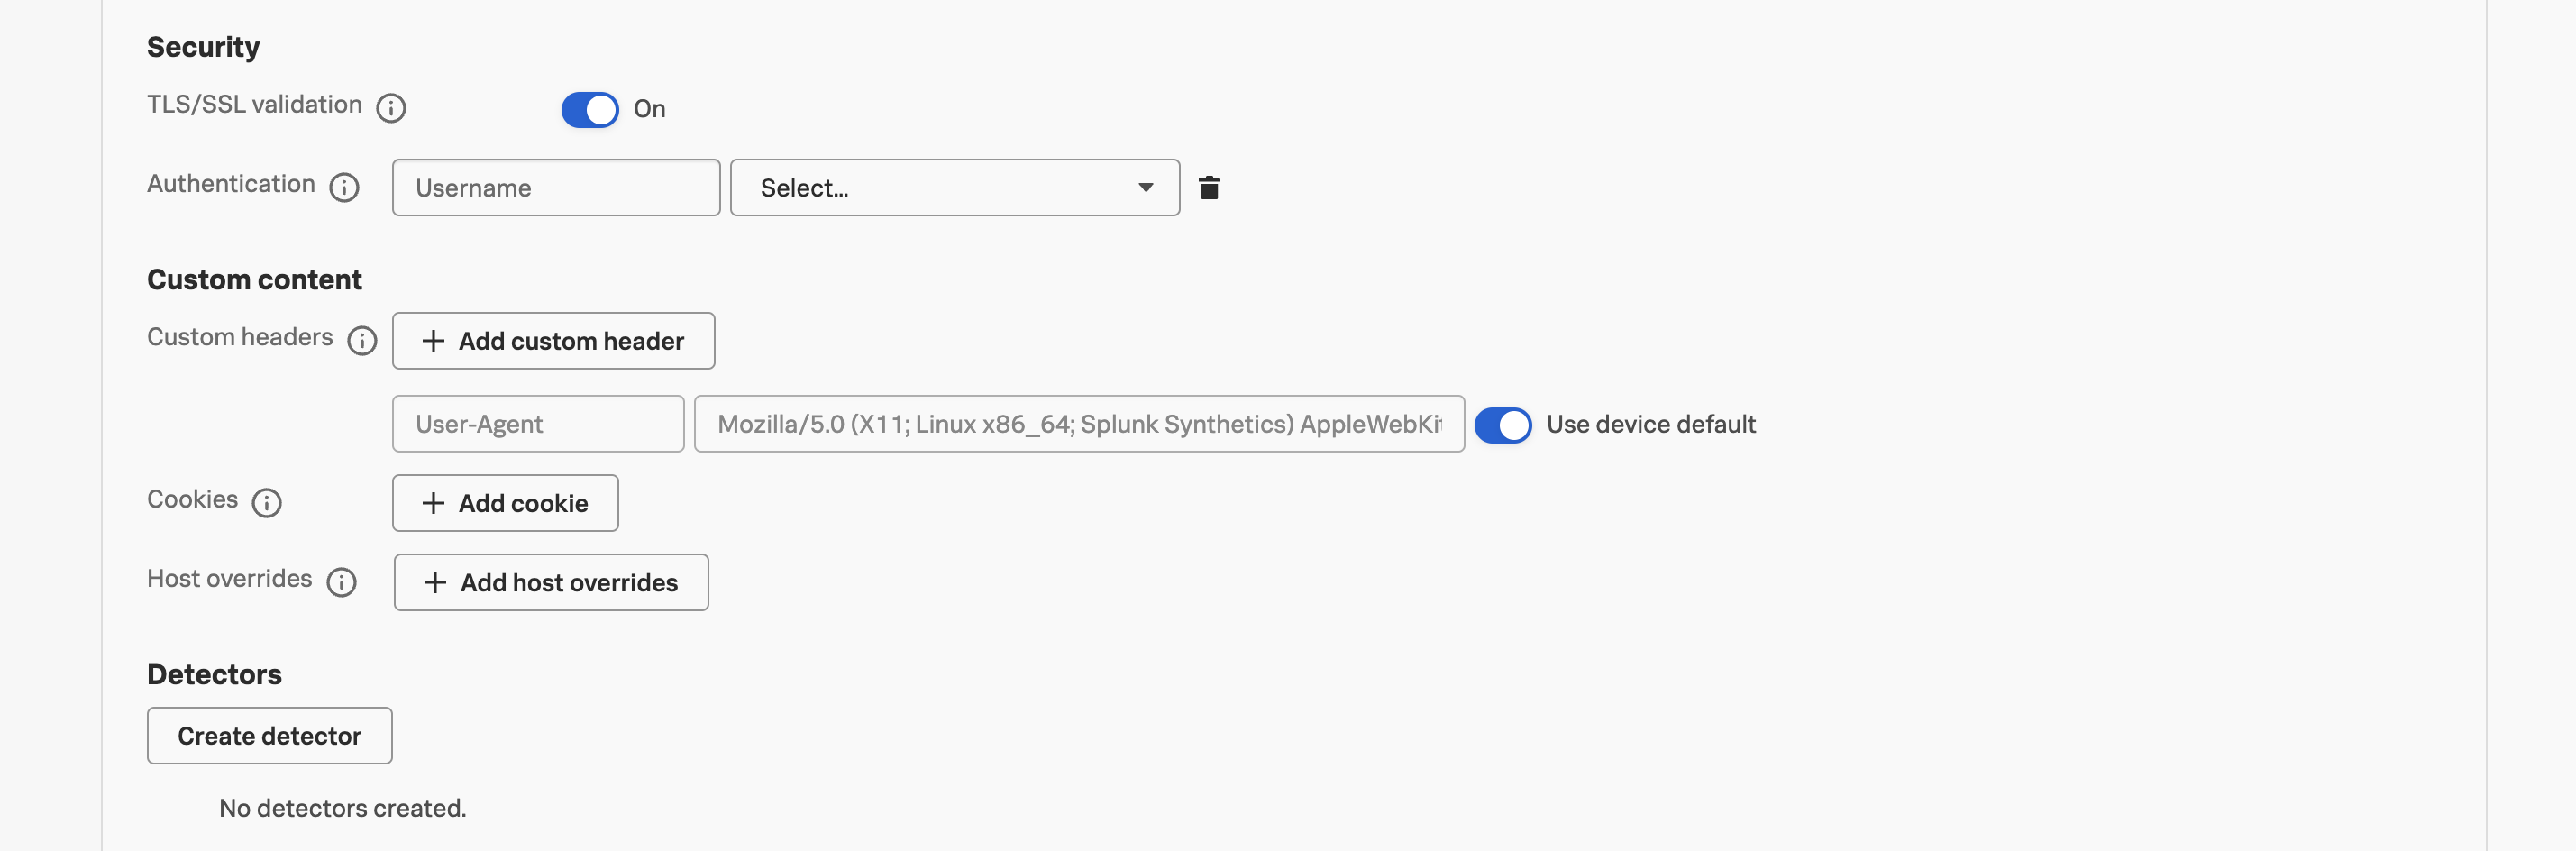
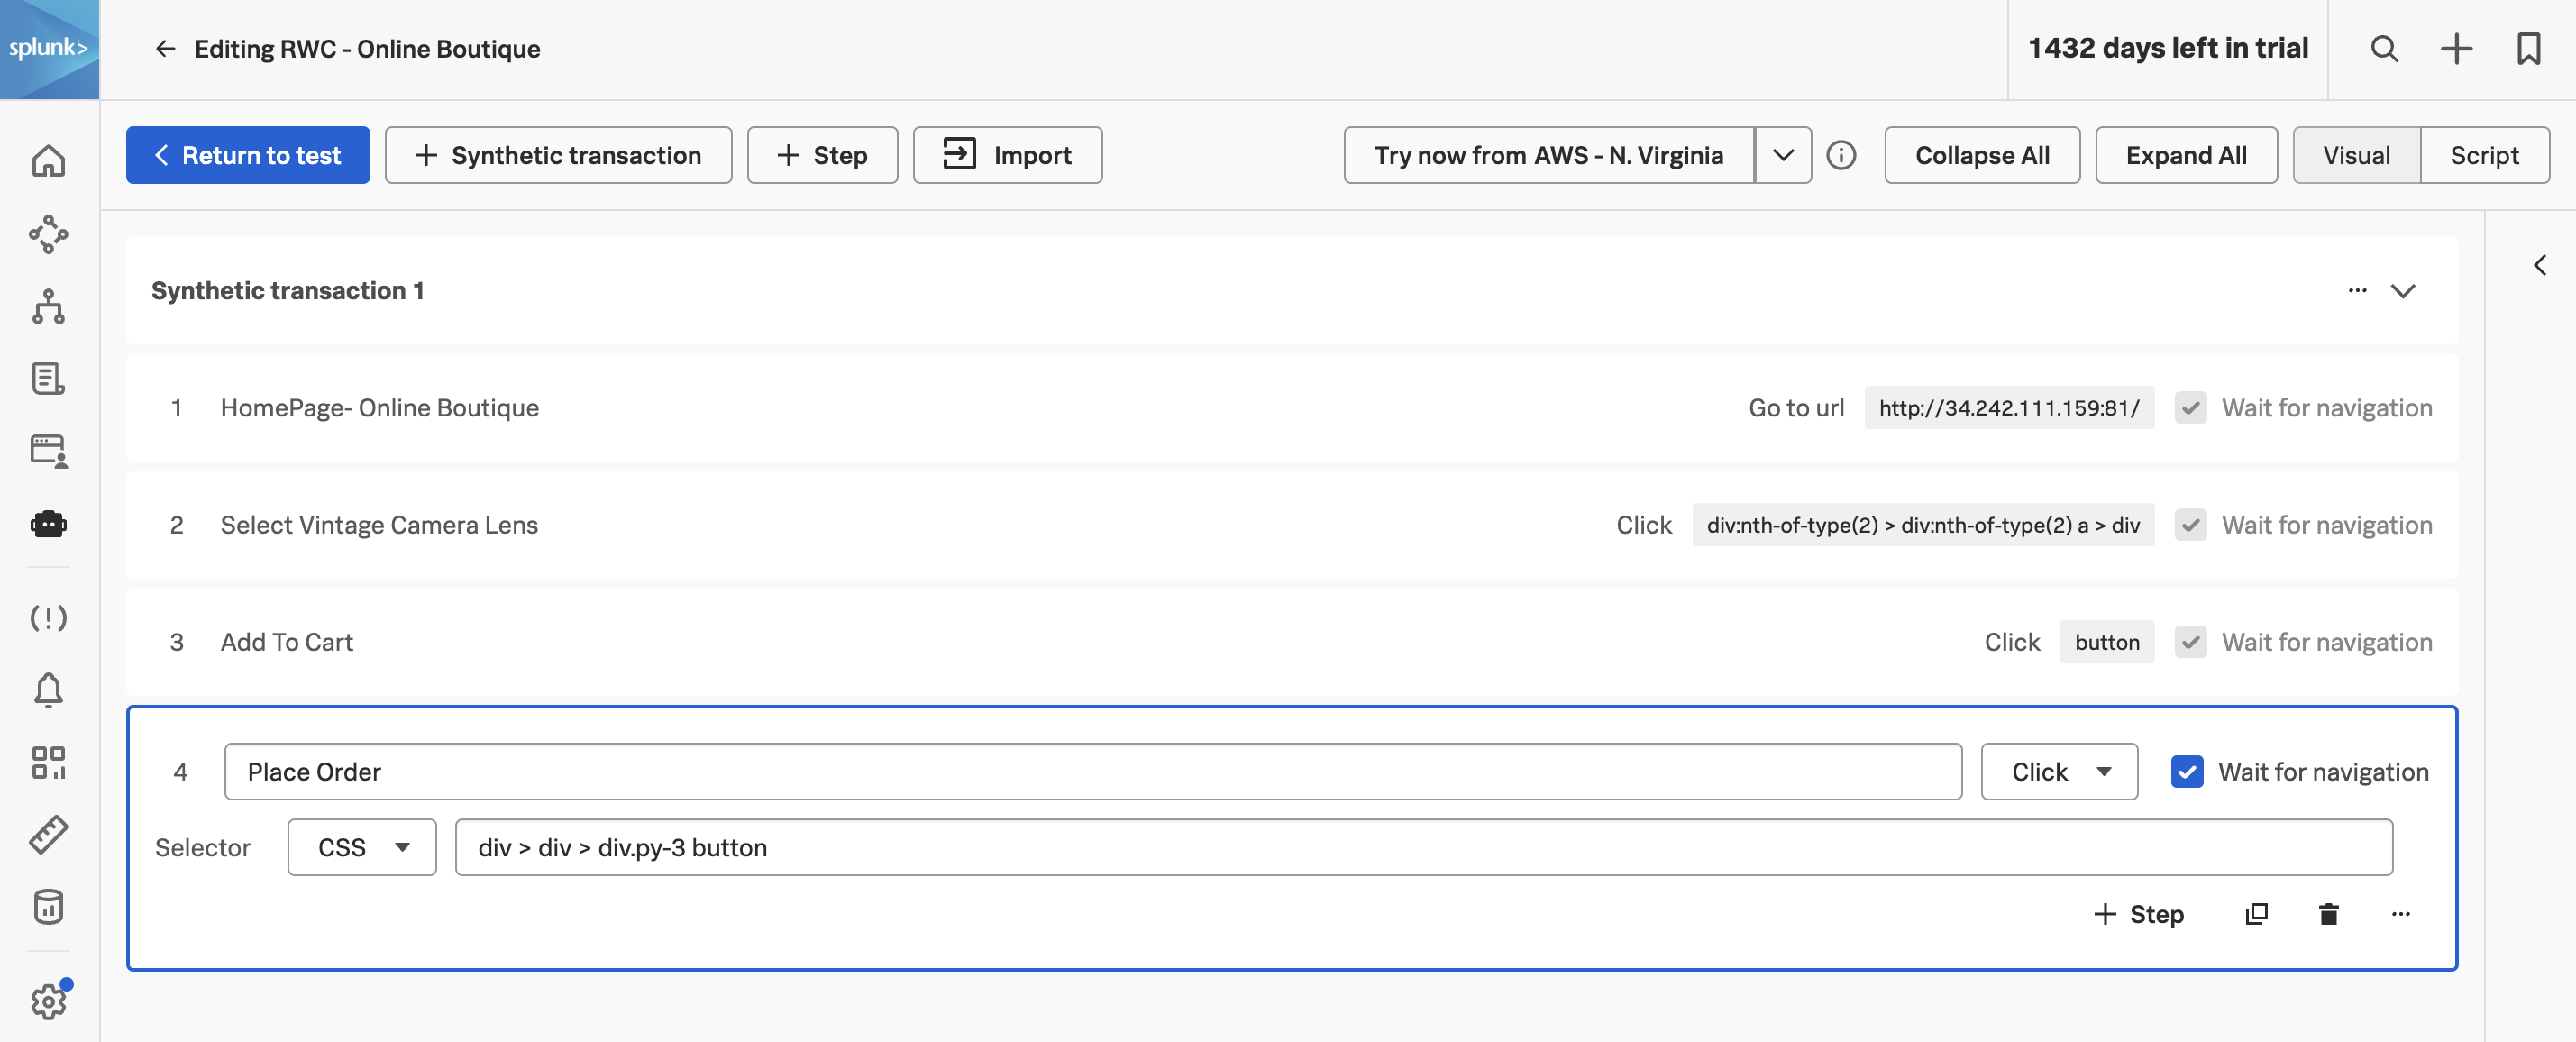
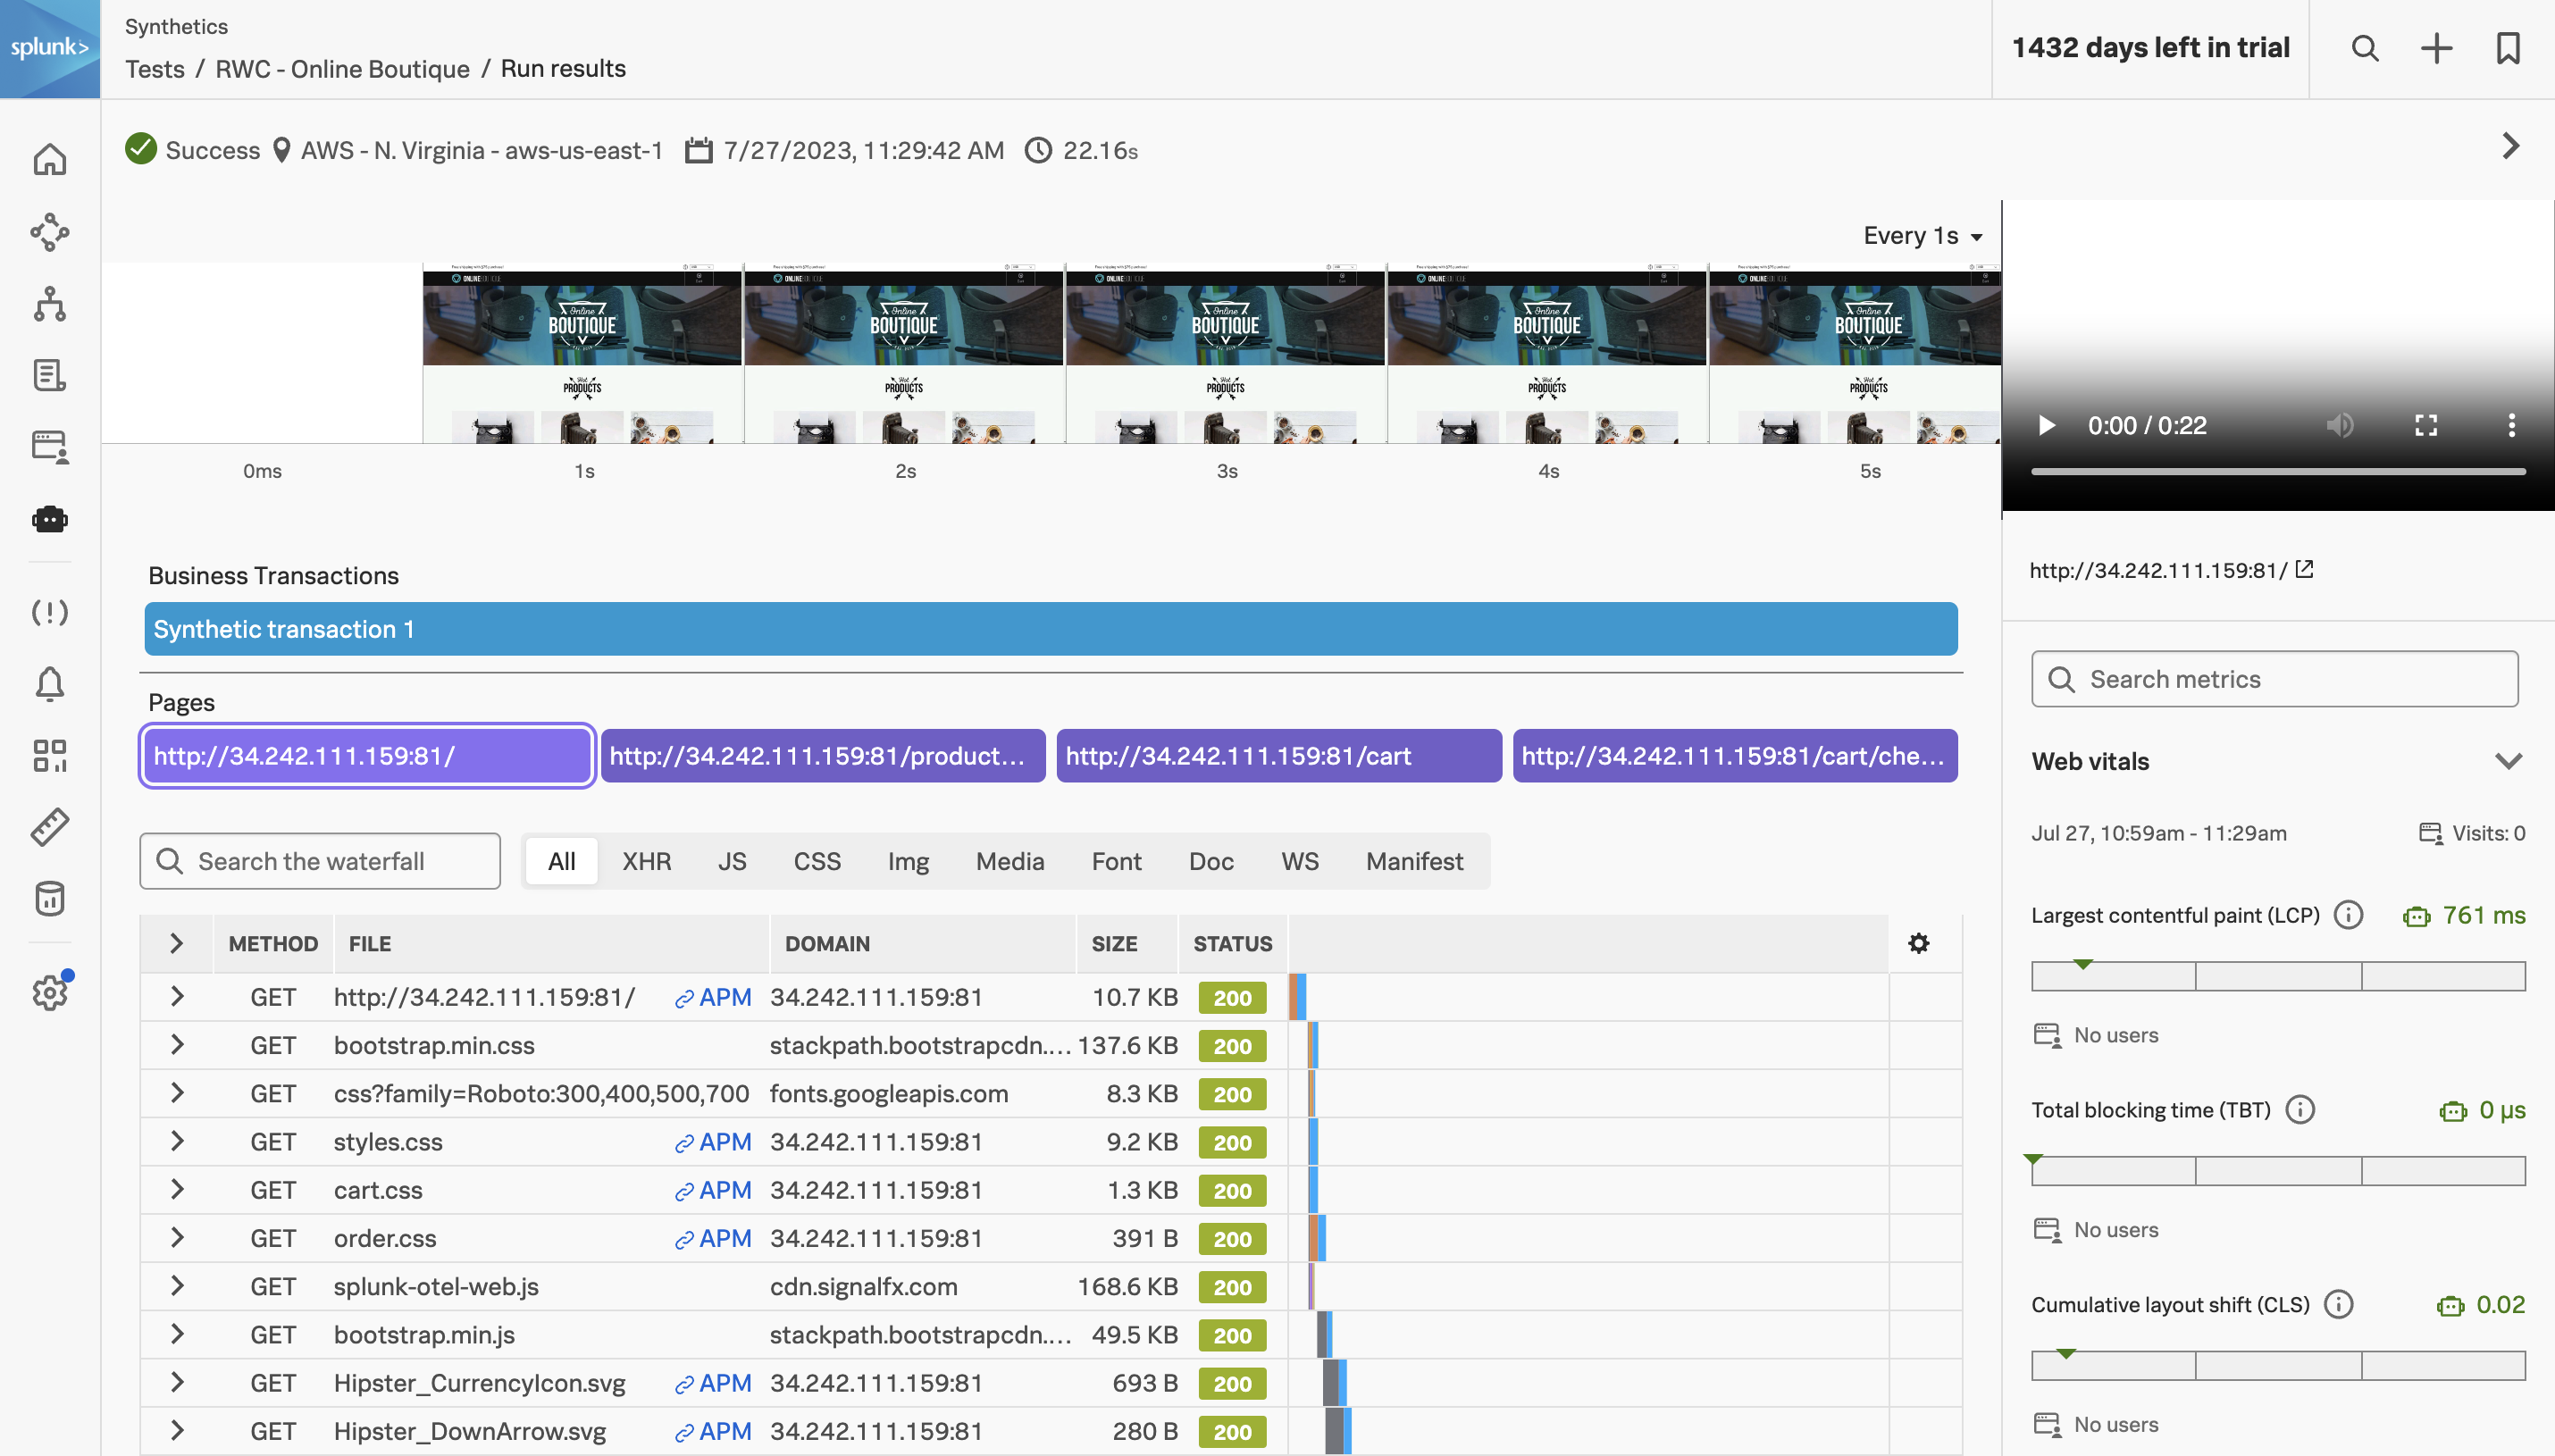
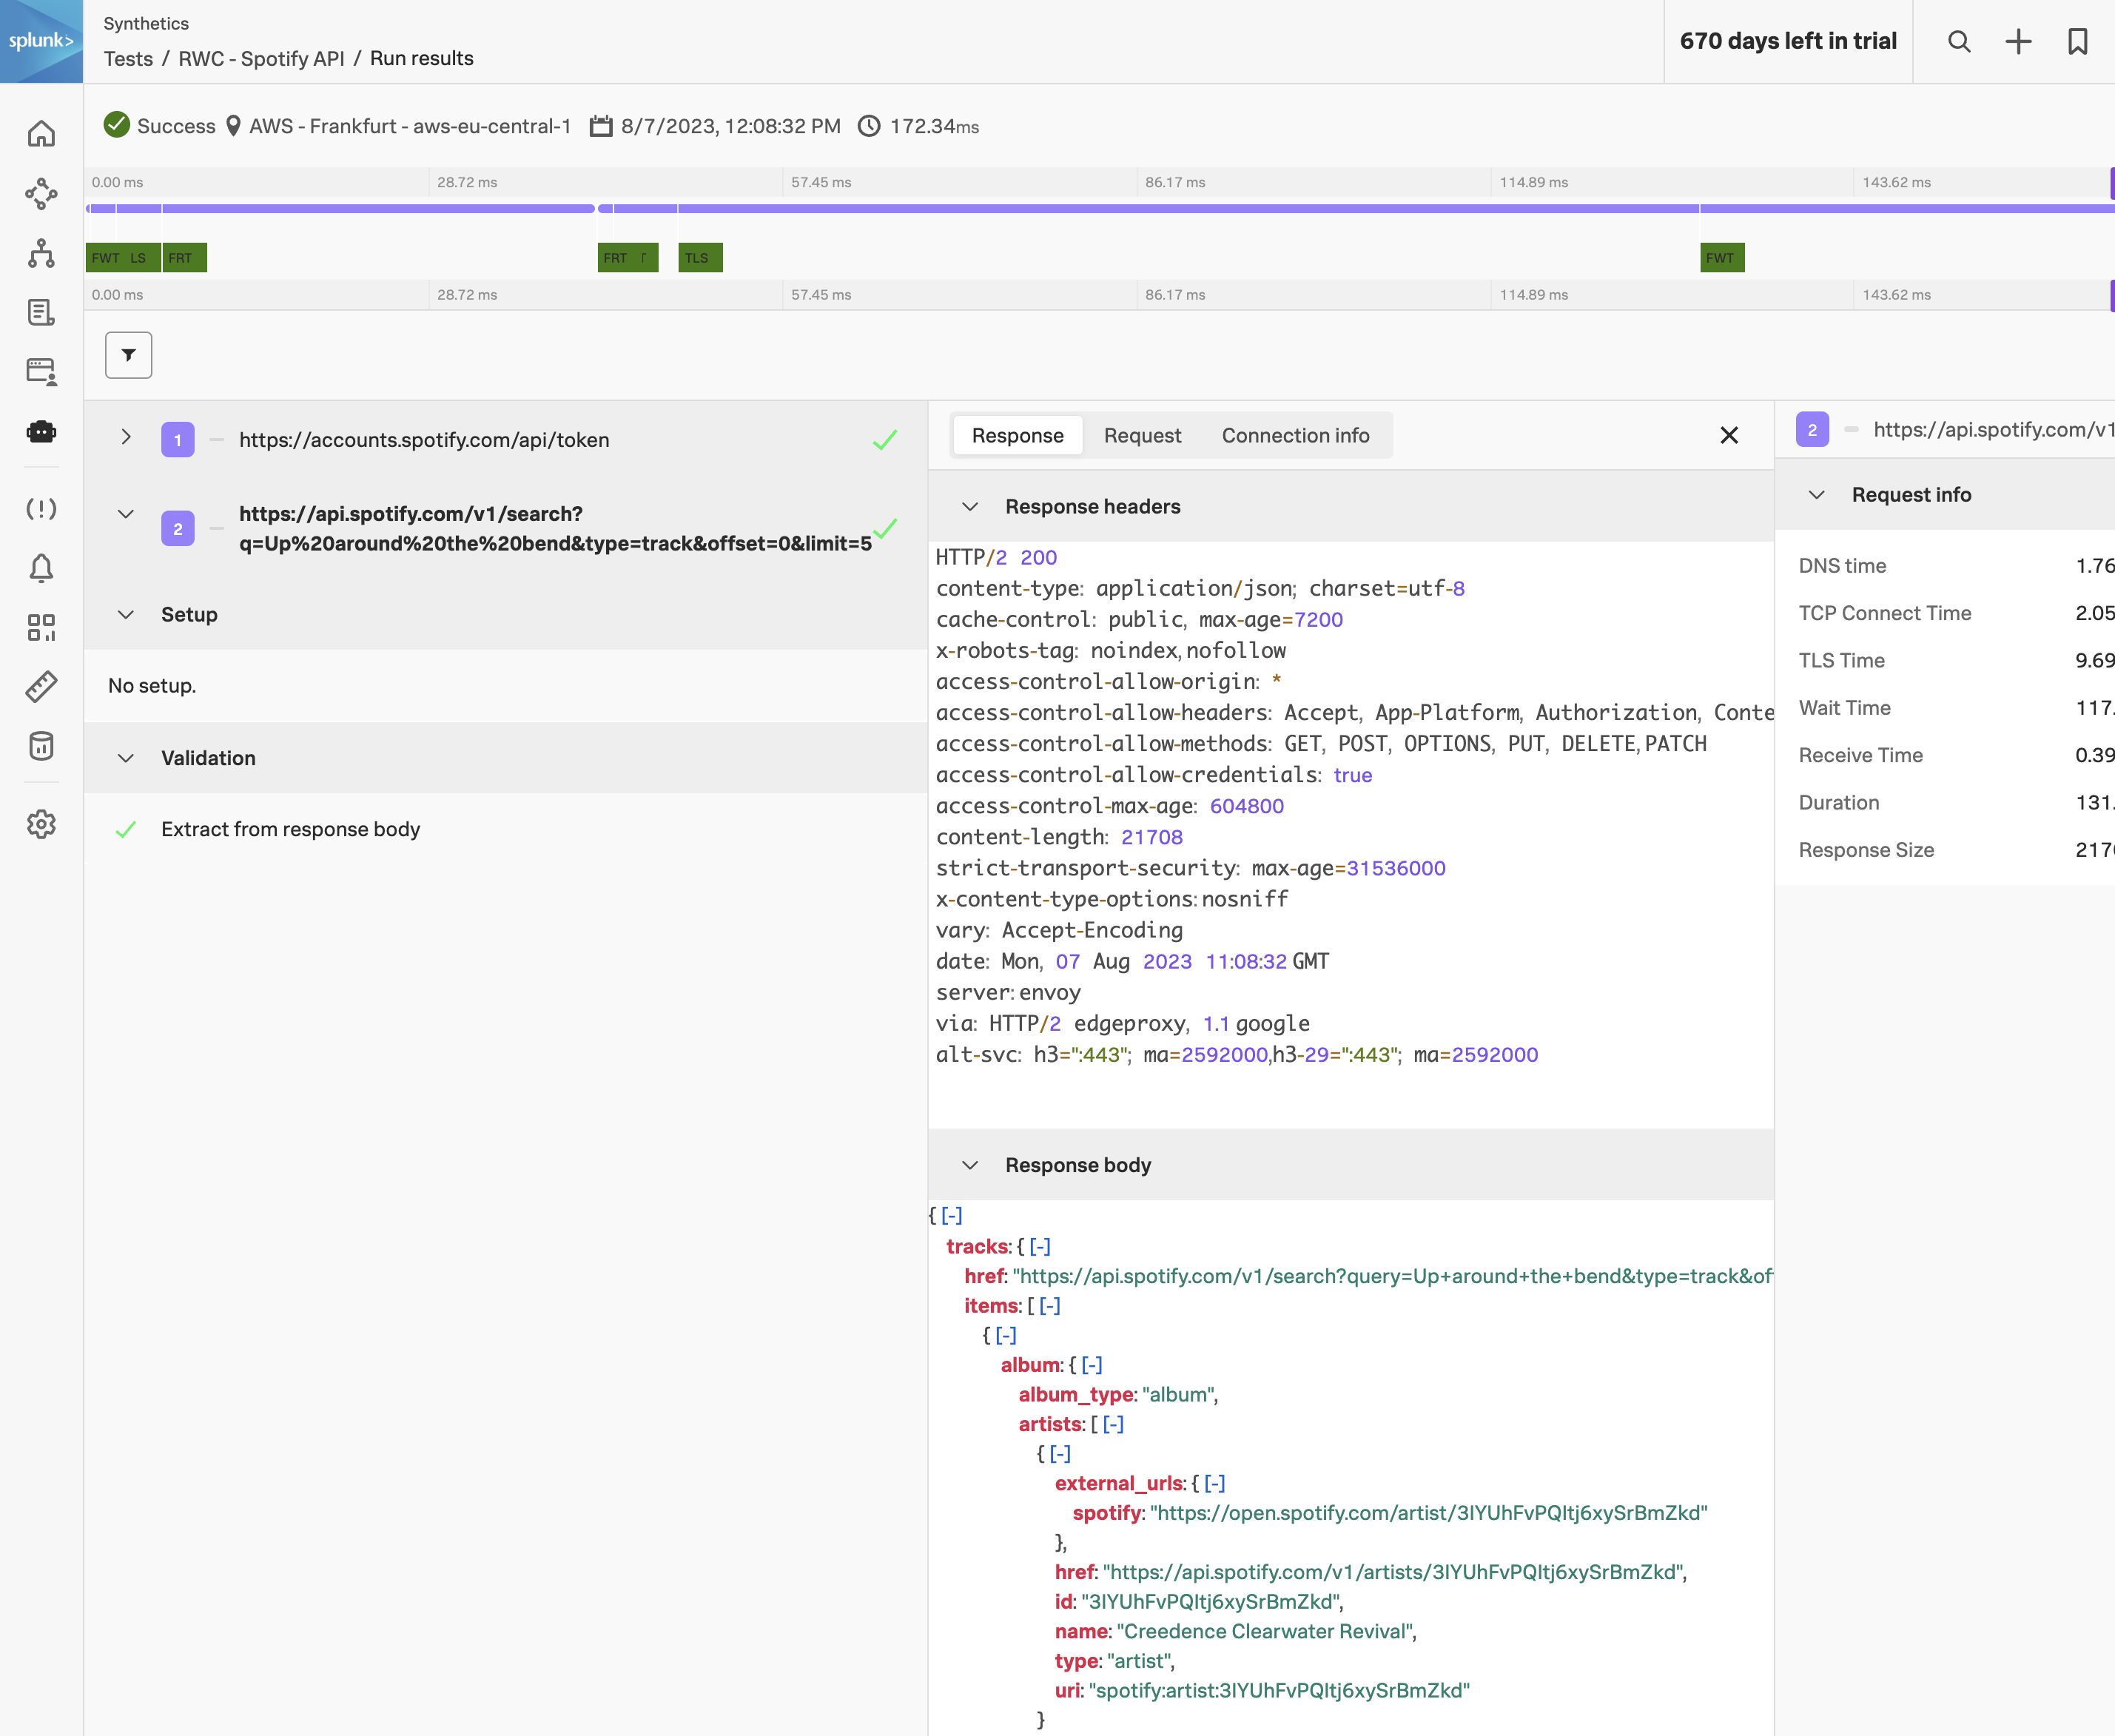
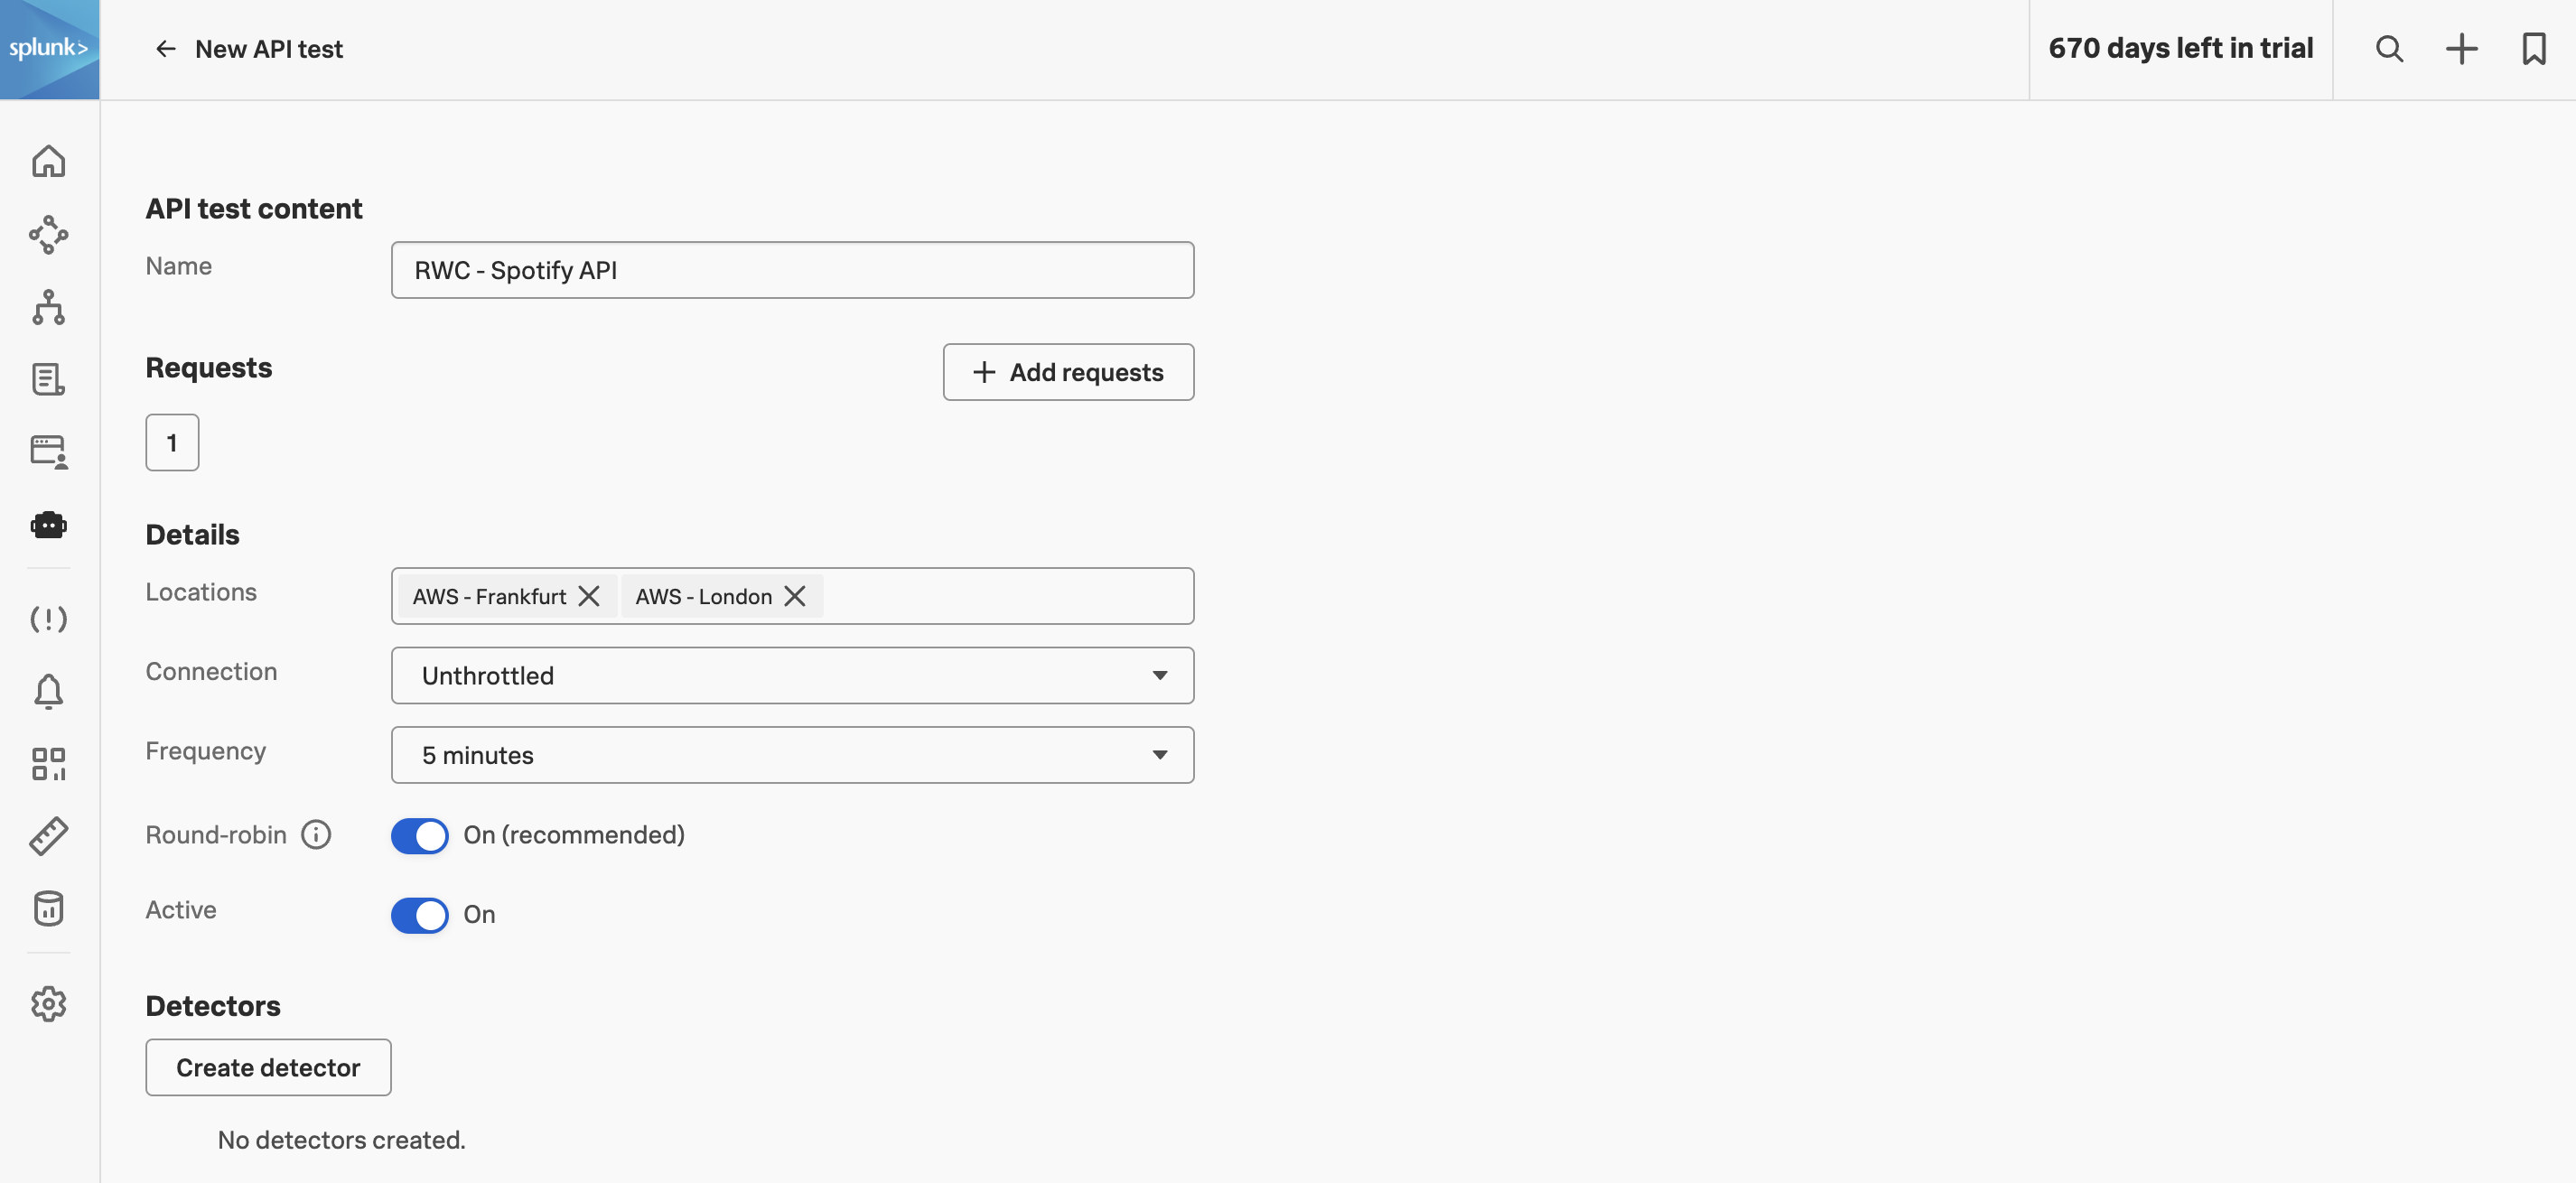
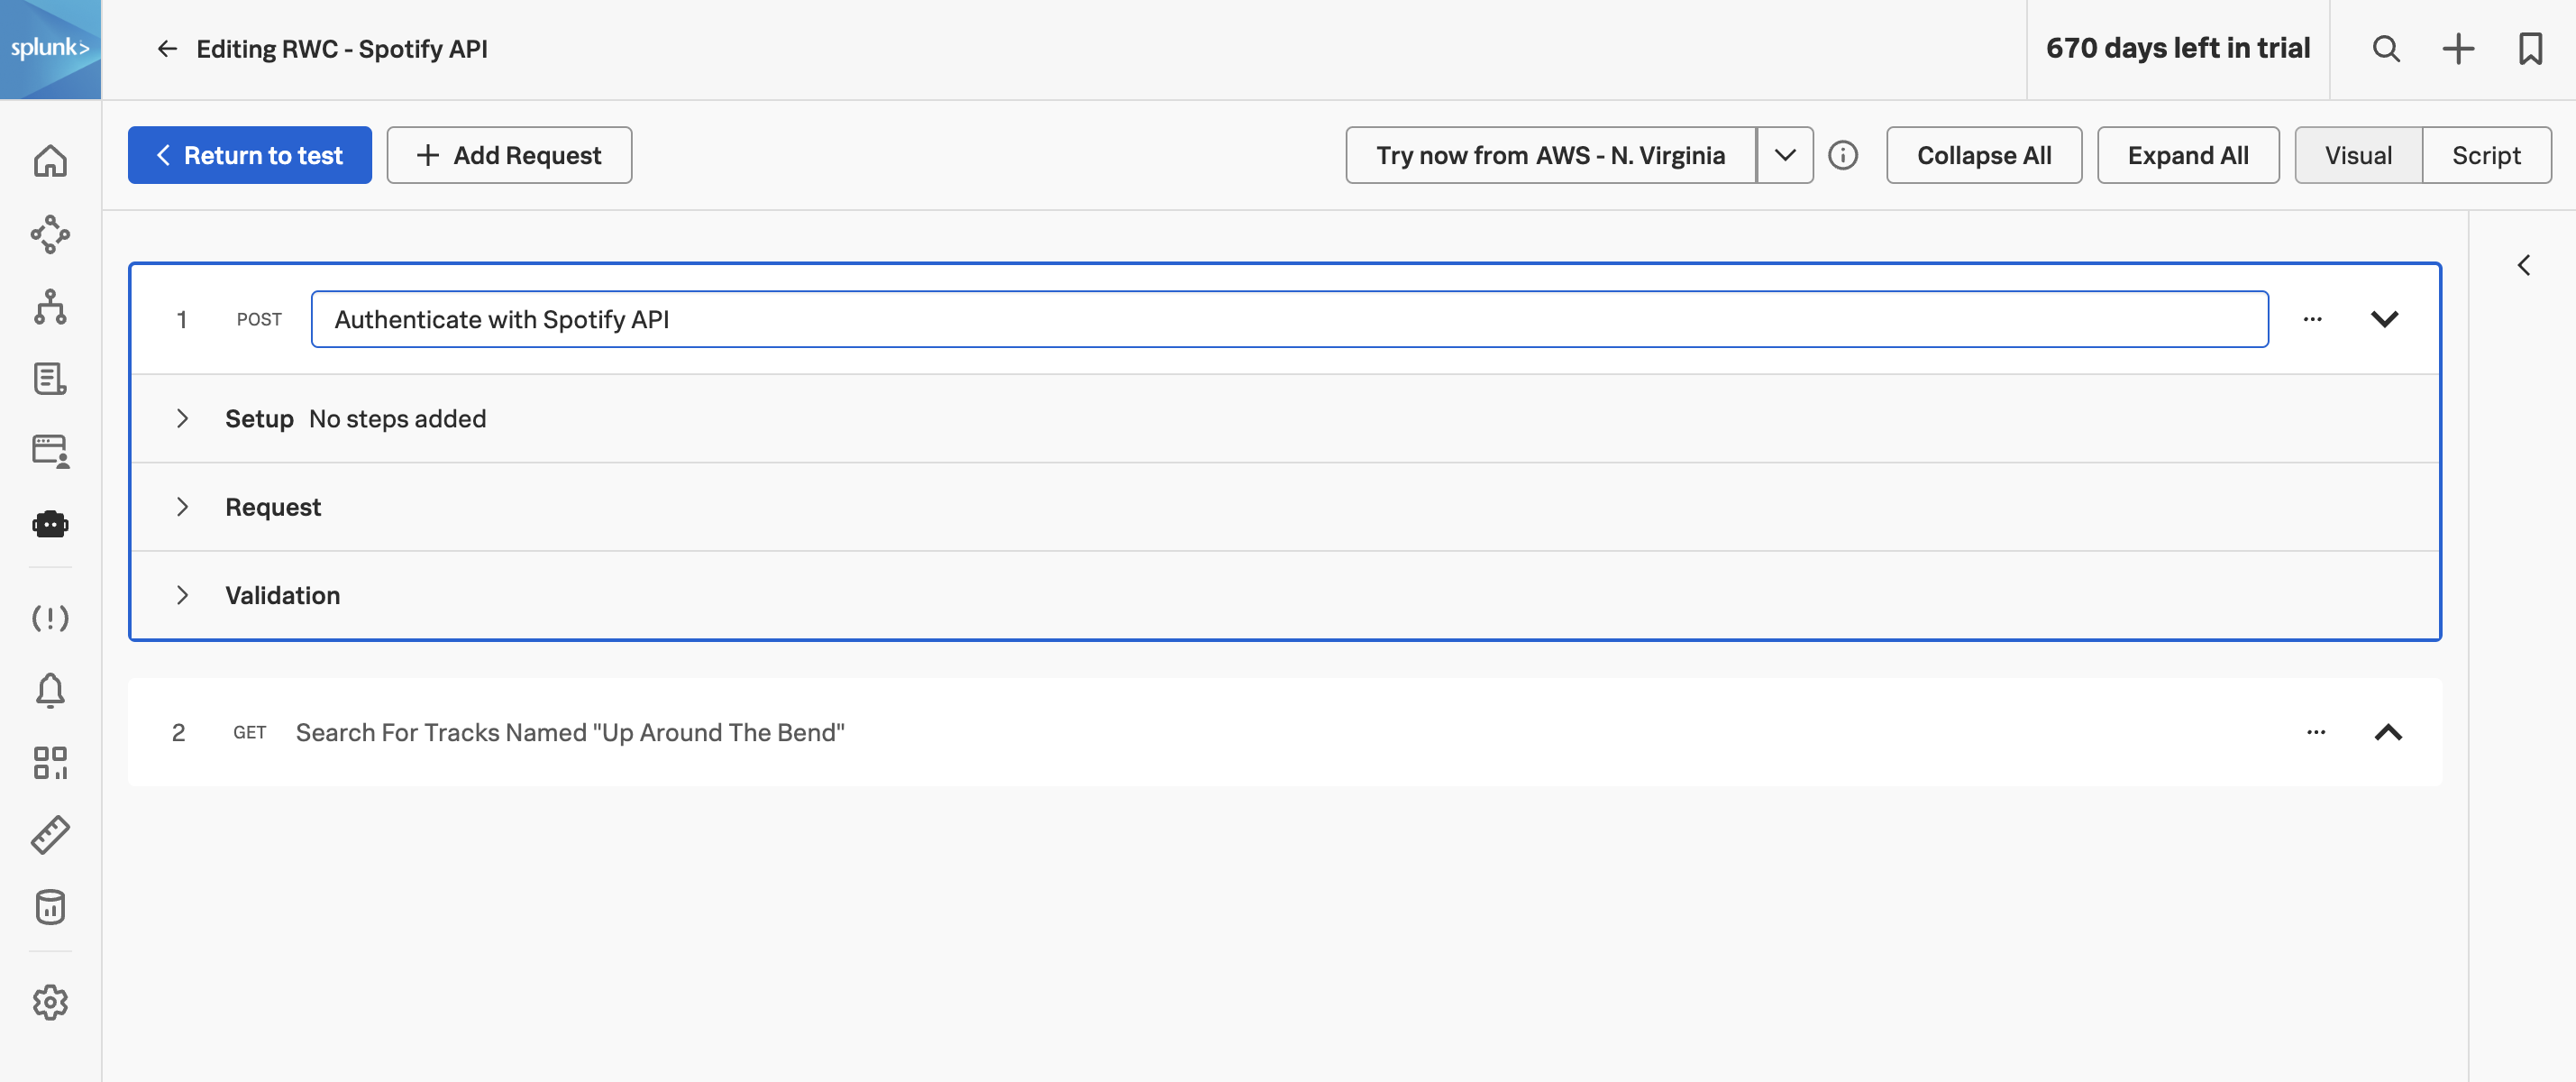
Easily set up monitoring for APIs, service endpoints and end-user experience. With Splunk Synthetic Monitoring, go beyond basic uptime and performance monitoring and focus on proactively finding and fixing issues, optimizing web performance, and ensuring customers get the best user experience.
With Splunk Synthetic Monitoring you can:
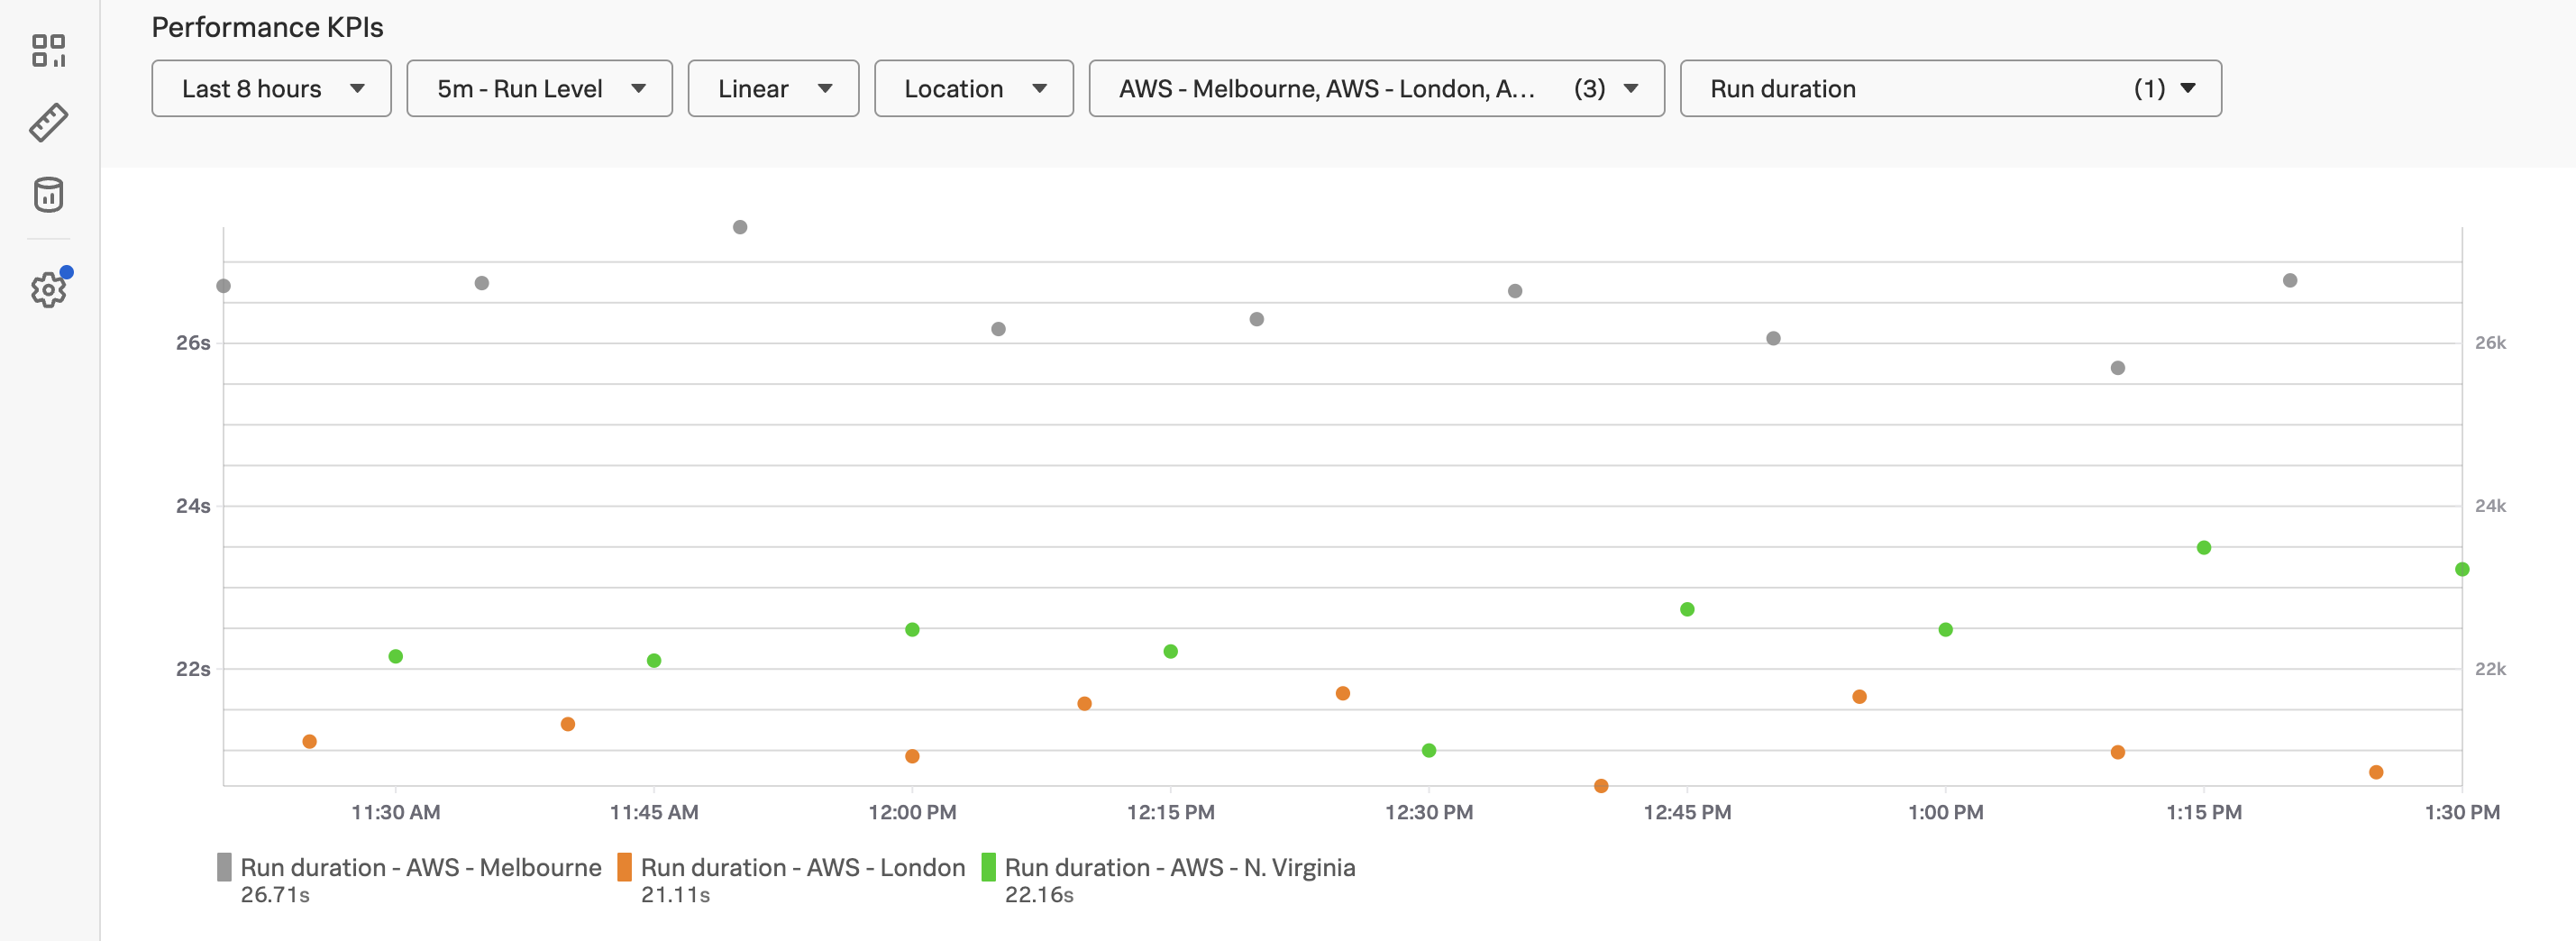
- Detect and resolve issues fast across critical user flows, business transactions and API endpoints
- Prevent web performance issues from affecting customers with an intelligent web optimization engine
- And improve the performance of all page resources and third-party dependencies