Log Observer Overview
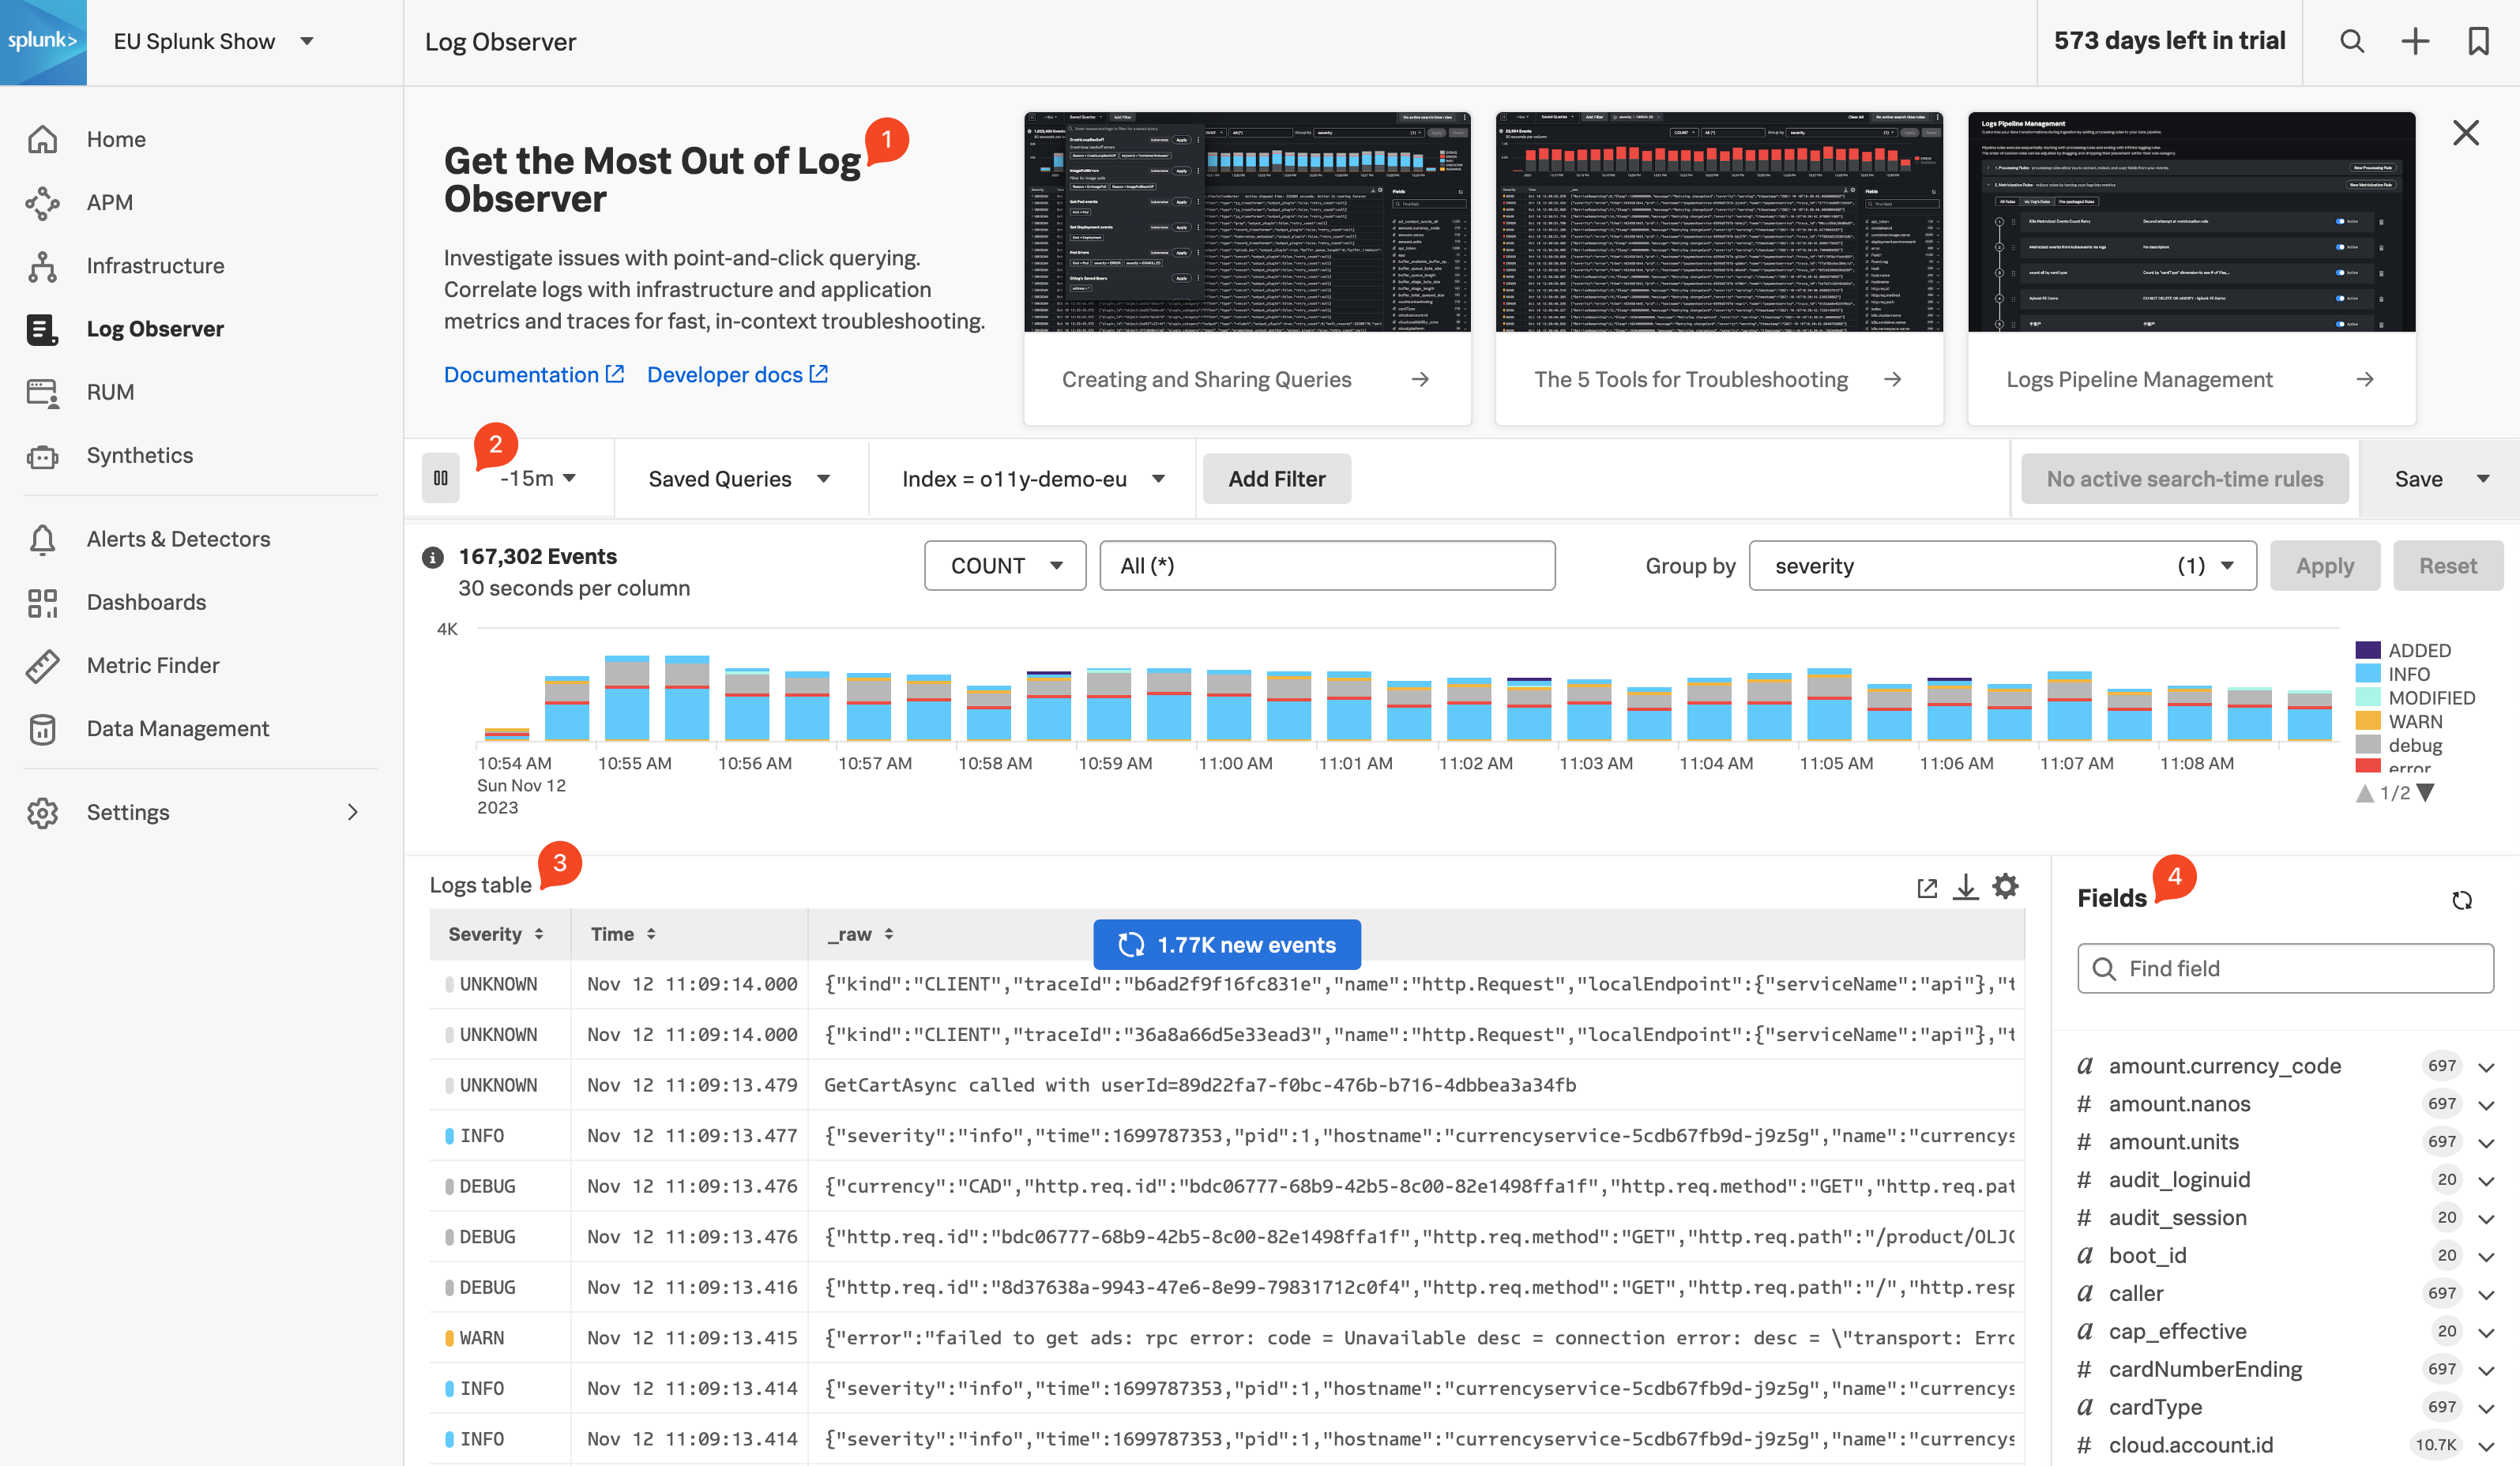
5 minutesLog Observer Connect allows you to seamlessly bring in the same log data from your Splunk Platform into an intuitive and no-code interface designed to help you find and fix problems quickly. You can easily perform log-based analysis and seamlessly correlate your logs with Splunk Infrastructure Monitoring’s real-time metrics and Splunk APM traces in one place.
End-to-end visibility: By combining the powerful logging capabilities of Splunk Platform with Splunk Observability Cloud’s traces and real-time metrics for deeper insights and more context of your hybrid environment.
Perform quick and easy log-based investigations: By reusing logs that are already ingested in Splunk Cloud Platform or Enterprise in a simplified and intuitive interface (no need to know SPL!) with customizable and out-of-the-box dashboards
Achieve higher economies of scale and operational efficiency: By centralizing log management across teams, breaking down data and team silos, and getting better overall support
![]()
![]()