1. Online Boutiqueのデプロイ
15分- Online BoutiqueアプリケーションをKubernetes(K3s)にデプロイします
- アプリケーションが動作していることを確認します
- Locustを使って人工的なトラフィックを生成します
- UI で APM のメトリクスを見ましょう
1. EC2サーバーを確認
これからの操作は、IMワークショップを実行した後で、まだEC2インスタンスにアクセスできる状態であることを想定しています。 もしアクセスできる場合は、 2. Online Boutiqueをデプロイする に進みます。 新しいインスタンスを受け取った場合は、 データを取り込む の最初の2つのセクションを実行して、システムをAPMワークショップのために準備し、次のセクションを続行してください。
2. Online Boutiqueをデプロイする
Online BoutiqueアプリケーションをK3sにデプロイするには、以下のデプロイメントを適用します。
cd ~/workshop/apm
kubectl apply -f deployment.yaml
APM Only Deployment
deployment.apps/recommendationservice created
service/recommendationservice created
deployment.apps/productcatalogservice created
service/productcatalogservice created
deployment.apps/cartservice created
service/cartservice created
deployment.apps/adservice created
service/adservice created
deployment.apps/paymentservice created
service/paymentservice created
deployment.apps/loadgenerator created
service/loadgenerator created
deployment.apps/shippingservice created
service/shippingservice created
deployment.apps/currencyservice created
service/currencyservice created
deployment.apps/redis-cart created
service/redis-cart created
deployment.apps/checkoutservice created
service/checkoutservice created
deployment.apps/frontend created
service/frontend created
service/frontend-external created
deployment.apps/emailservice created
service/emailservice created
deployment.apps/rum-loadgen-deployment createdkubectl delete -f deployment.yaml コマンドを実行しAPM環境のデプロイ削除します。
次にガイド、メッセージに表示されていた変数をexportし上記のデプロイスクリプトを再実行します。
Online Boutique アプリケーションが起動していることを確認するには:
kubectl get podsNAME READY STATUS RESTARTS AGE
splunk-otel-collector-k8s-cluster-receiver-56585564cc-xclzj 1/1 Running 0 84s
splunk-otel-collector-agent-hkshj 1/1 Running 0 84s
svclb-frontend-external-c74n6 1/1 Running 0 53s
currencyservice-747b74467f-xxrl9 1/1 Running 0 52s
redis-cart-74594bd569-2jb6c 1/1 Running 0 54s
adservice-6fb948b8c6-2xlrc 0/1 Running 0 53s
recommendationservice-b5df8776c-sbt4h 1/1 Running 0 53s
shippingservice-6d6f7b8d87-5lg9g 1/1 Running 0 53s
svclb-loadgenerator-jxwct 1/1 Running 0 53s
emailservice-9dd74d87c-wjdqr 1/1 Running 0 53s
checkoutservice-8bcd56b46-bfj7d 1/1 Running 0 54s
productcatalogservice-796cdcc5f5-vhspz 1/1 Running 0 53s
paymentservice-6c875bf647-dklzb 1/1 Running 0 53s
frontend-b8f747b87-4tkxn 1/1 Running 0 53s
cartservice-59d5979db7-bqf64 1/1 Running 1 53s
loadgenerator-57c8b84966-7nr4f 1/1 Running 3 53s通常、ポッドがRunning状態に移行するのに1分30秒程度かかります。
3. UIで検証する
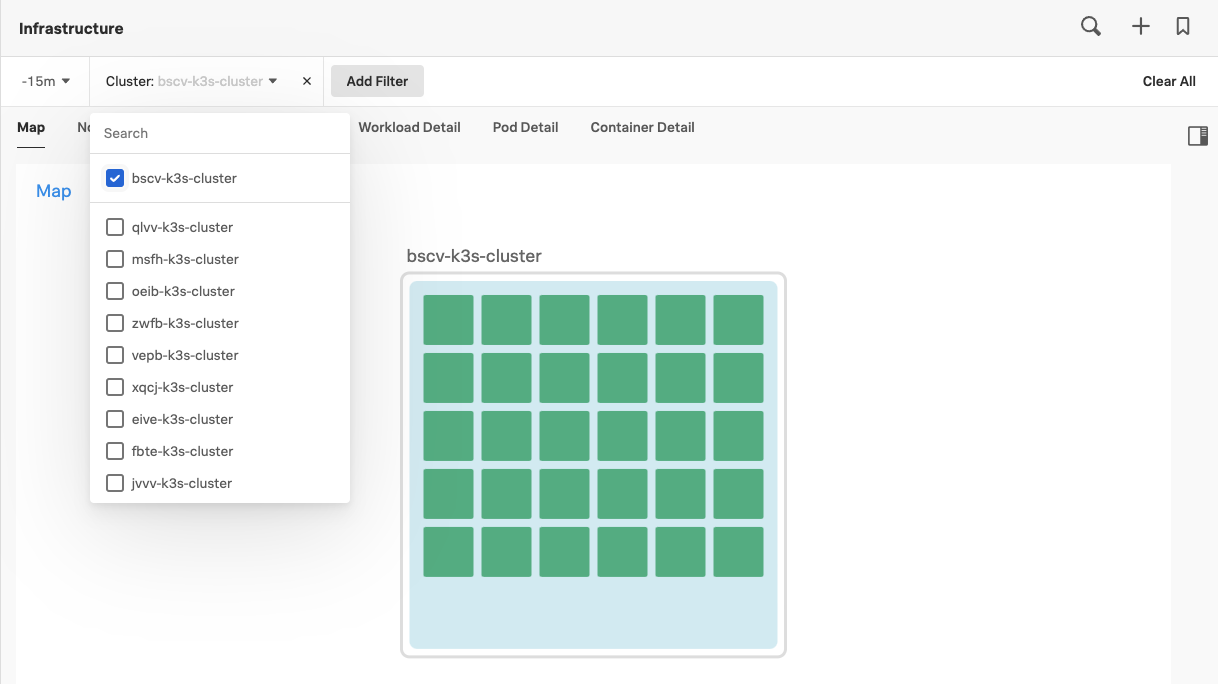
Splunk UIでInfrastructure  をクリックします。Infrastructure Overviewダッシュボードに遷移しますので、 Kubernetes をクリックします。
Cluster のドロップダウンを使用してクラスタを選択すると、新しいポッドが開始され、コンテナがデプロイされていることが確認できます。
Splunk UI で Cluster をクリックすると、次のような画面が表示されているはずです。
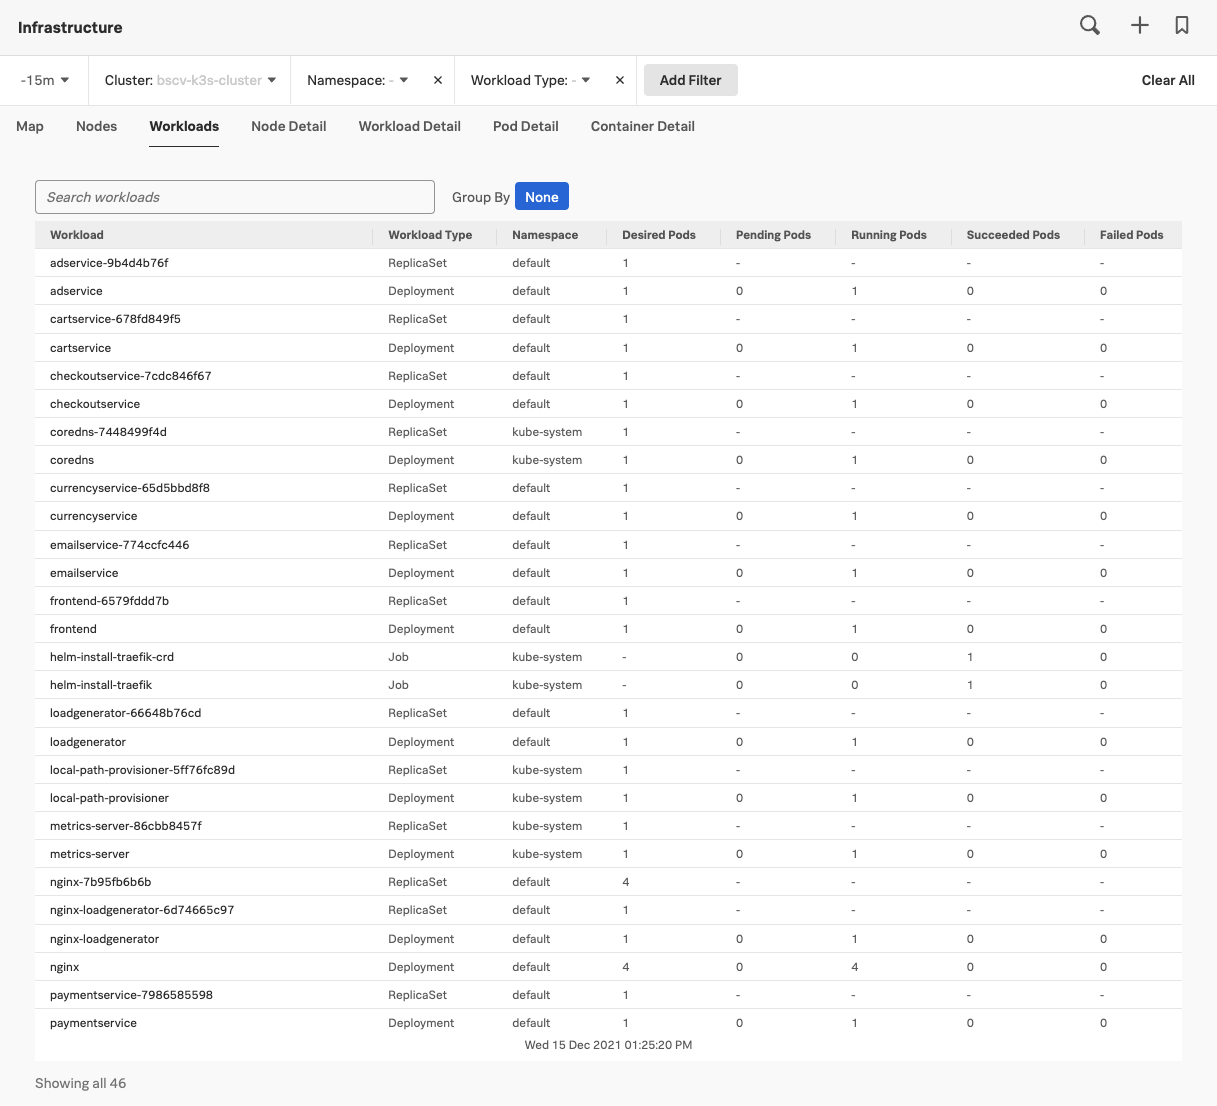
もう一度 WORKLOADS タブを選択すると、いくつかのデプロイメントとレプリカセットがあることがわかるはずです。
4. Online Boutique を閲覧する
Online Boutique は、EC2インスタンスのIPアドレスの81番ポートで閲覧できます。このIPアドレスは、ワークショップの冒頭でインスタンスにSSH接続したときに使用したものと同じIPアドレスです。
ウェブブラウザを開き、 http://<EC2-IP>:81/ にアクセスすると、Online Boutique が起動しているのが確認できます。