Incident Lifecycle
Aim
The aim of this module is for you to get more familiar with the Timeline Tab and the filtering features.
1. Timeline
The aim of Splunk On-Call is to make being on call more bearable, and it does this by getting the critical data, to the right people, at the right time.
The key to making it work for you is to centralize all your alerting sources, sending them all to the Splunk On-Call platform, then you have a single pane of glass in which to manage all of your alerting.
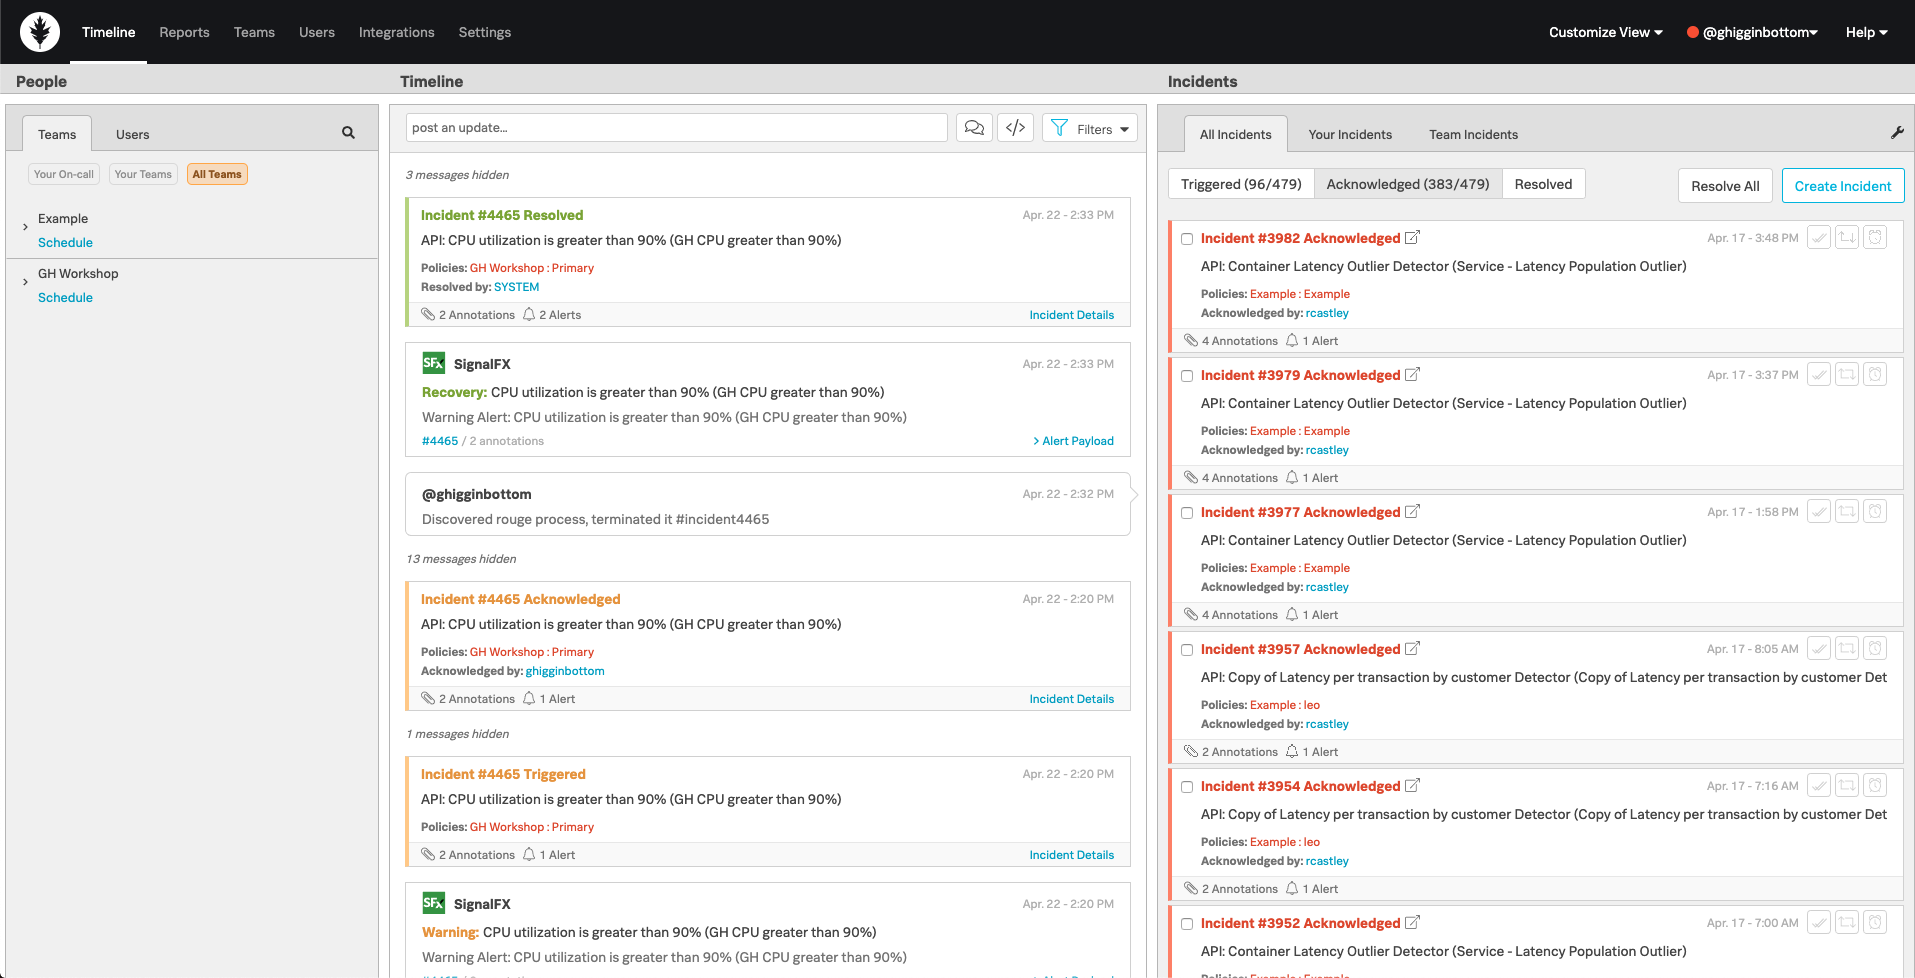
Login to the Splunk On-Call UI and select the Timeline tab on the main menu bar, you should have a screen similar to the following image:
2. People
On the left we have the People section with the Teams and Users sub tabs. On the Teams tab, click on All Teams then expand [Your Team name].
Users with the Splunk On-Call Logo against their name are currently on call. Here you can see who is on call within a particular Team, or across all Teams via Users → On-Call.
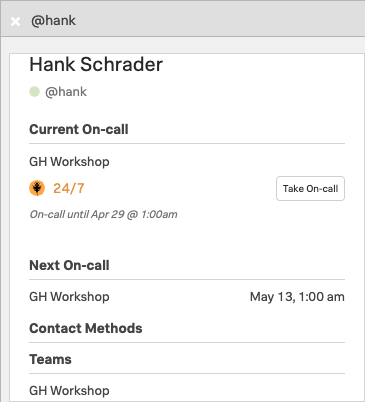
If you click into one of the currently on call users, you can see their status. It shows which Rotation they are on call for, when their current Shift ends and their next Shift starts (times are displayed in your time zone), what contact methods they have and which Teams they belong to (dummy users such as Hank do not have Contact Methods configured).
3. Timeline
In the centre Timeline section you get a realtime view of what is happening within your environment with the newest messages at the top. Here you can quickly post update messages to make your colleagues aware of important developments etc.
You can filter the view using the buttons on the top toolbar showing only update messages, GitHub integrations, or apply more advanced filters.
Lets change the Filters settings to streamline your view. Click the Filters button then within the Routing Keys tab change the Show setting from all routing keys to selected routing keys. Change the My Keys value to all and the Other Keys value to selected and deselect all keys under the Other Keys section.
Click anywhere outside of the dialogue box to close it.
You will probably now have a much simpler view as you will not currently have Incidents created using your Routing Keys, so you are left with the other types of messages that the Timeline can display.
Click on Filters again, but this time switch to the Message Types tab. Here you control the types of messages that are displayed.
For example, deselect On-call Changes and Escalations, this will reduce the amount of messages displayed.
4. Incidents
On the right we have the Incidents section. Here we get a list of all the incidents within the platform, or we can view a more specific list such as incidents you are specifically assigned to, or for any of the Teams you are a member of.
Select the Team Incidents tab you should find that the Triggered, Acknowledged & Resolved tabs are currently all empty as you have had no incidents logged.
Let’s change that by generating your first incident!
Continue with the Create Incidents module.


