Configuring groups in GUI
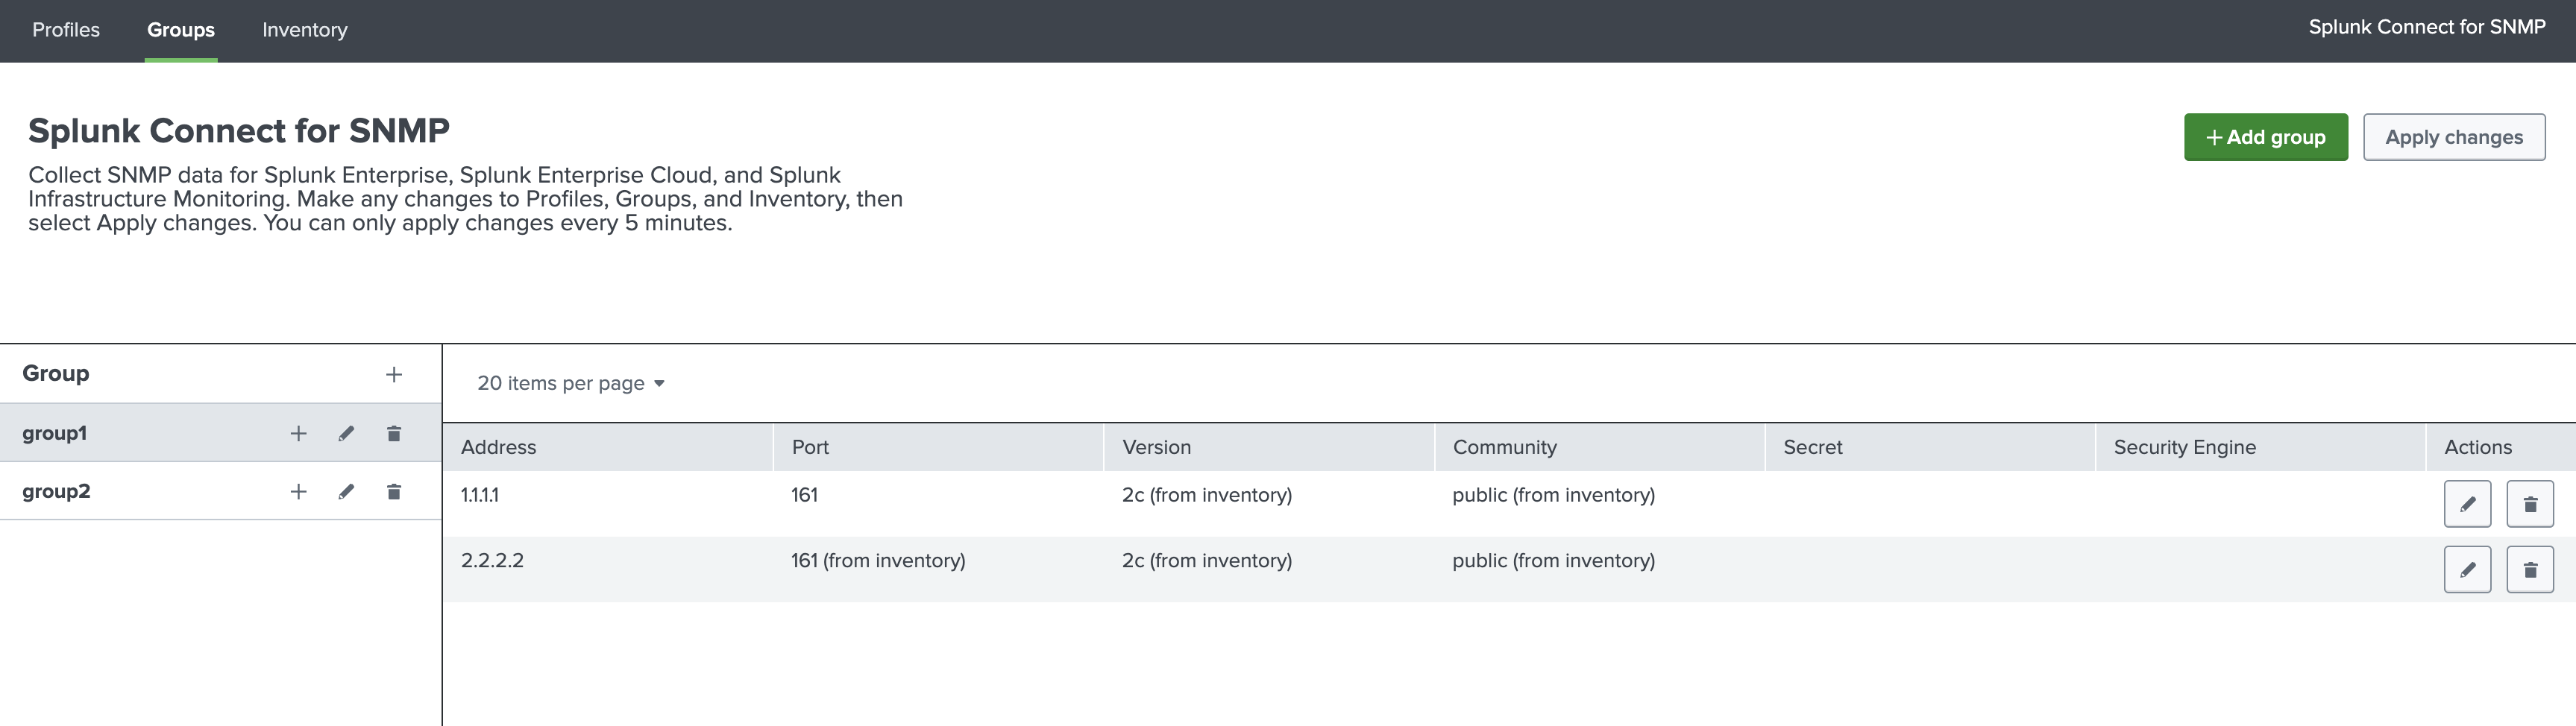
SC4SNMP groups can be configured in Groups tab.
Add group
After pressing Add group button or plus sign next to the Group, new group can be added.
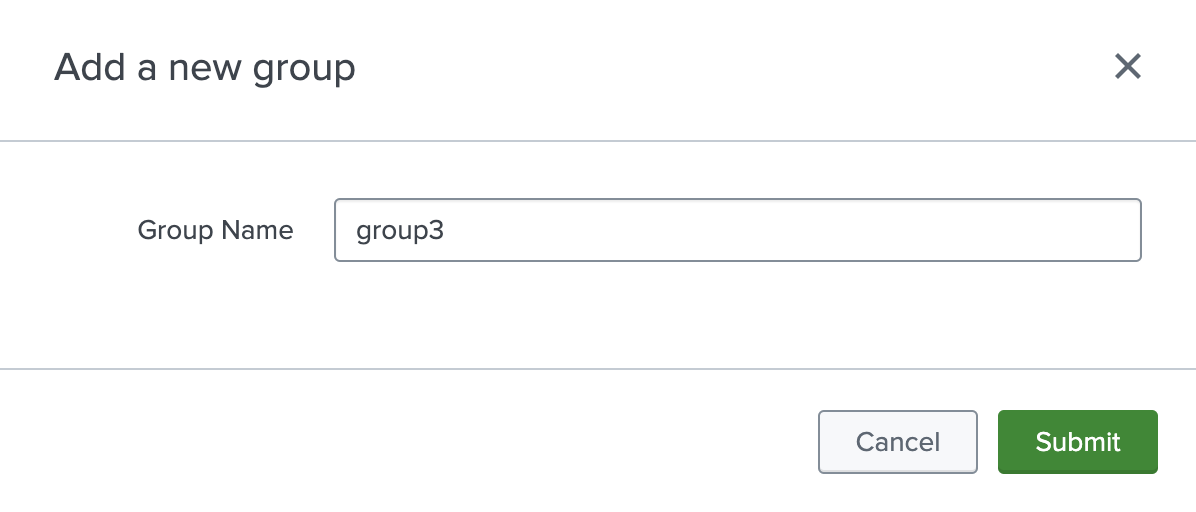
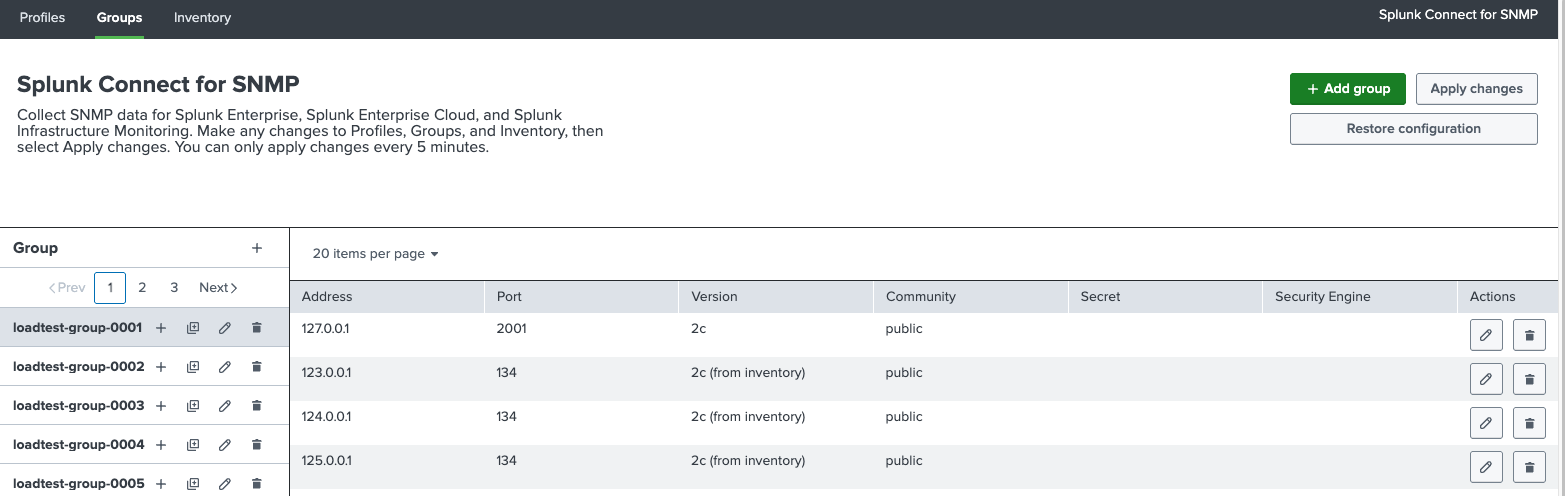
Configured groups are displayed on the left-hand side, under the Group name label. After clicking on the group name,
all devices belonging to the given group are displayed.
Add device
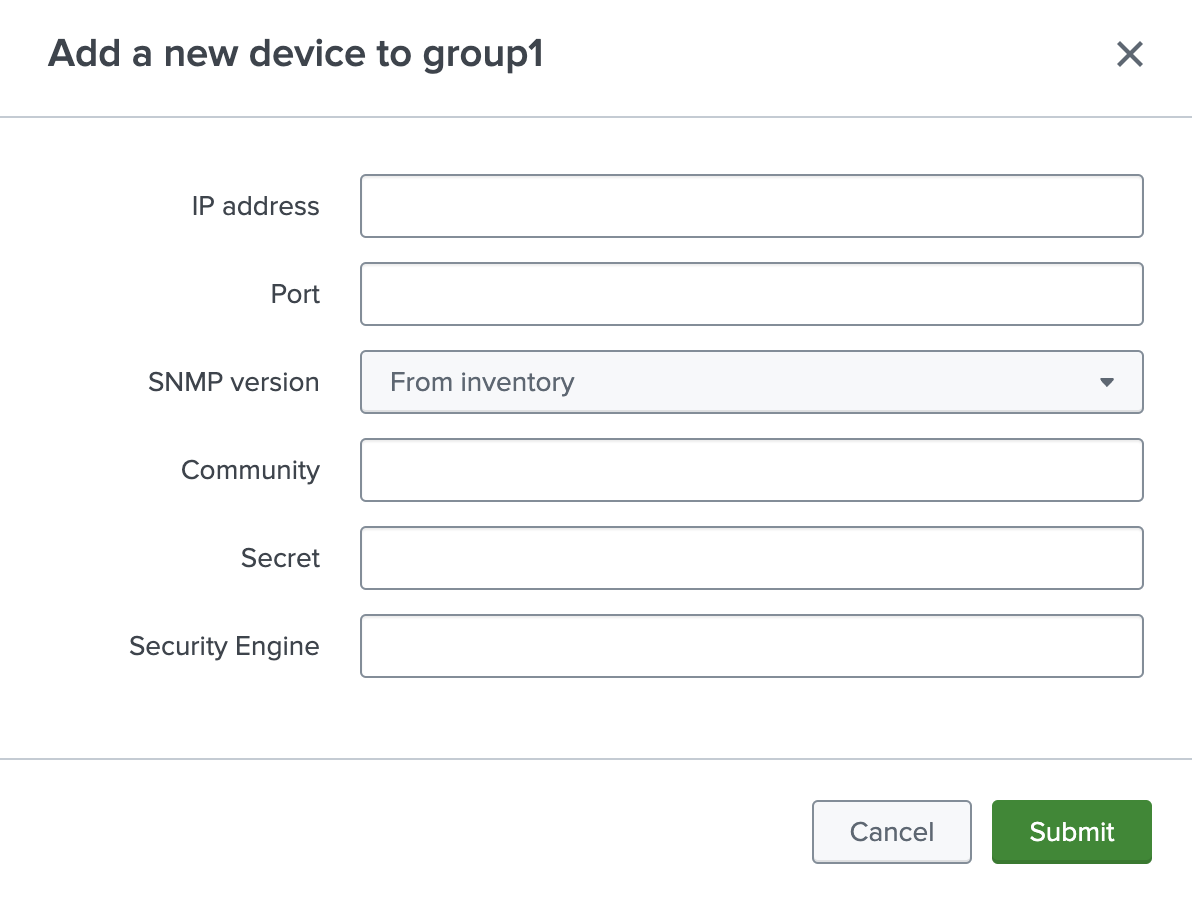
To add a new device, click the plus sign next to the group name.
Configuration of the device is the same as in the values.yaml file. For details check Configuring groups.
Add multiple devices at the same time
To add several devices to a group at once, click the bulk-add icon next to the plus sign, in the row of the given group, to open the Add devices in bulk window.
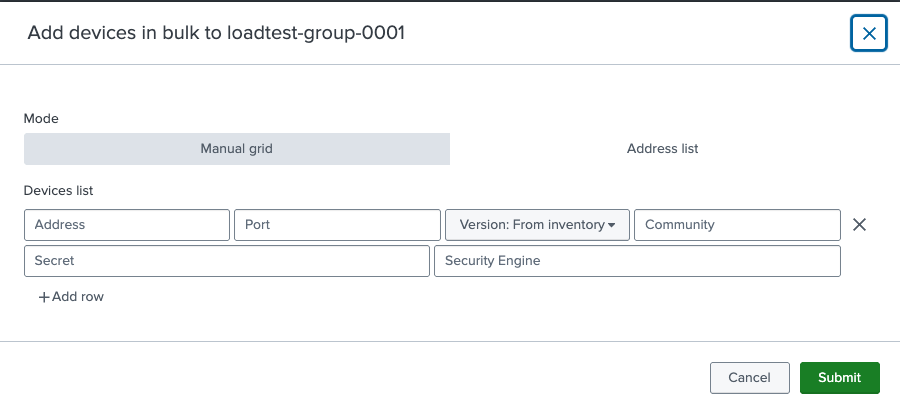
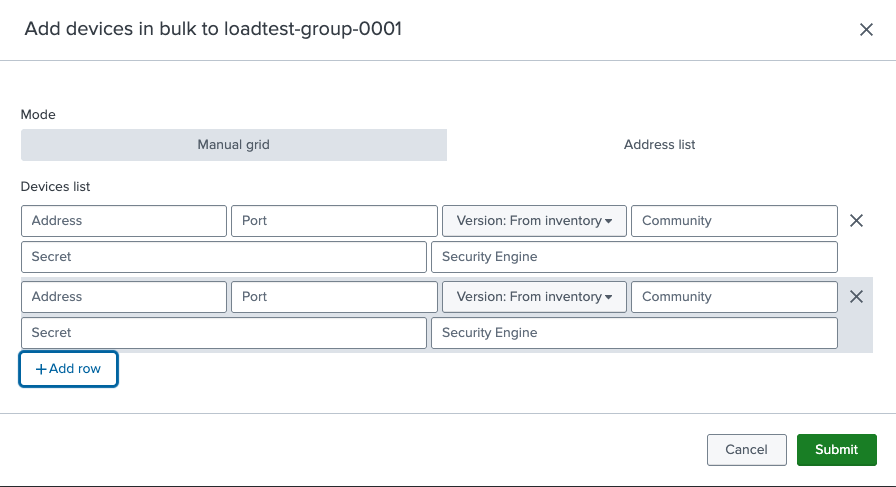
By default, the window opens in Manual grid mode, where every row of the grid is a separate device with the same fields as adding a single device: Address, Port, Version, Community, Secret and Security Engine. Click Add row to add more devices to the grid.
Switching the mode to Address list allows pasting a list of addresses instead of filling the grid row by row.
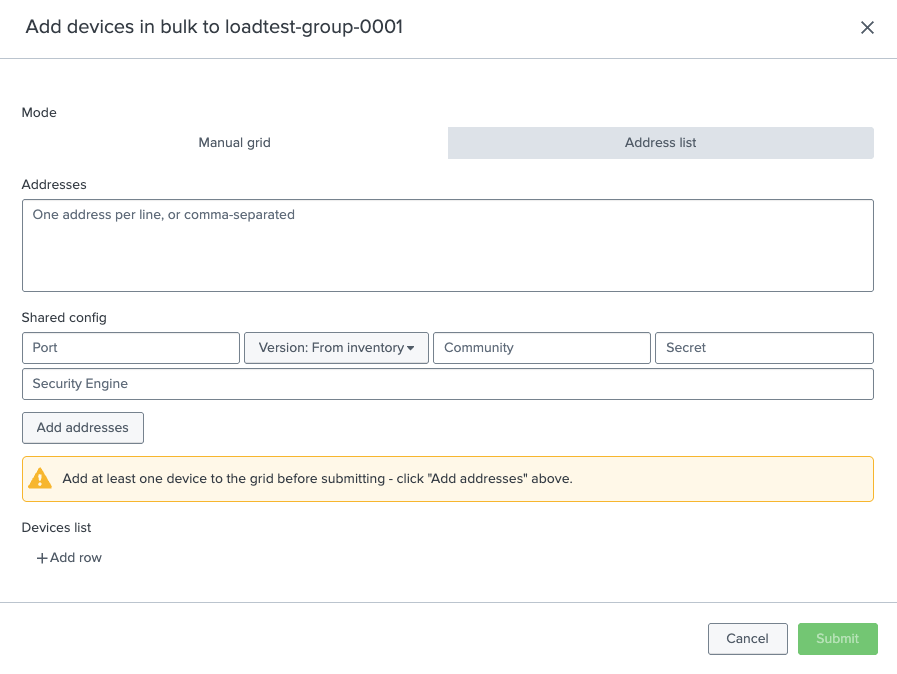
Enter the addresses, one per line or comma-separated, in the Addresses field, and optionally fill in the Shared config (Port, Version, Community, Secret, Security Engine) to apply to all of them.
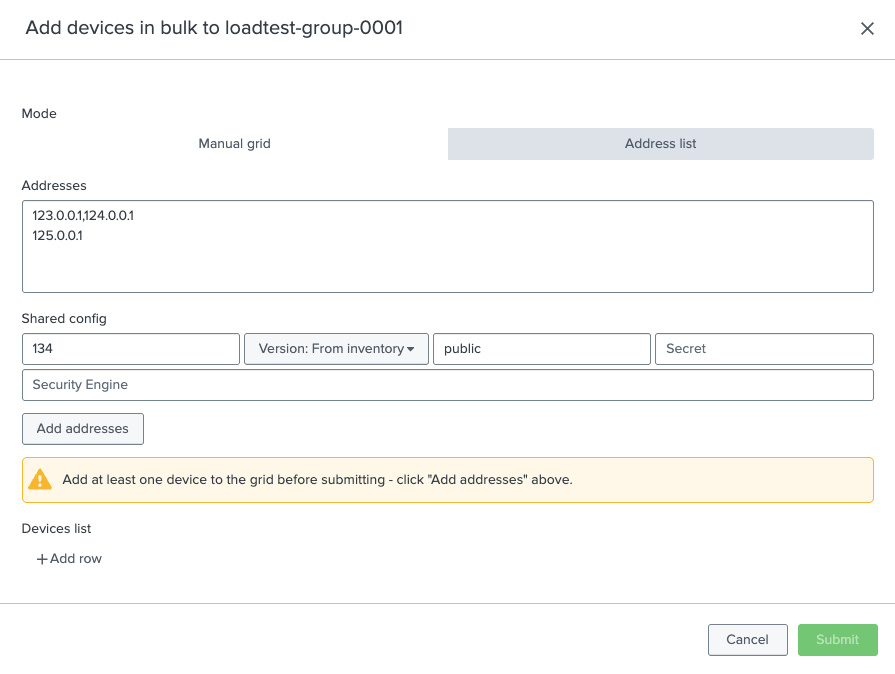
Click Add addresses to parse the addresses into the Devices list grid below. Blank lines, lines starting with #, and duplicate addresses are skipped, and every remaining address is pre-filled with the shared config. Rows can still be edited or removed from the grid before submitting.
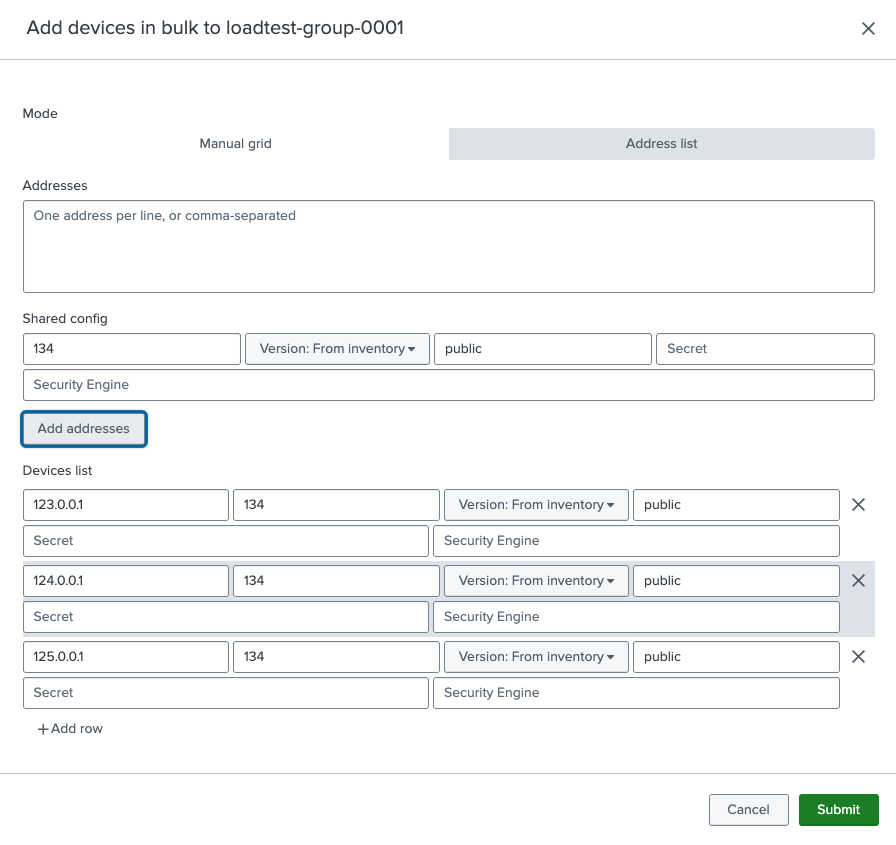
Click Submit to add the devices to the group. A row that fails validation is flagged with an inline error message and is not saved, so it can be corrected before submitting again. Successfully added devices appear on the group’s device list.
Edit group
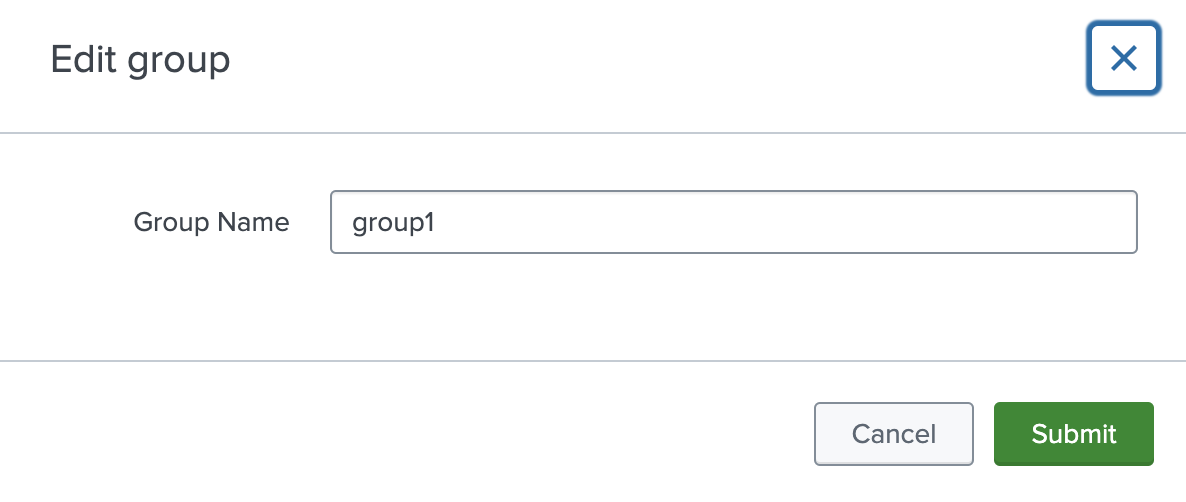
To edit a group name, click the pencil icon next to the group name.
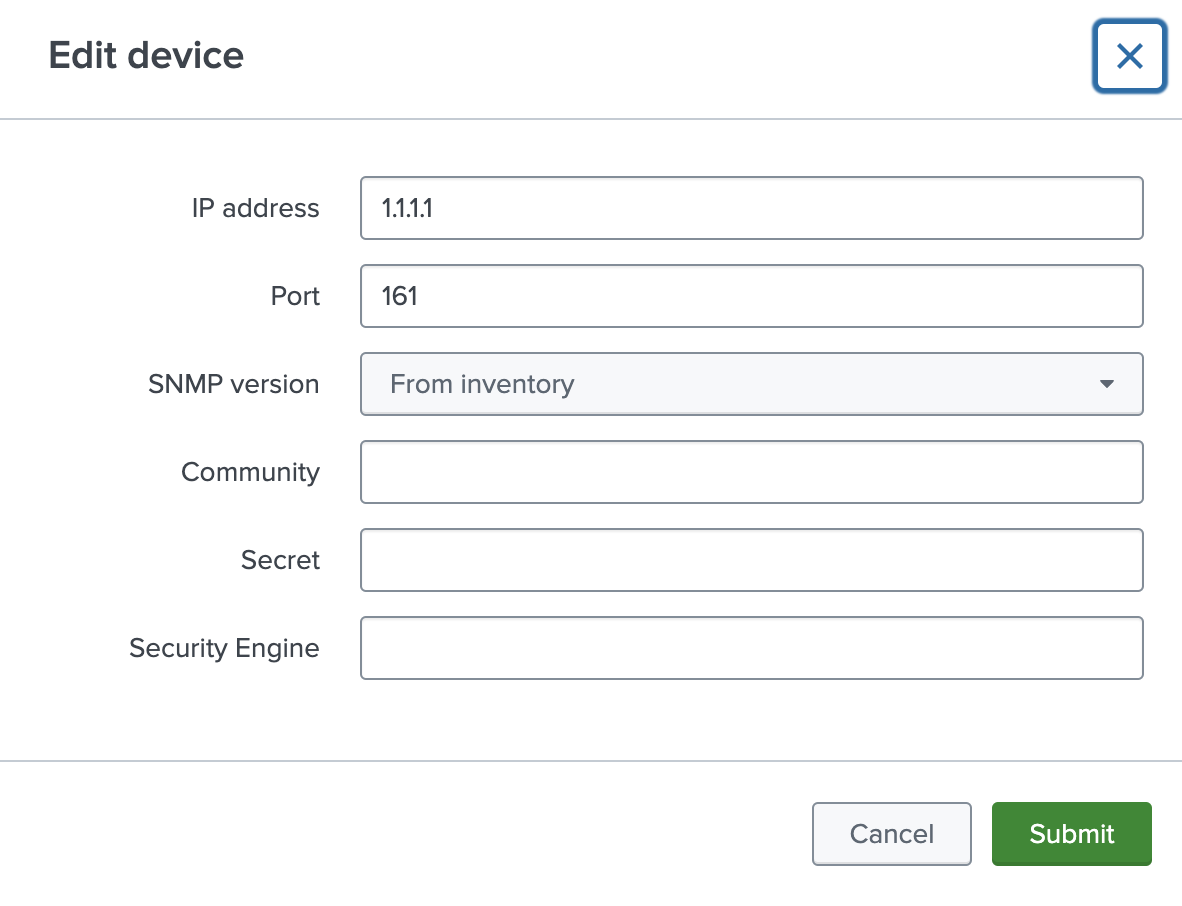
Edit device
To edit device, click the pencil icon in the row of the given device.